
I love an excuse to dress up, and to sew, so the chance to go to another RAF AC Squadron Dining In means – another dress 🙂
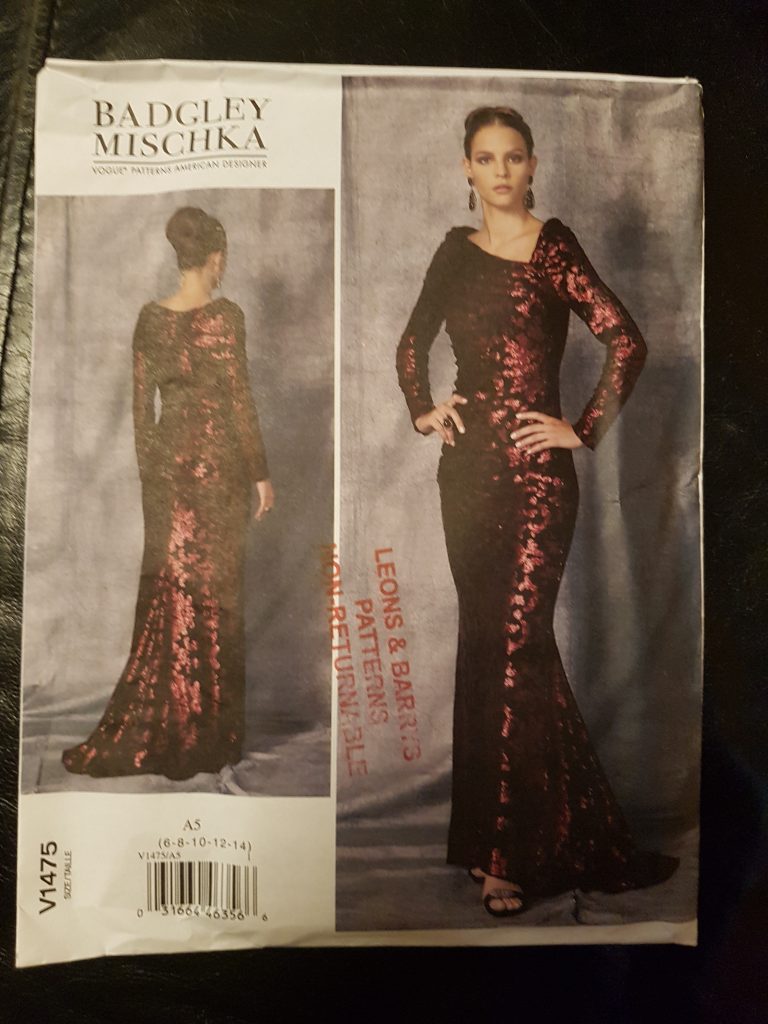
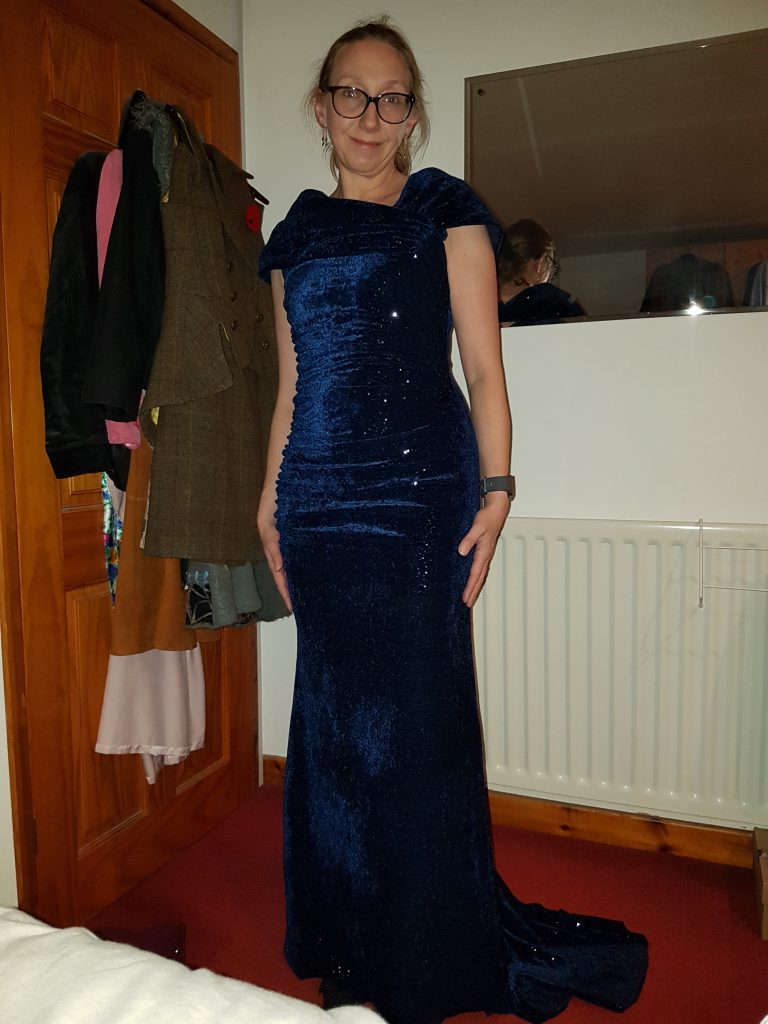
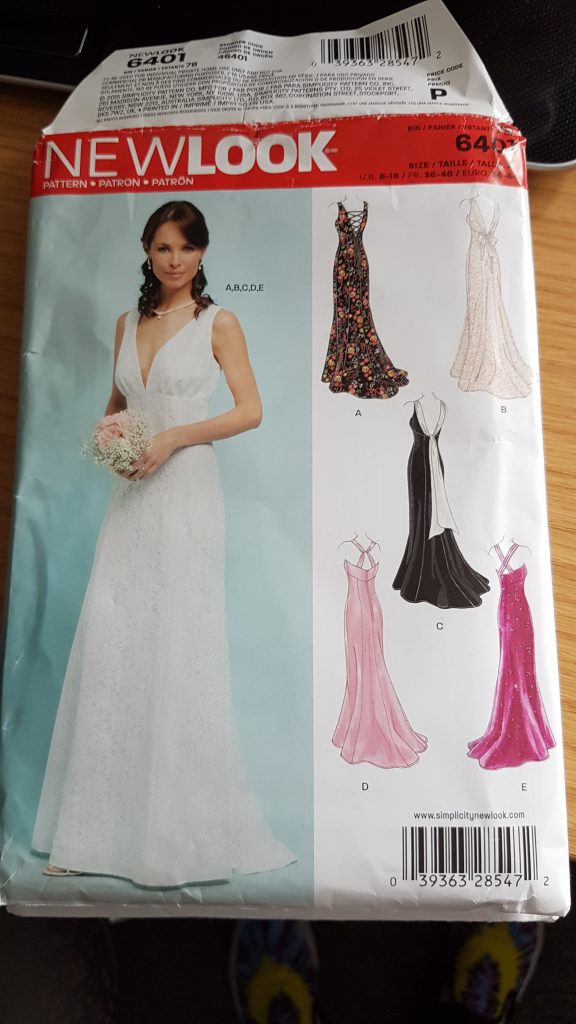
I hadn’t liked wearing a shawl (to cover shoulders throughout the meal) last time, so wanted a dress which covered them anyway. Hours trawling the internet and patterns and I picked this one, the Vogue Badgley Mischka.

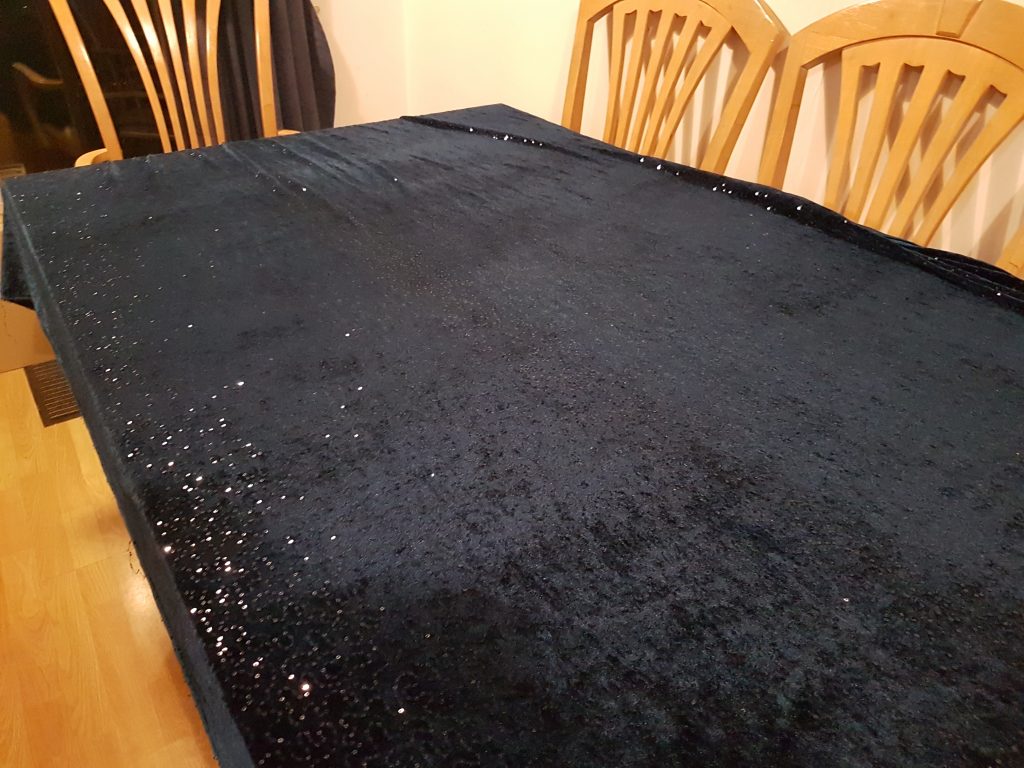
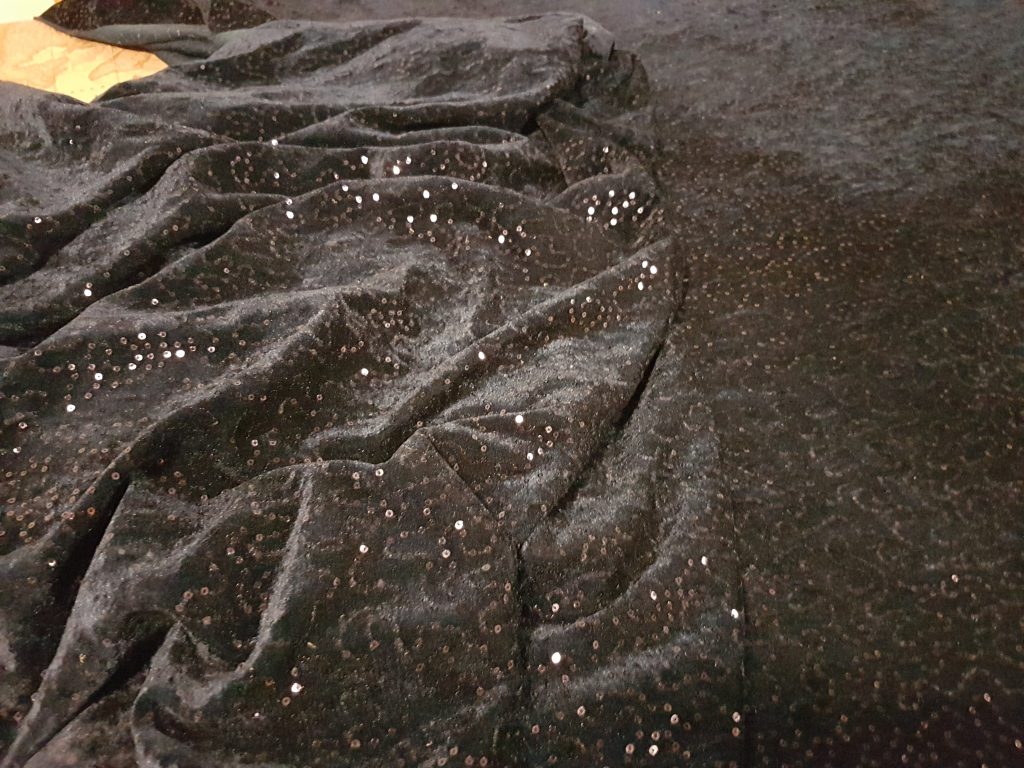
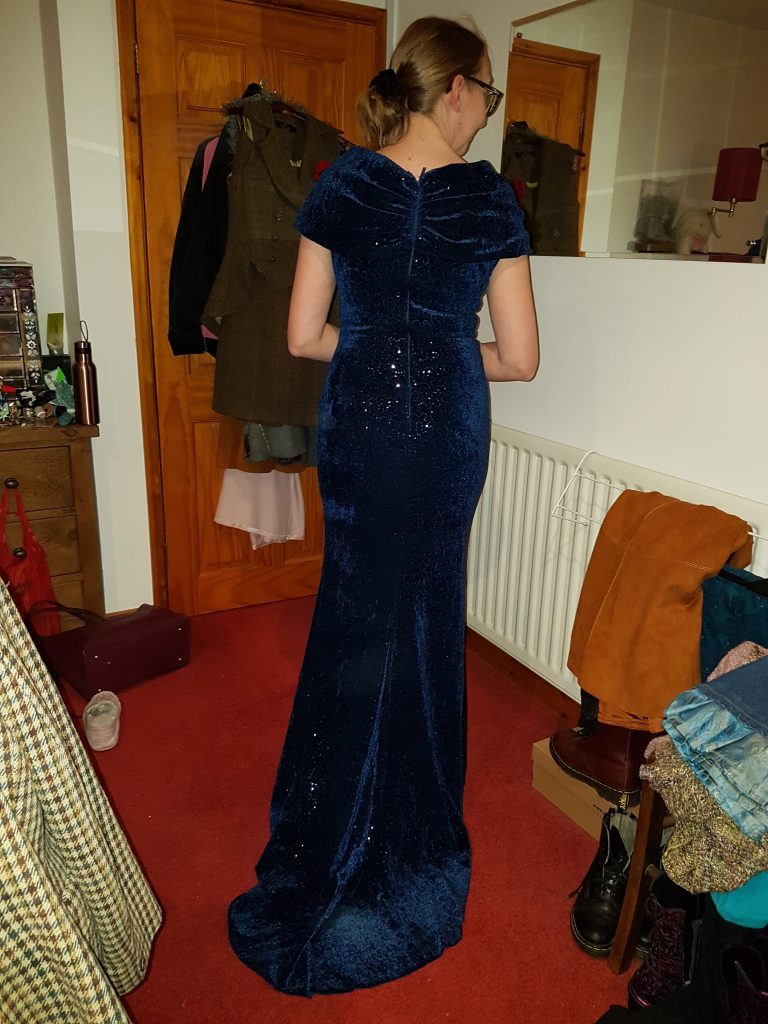
I visited a few of my usual fabric shops and eventually at Leon’s in Chorlton found a beautiful blue sequinned velvety fabric. Unfortunately I only saw it when another customer had picked it up…. Fortunately for me she wasn’t sure how much she wanted, and had to leave it to go find out. She had estimated roughly 3-4m, which is what I needed too, and there was about 7-8m left on the roll. We unrolled the whole roll for my fabric to be cut, as there were actually some faults in it, which we managed to avoid for my 3.6m. I said I feel guilty leaving the bad bits, but the lady serving didn’t seem concerned!! You can’t quite see the lovely colour and sparkle in these pics:
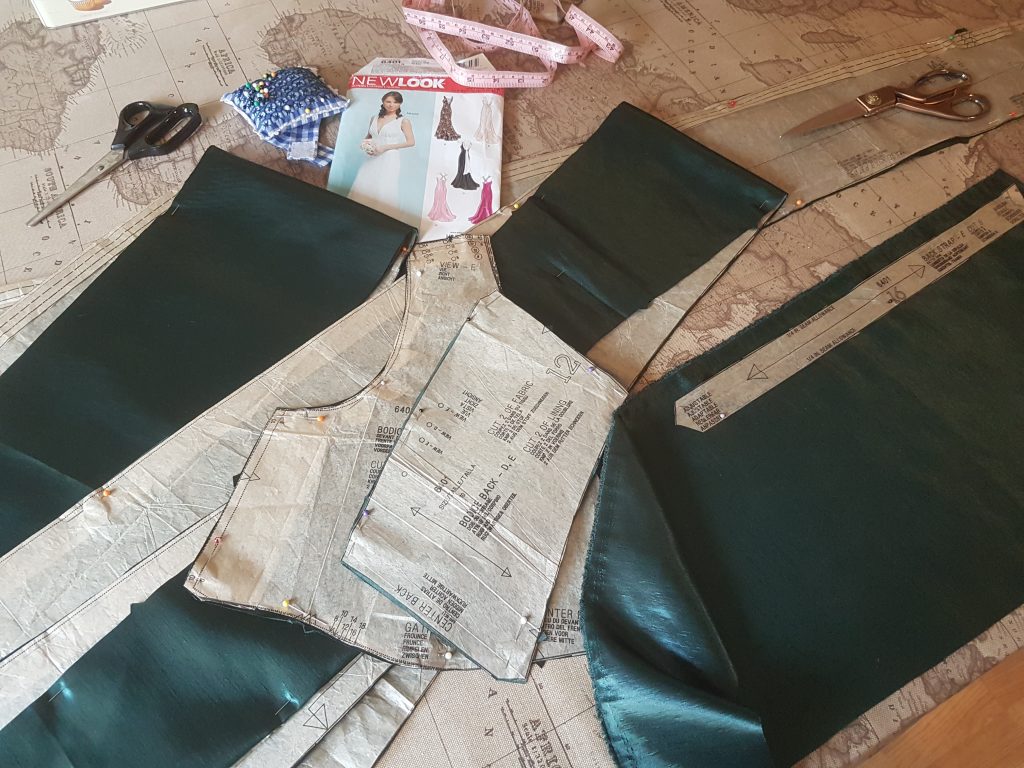
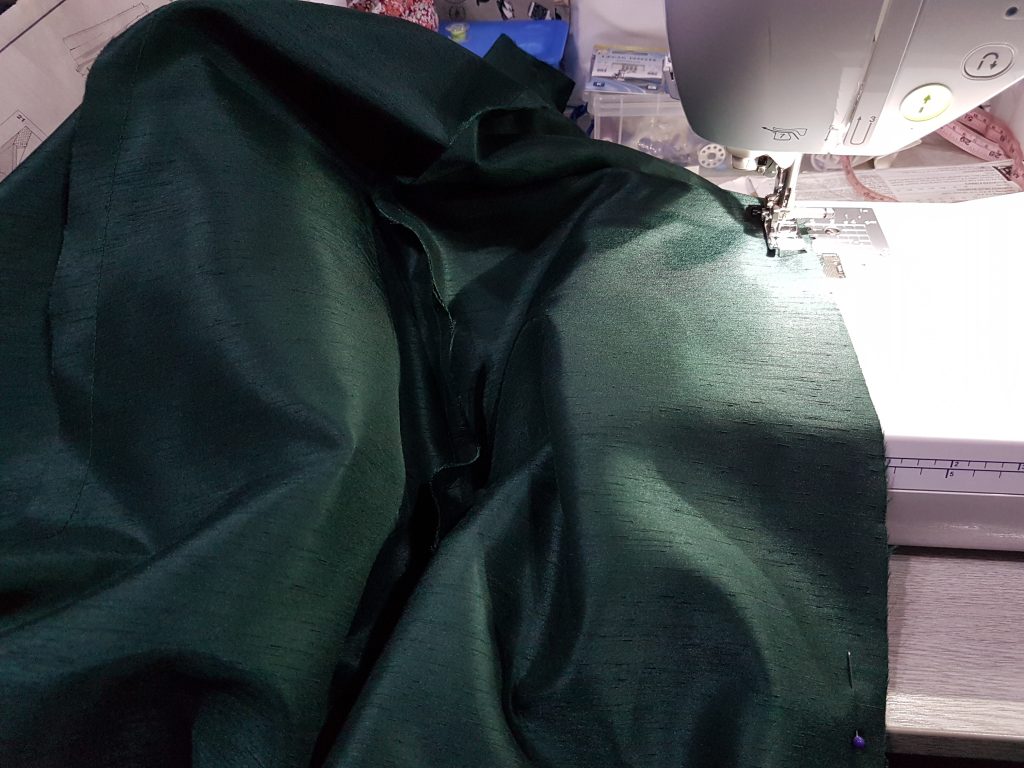
Anyway the pattern pieces are HUGE, and needed to be cut out and stuck together, and then didn’t quite fit on my table. (We do have extra inserts for the table up the loft… maybe I should try and find them next time). Cutting out the fabric really was a nightmare, because it is also heavy. I had to pin and cut a piece at a time. Which meant no room for any error or rearranging pieces to save fabric (which I normally do!).
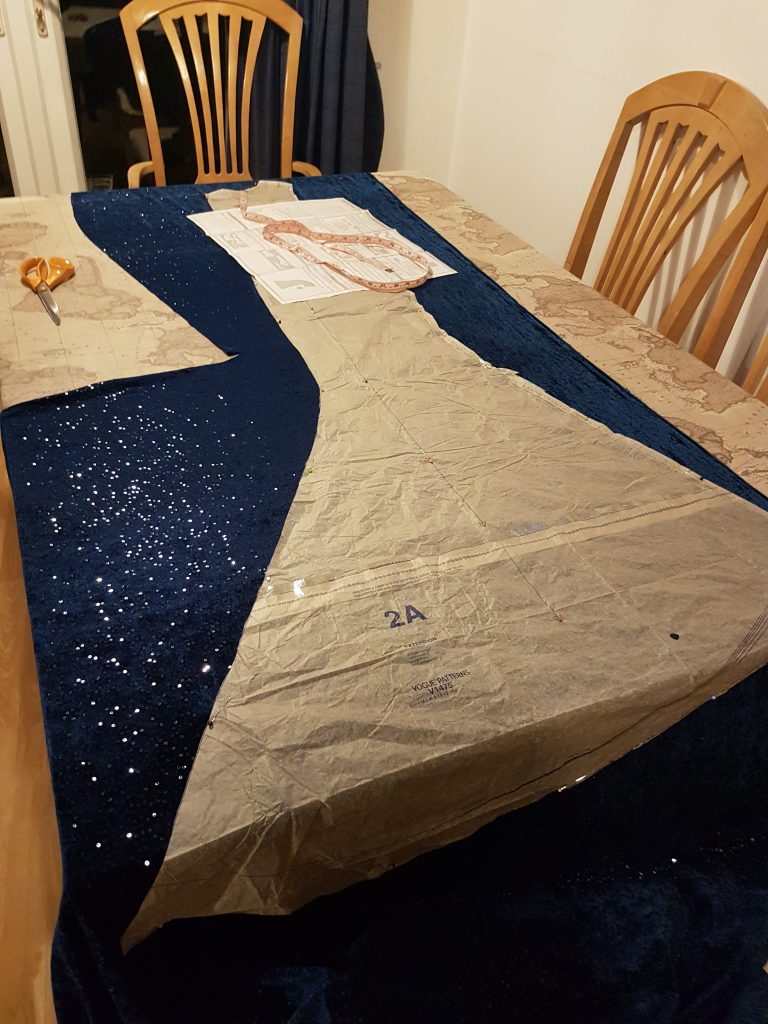
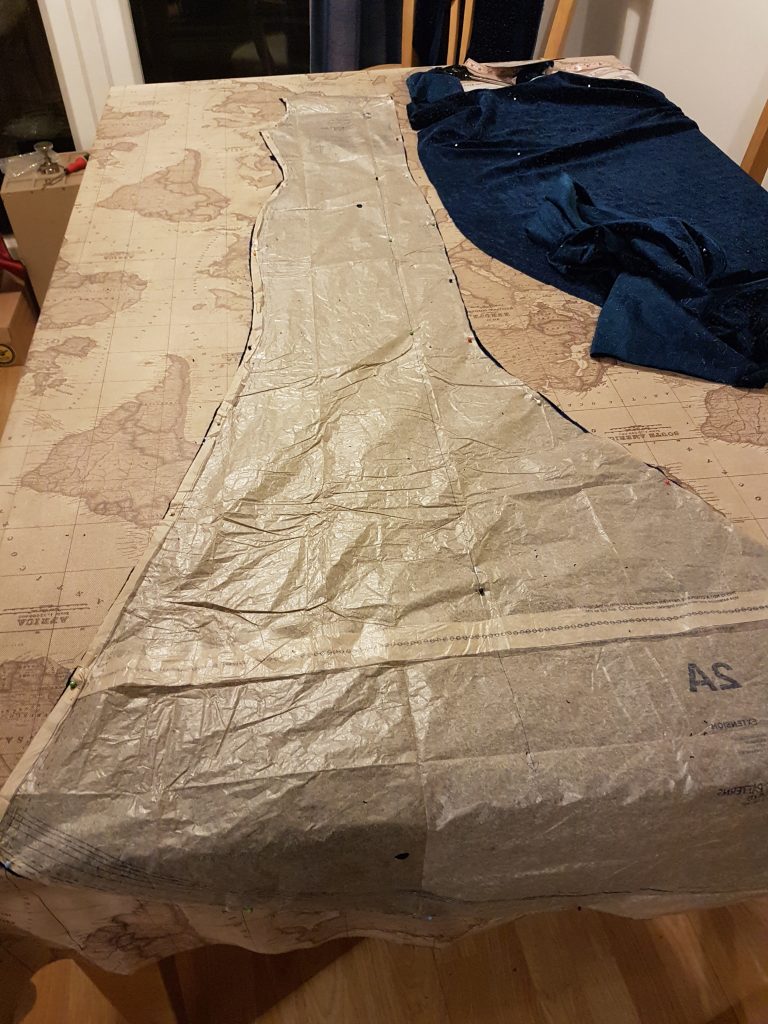
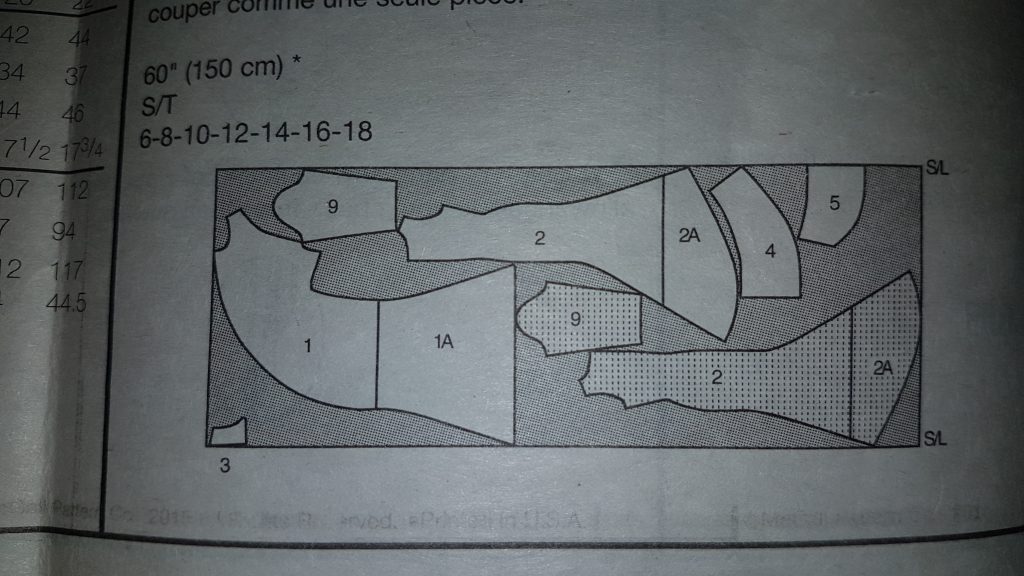
I think I must have been cursing a bit too much at the time to take a photo of the biggest piece – but look at it on the pattern layout – piece 1 is huge!!
The pattern also involves a stretch lining for the dress (also pretty big, but without the gather), and a normal lining which was only for covering the sleeve seams.
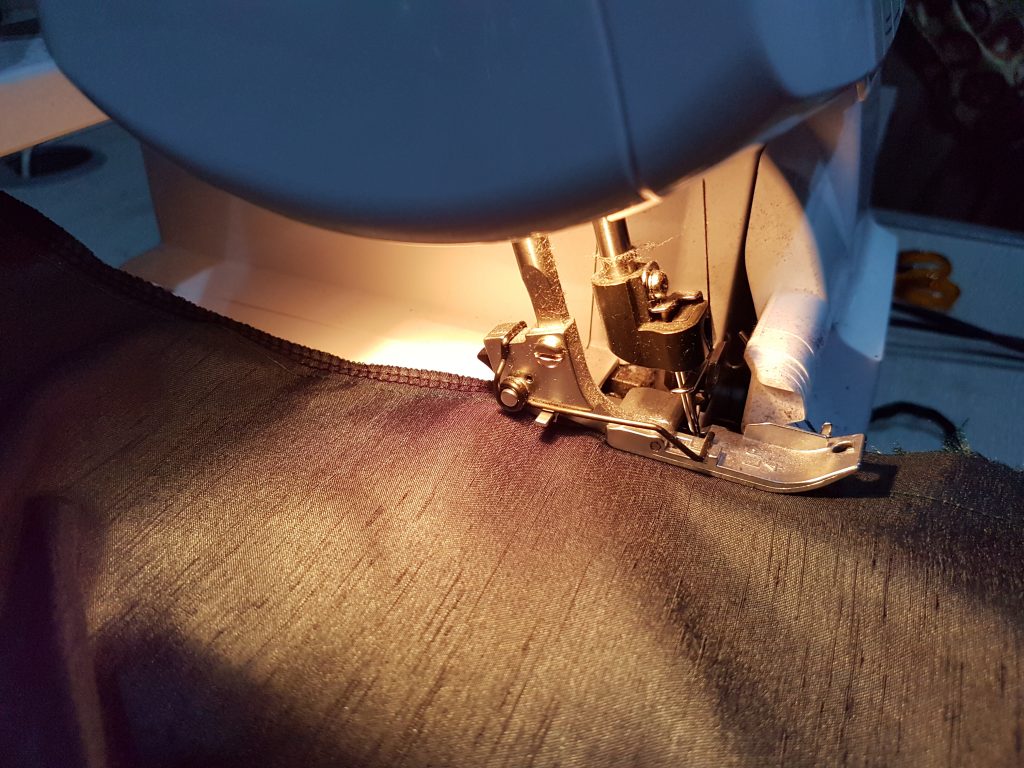
Here are some photos of the progress. I am still bad at this…. I often just get carried away sewing 🙂
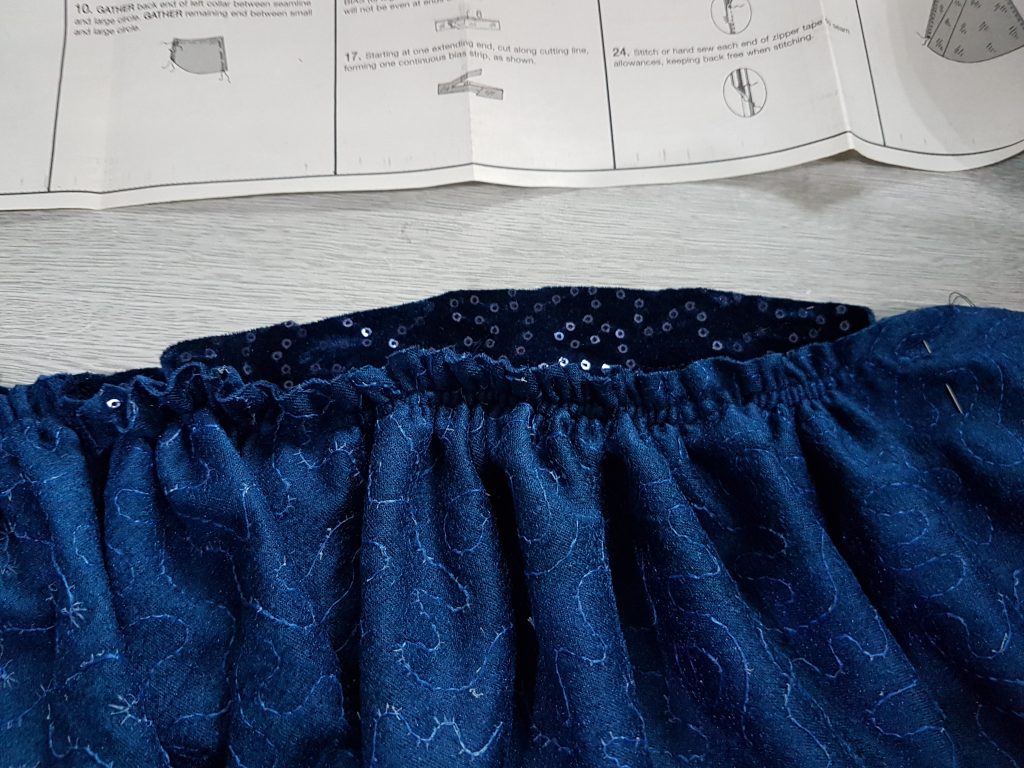
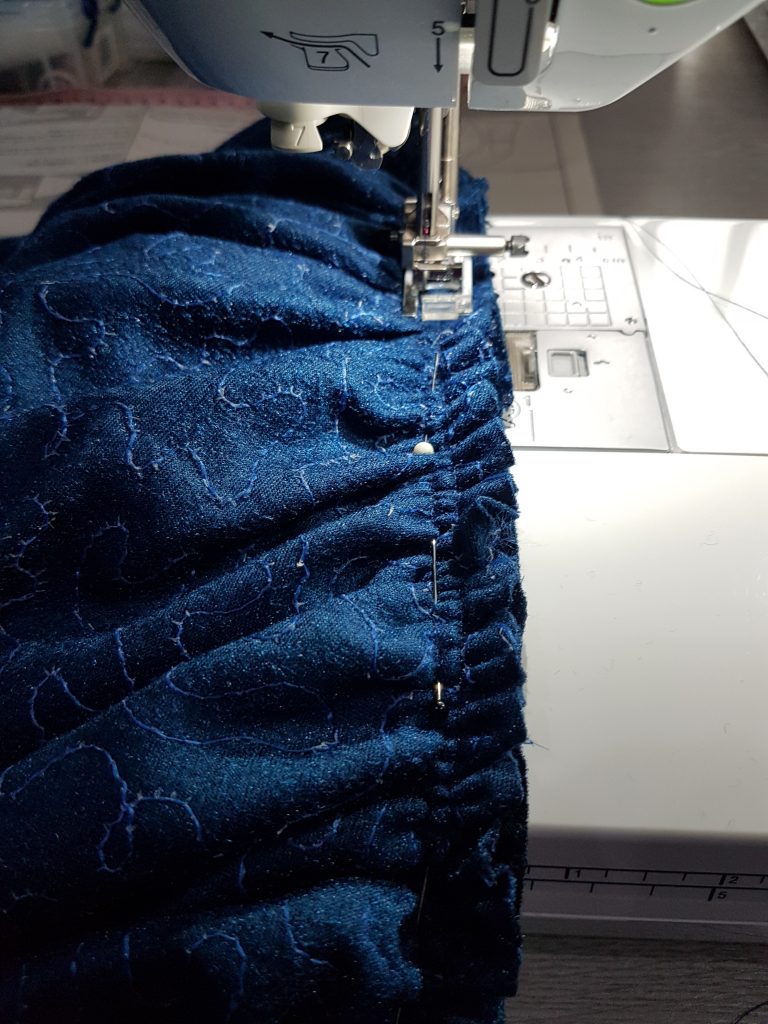
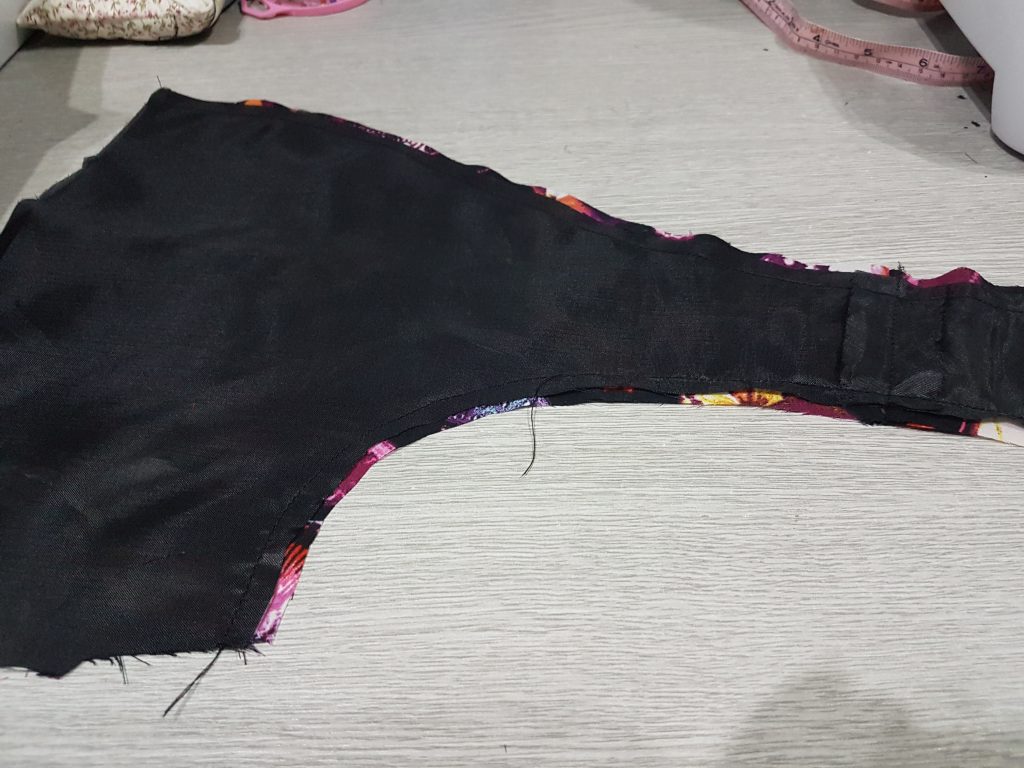
The gather down the side of the body… pretty bulky to sew 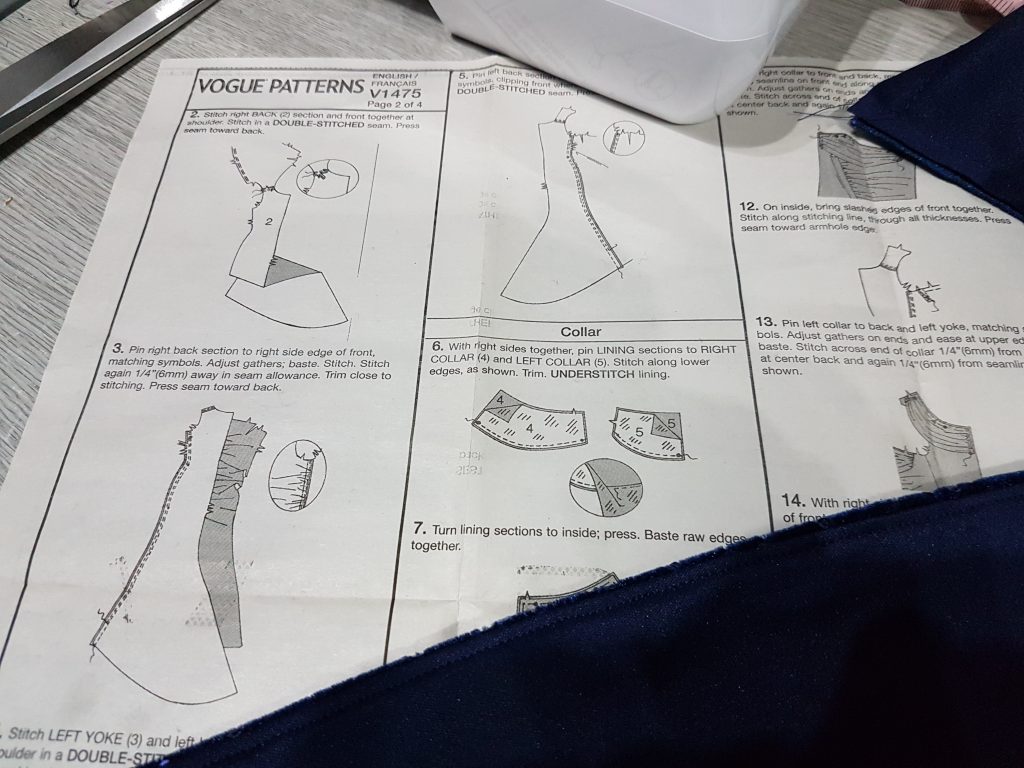
the smooth side 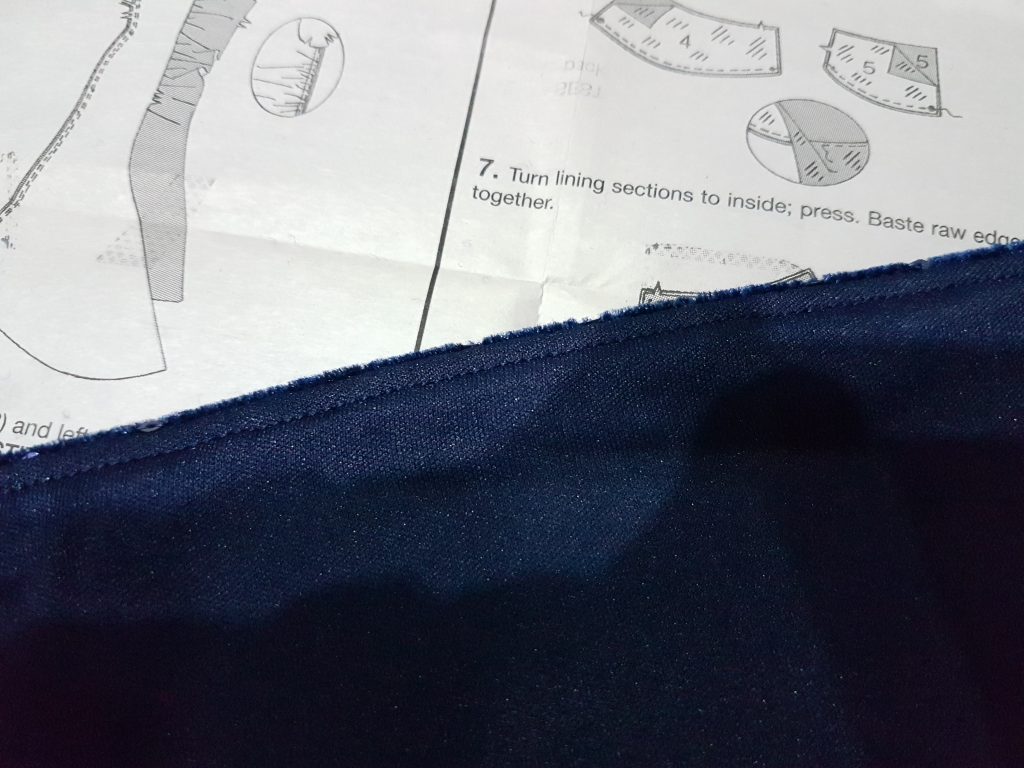
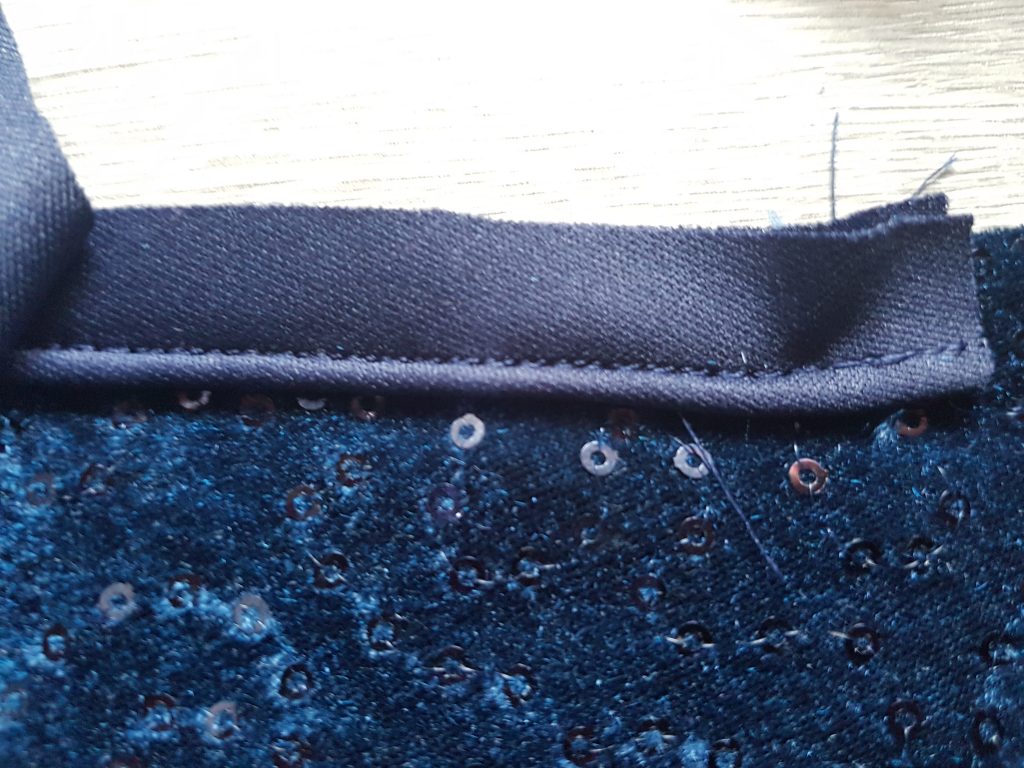
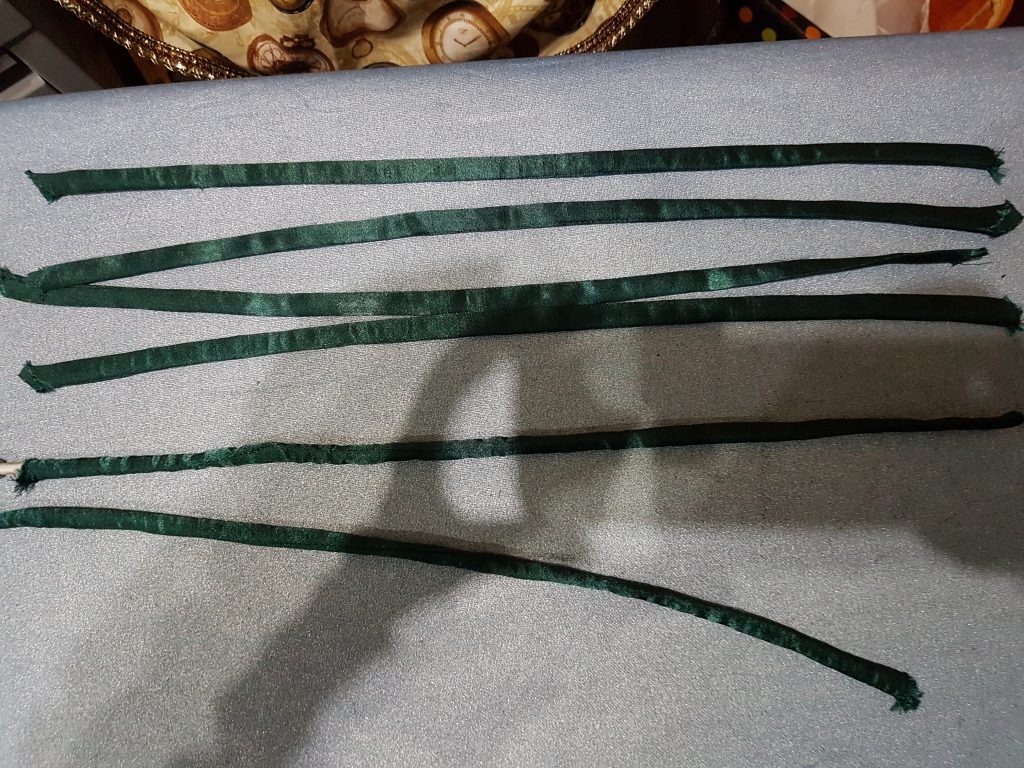
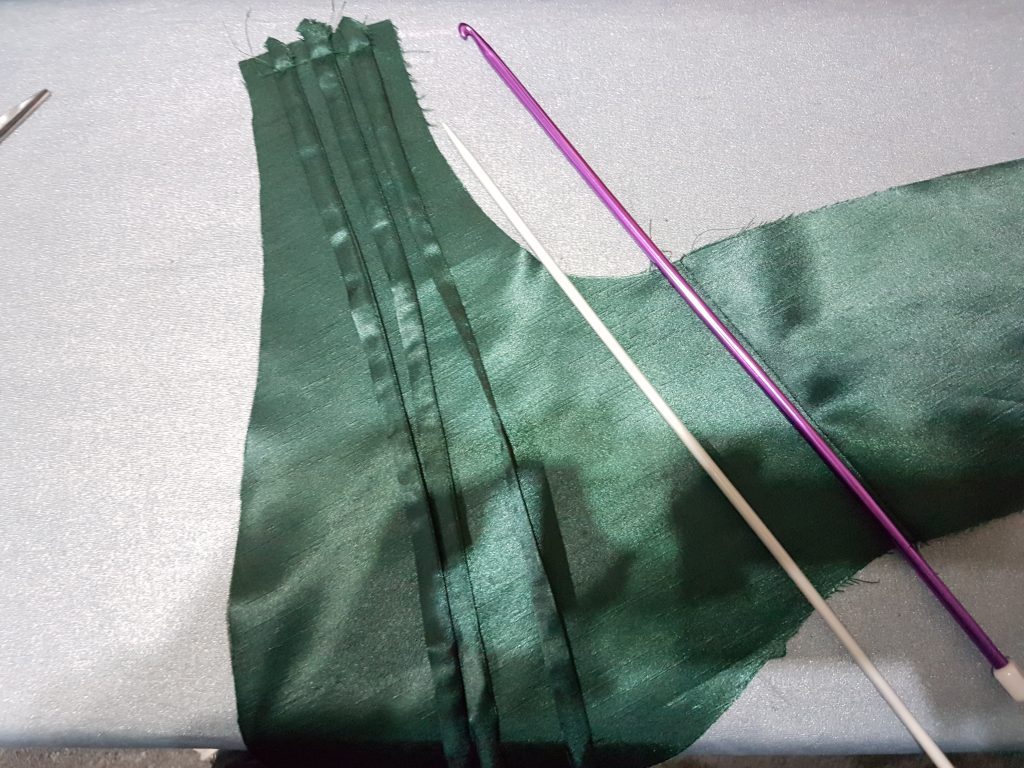
This piping was meant to go around the neckline…. After making the bias binding I opted not to bother as the neckline was already really bulky 
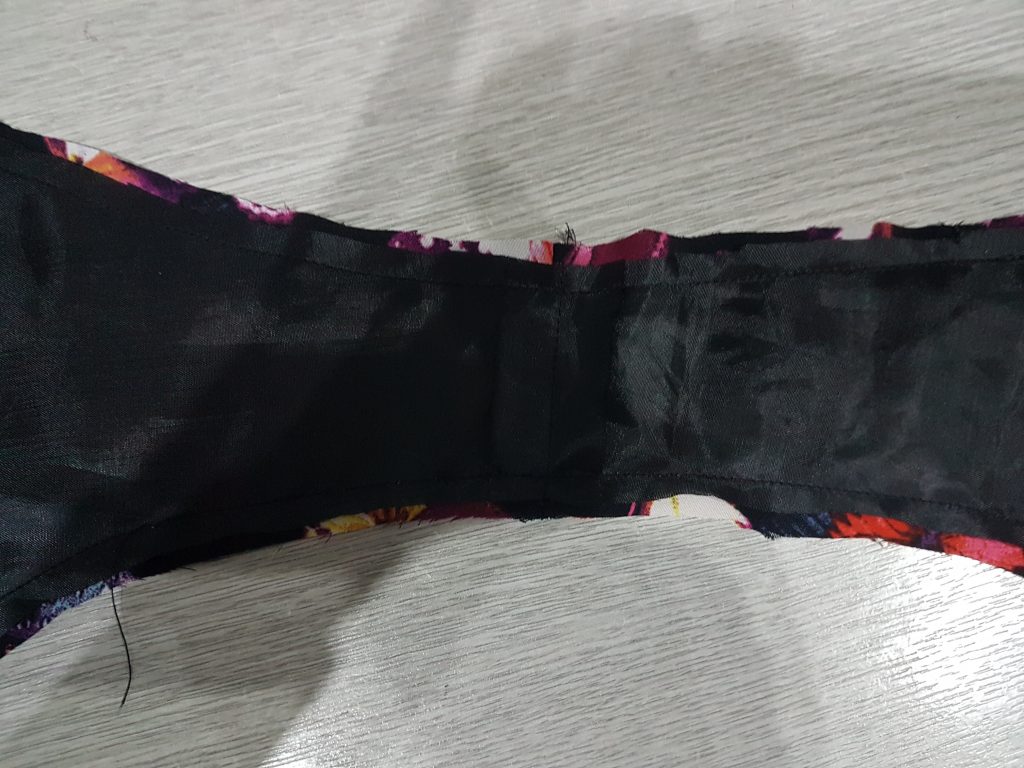
Zip time – yay!!! Always a scary time!! Especially with the bulky collar ruffling.. 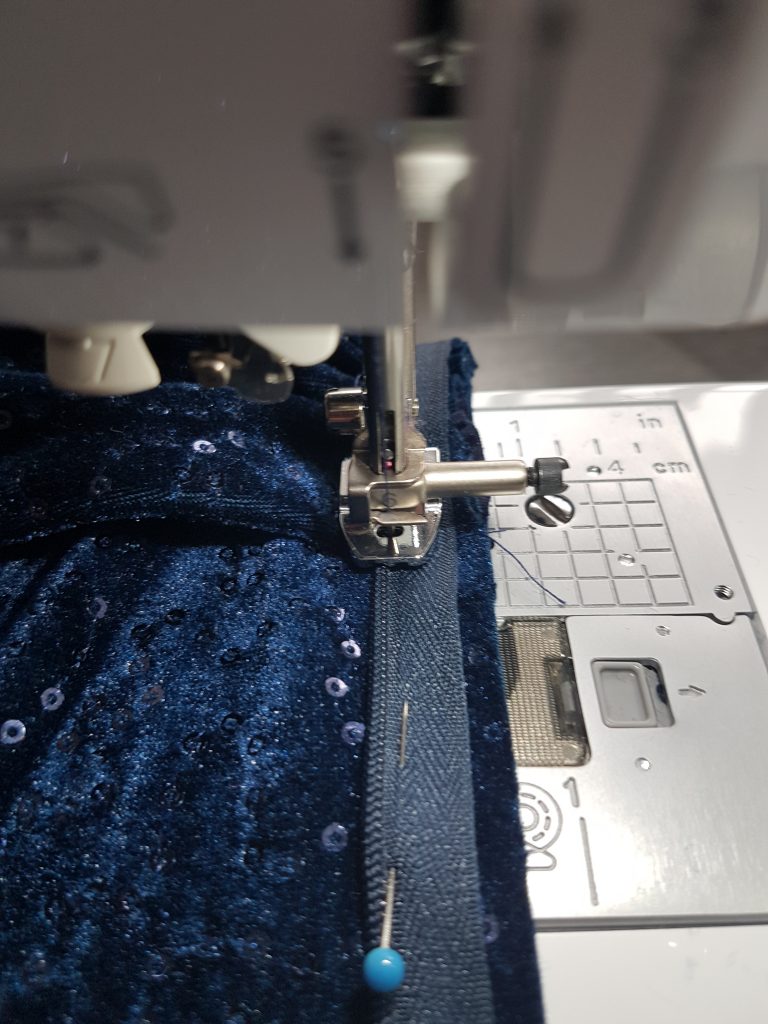
Looking good at this point 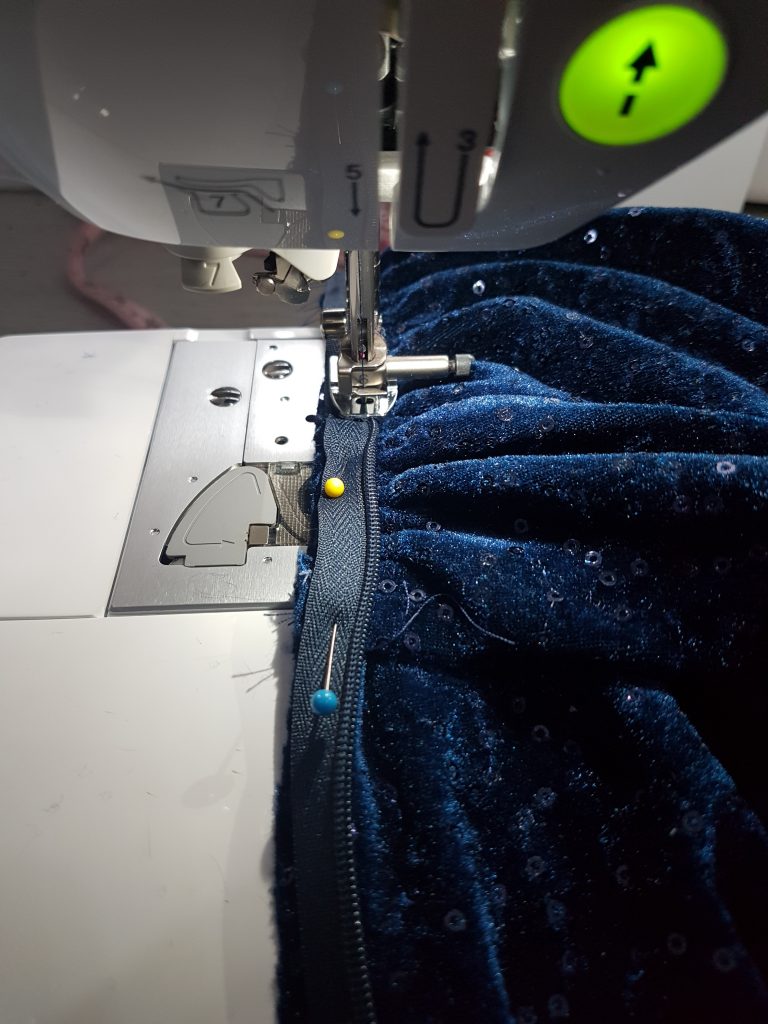
bulky bit on the zip again 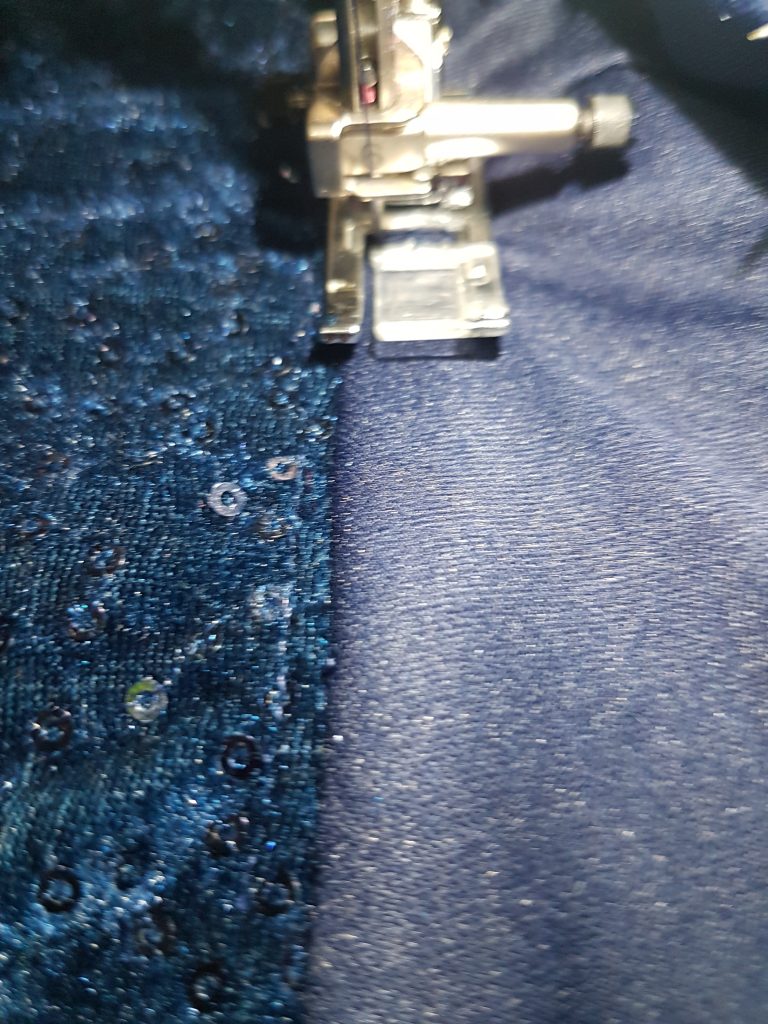
Understitching the lining
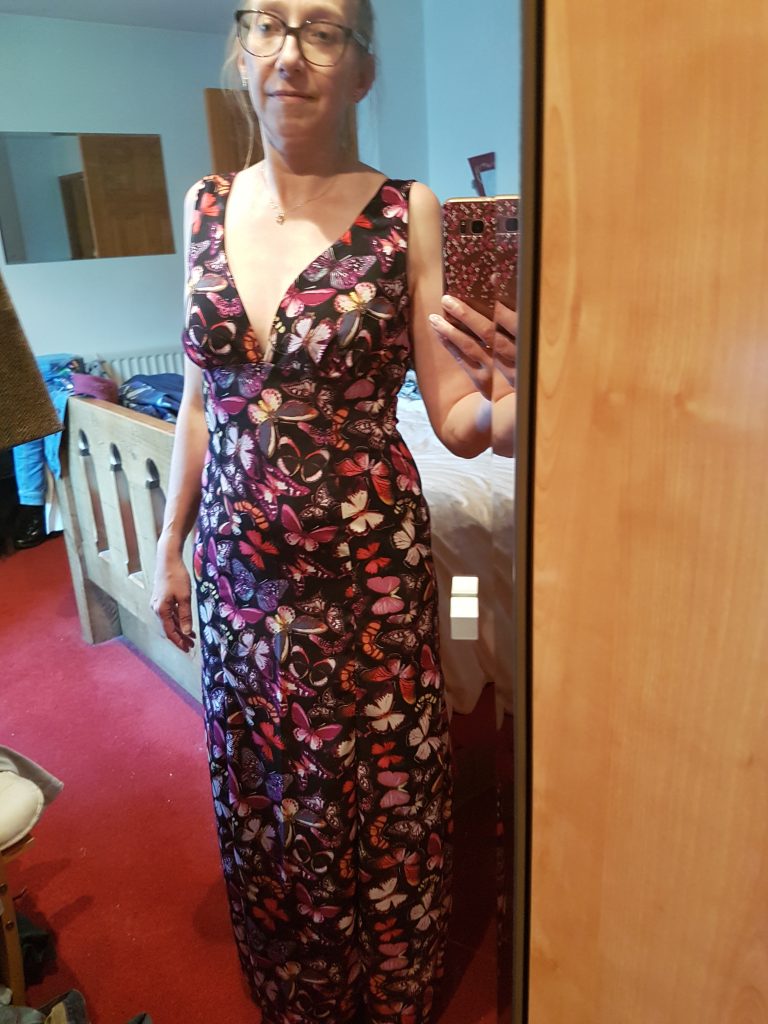
I took some pictures of it on then.. pre sleeves
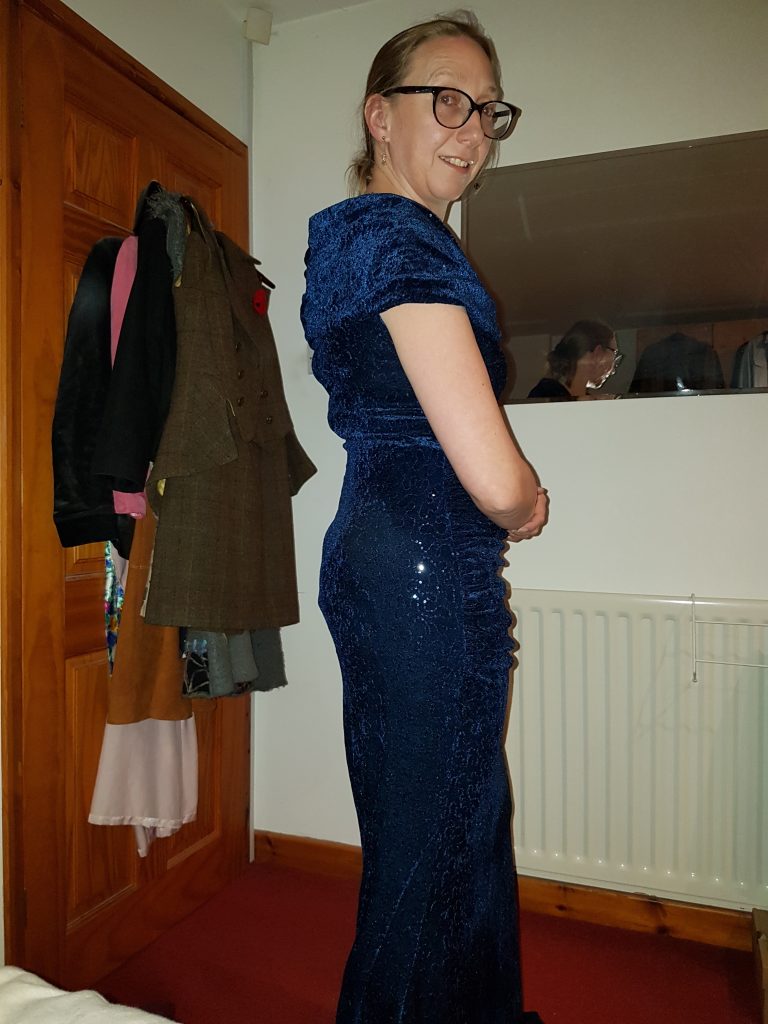
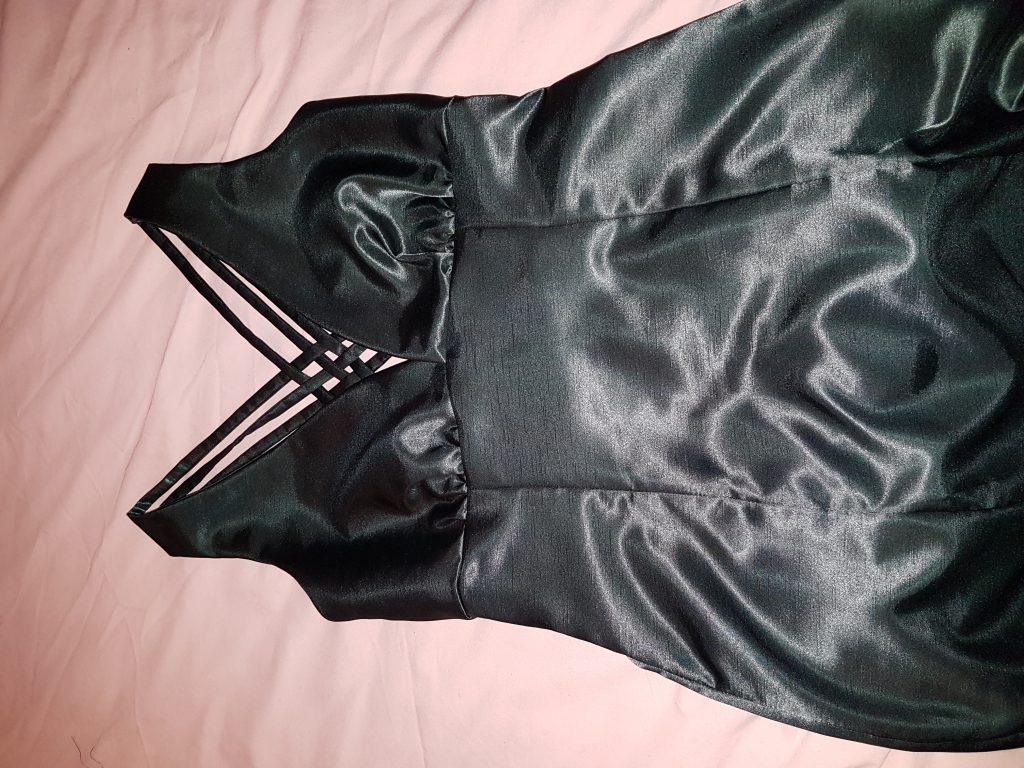
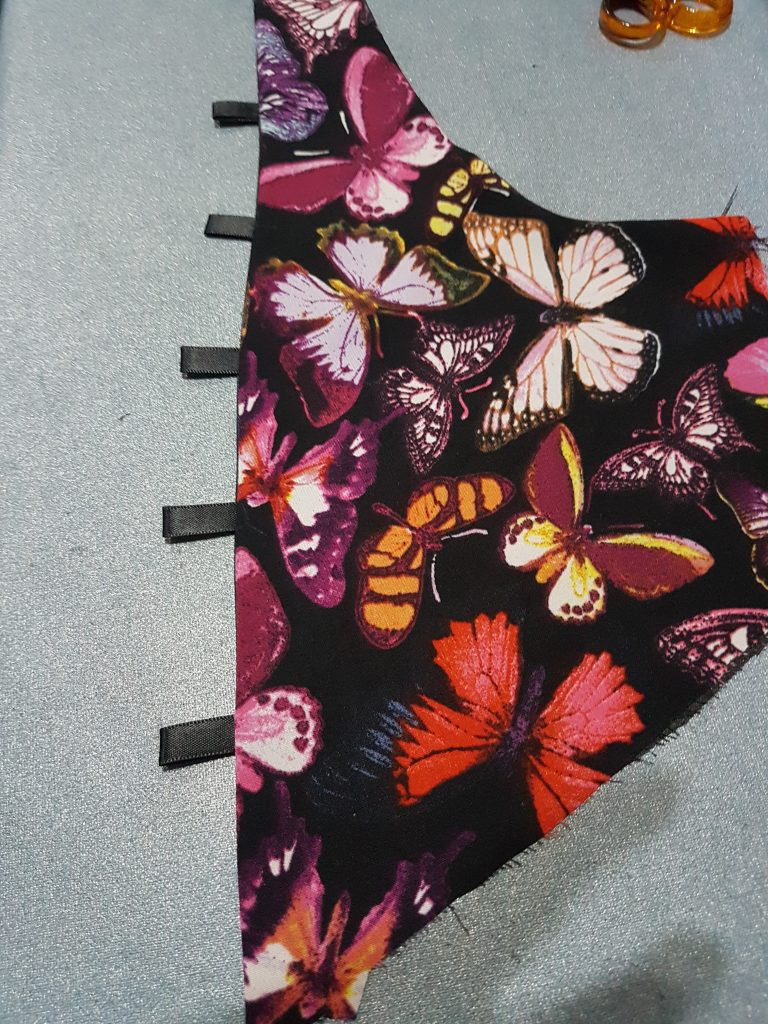
I think I could have left it sleeveless! I made the bias binding from the normal lining fabric, which was just to cover the sleeve armhole seams, but in the end just couldn’t get it right (it seemed too narrow), so just overlocked them!
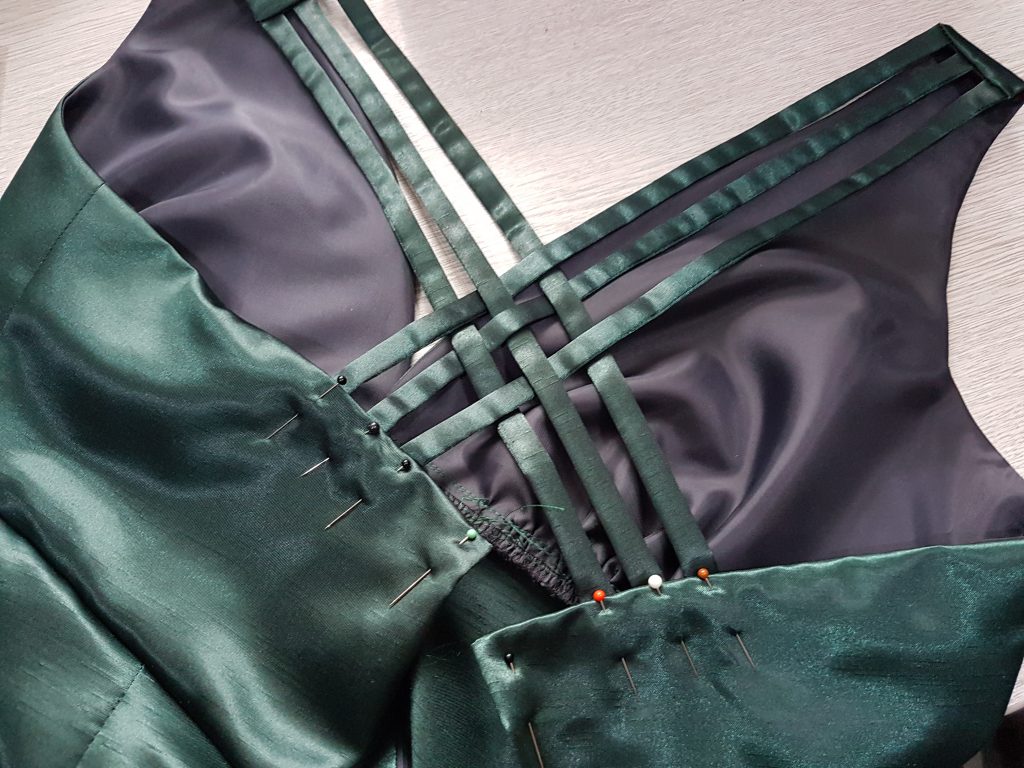
For some reason we ended up with no photos of us at the dinner wearing the dress. I had put a loop and a matching fabric covered button in the back seam so I could hook the train part up – which I did so I could dance the night away 🙂
I can’t wait for the chance to wear this again.


 Users Today : 103
 This Month : 1431
 This Year : 11903
 Total Users : 186131
Recent Comments