

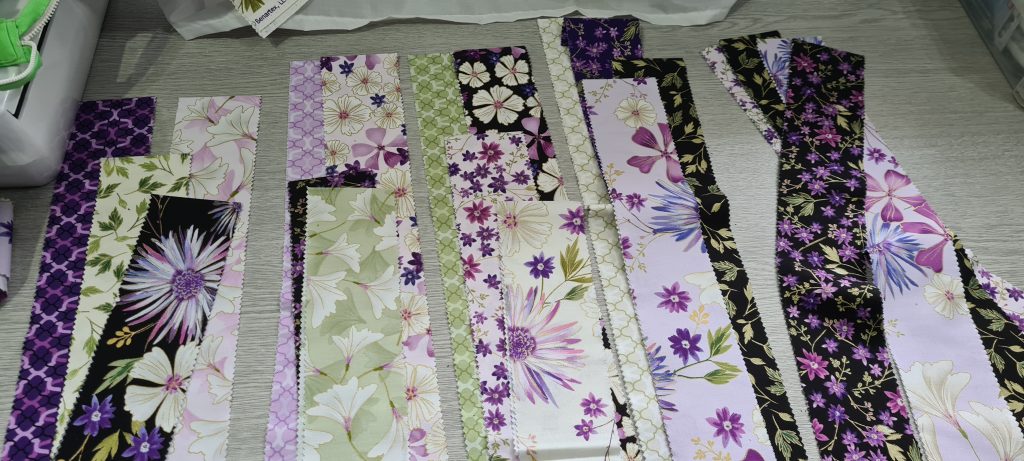
I bought this jelly roll when I bought the fat quarters for the 3D patchwork. I liked the colours in it, but it wasn’t enough to do the 3D patchwork I wanted to do at the time. I finally got round to doing something with this, as I need to practise the quilting part of the process to finish the 3D one off! This didn’t actually come in a ‘roll’, but has the usual 40 strips each 2.5″ wide by 44″ long. This had 16 different fabrics, 8 with3 of each, and 8 with 2 of each.
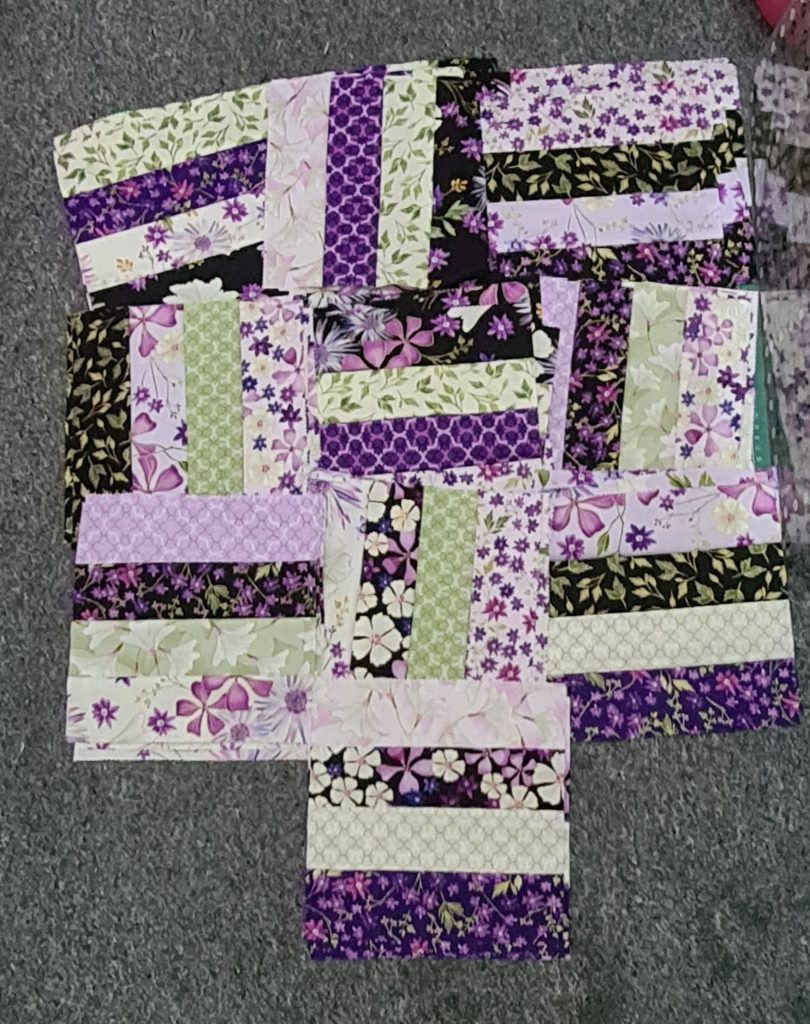
I opted to just do 4 stripe squares. So I grouped them into sets of 4. The 4 strips are then sewn along the full length. These strips then cut into 8.5″ squares.
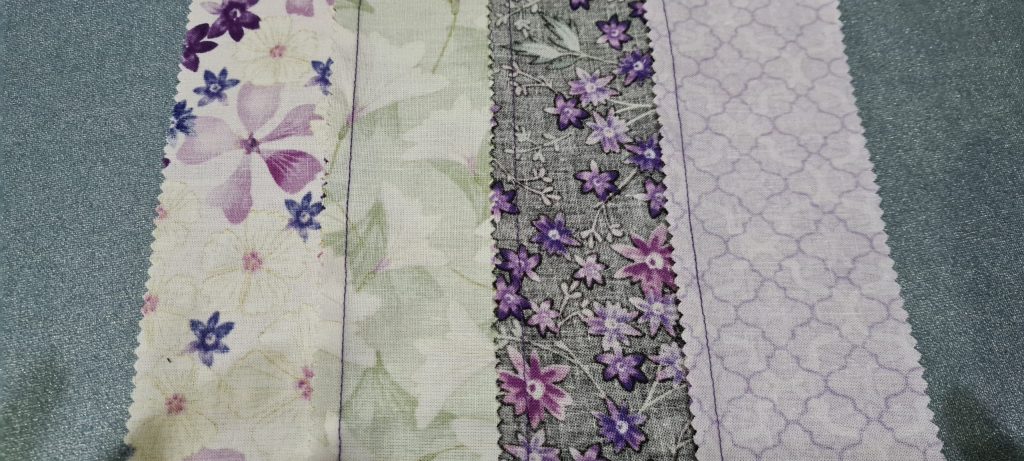
Sorted into groups of 4

Sewn with 1/4″ seams using 1/4″ quilting foot

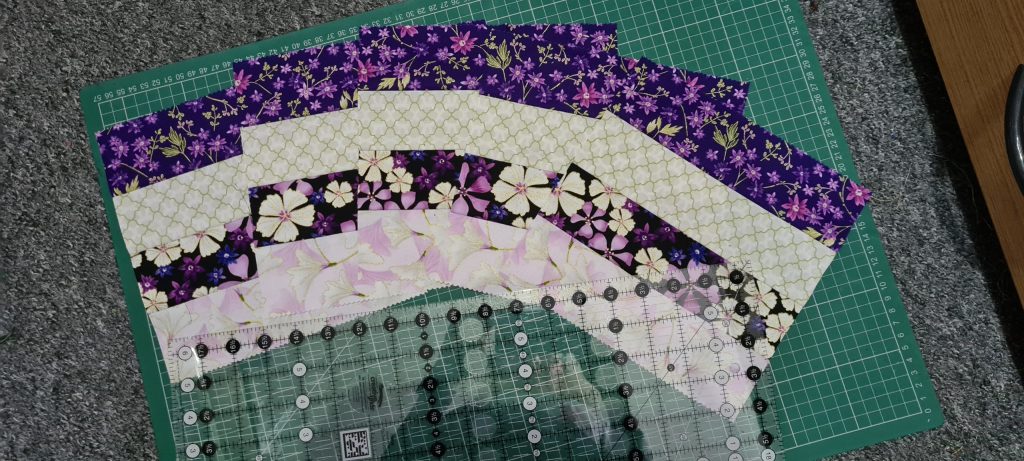
finished strips – 10 of them.

Cutting into squares:

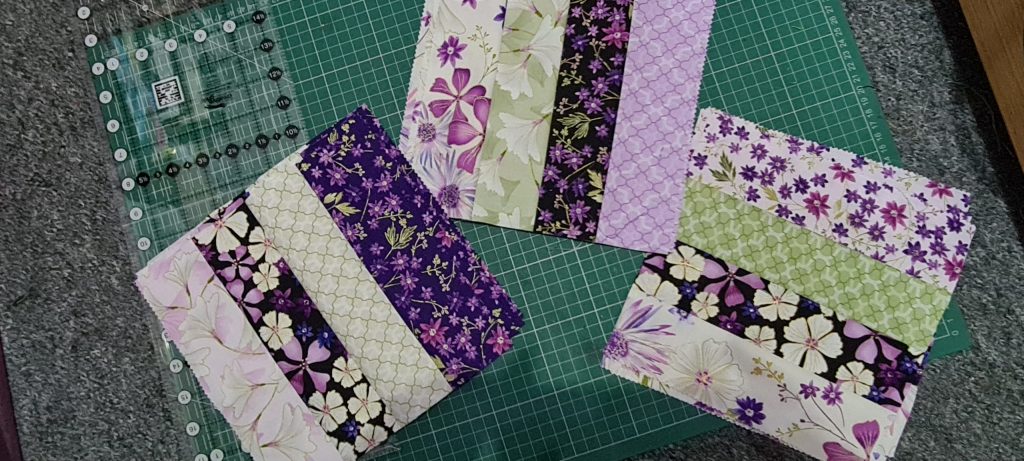
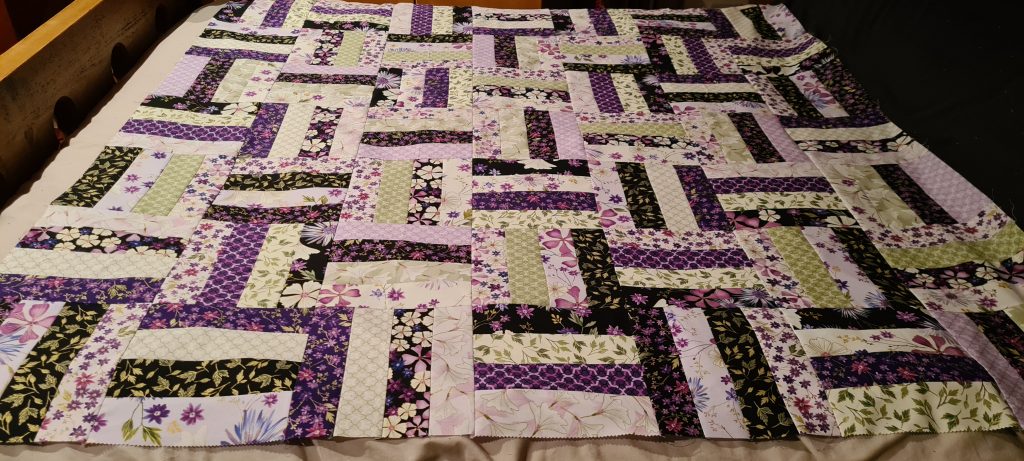
50 squares:
Then sewn into 7 strips of 7 – playing about with positioning:

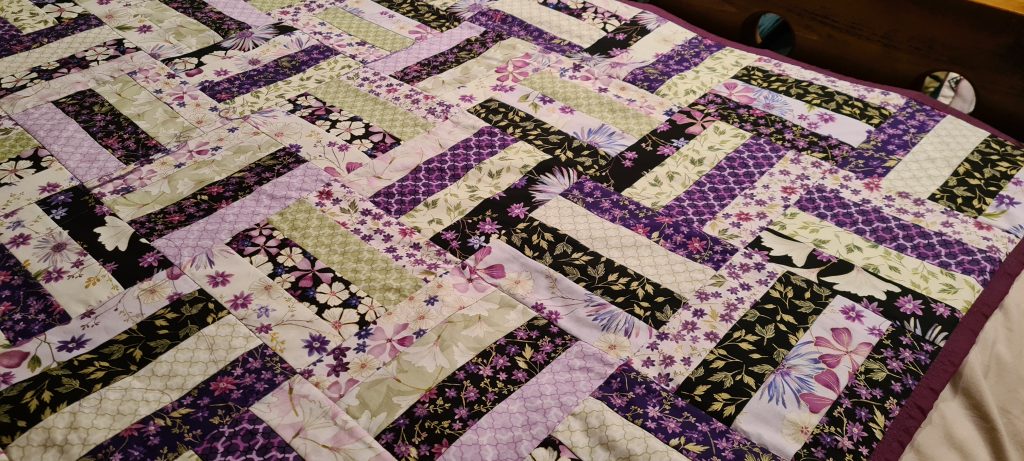
and finished patchwork:
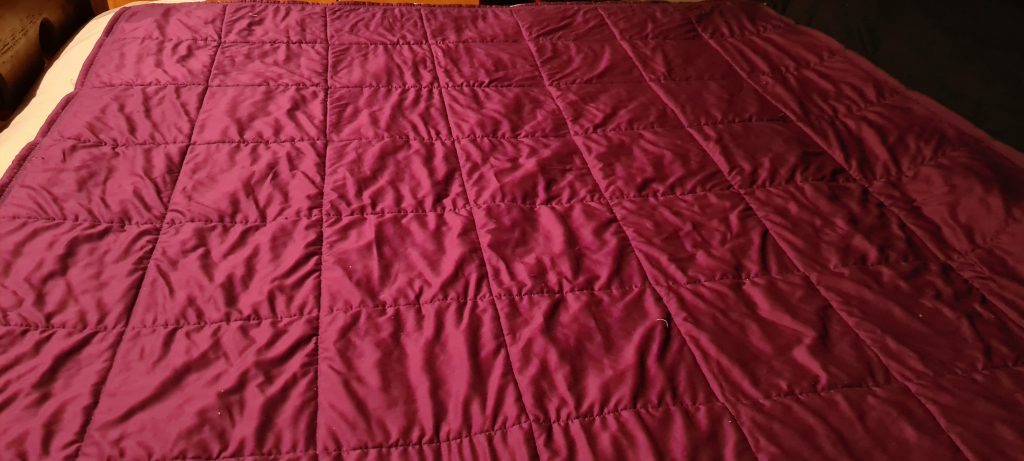
I bought a sheet for the backing of the quilt and used the wadding I originally bought for the 3D quilt which I haven’t dared finish (hence this practise) [Hobbs Heirloom Premium cotton batting]. I laid out the sheet (right side down), then the wadding, and then the patchwork on top, on the dining room table. I tried to straighten and smooth out all layers, but after pinning with quilting safety pins, the backing still looked rippled in places. I unpinned most of it and called in engineering to help!! Husband brought clamps out to clamp down the backing sheet to keep it flat! I then only pinned down either side of the middle in both directions vertically and horizontally, and around the edges. Decision was to just stitch in the ditch for the middle seams and then see how it looked. I am not sure how other quilters deal with this, but I found it quite hard to deal with the volume of fabrics (and my 3D one is bigger), and keep the layers in place and smooth. I also found that the tension and stitch length was fine on a test piece of fabric, but that, even with a walking foot, the whole quilt didn’t seem to be feeding through quite as smoothly, and the stitch lengths are tiny. I am doing the classic roll it up to fit through the machine, and have added the embroidery table extension.


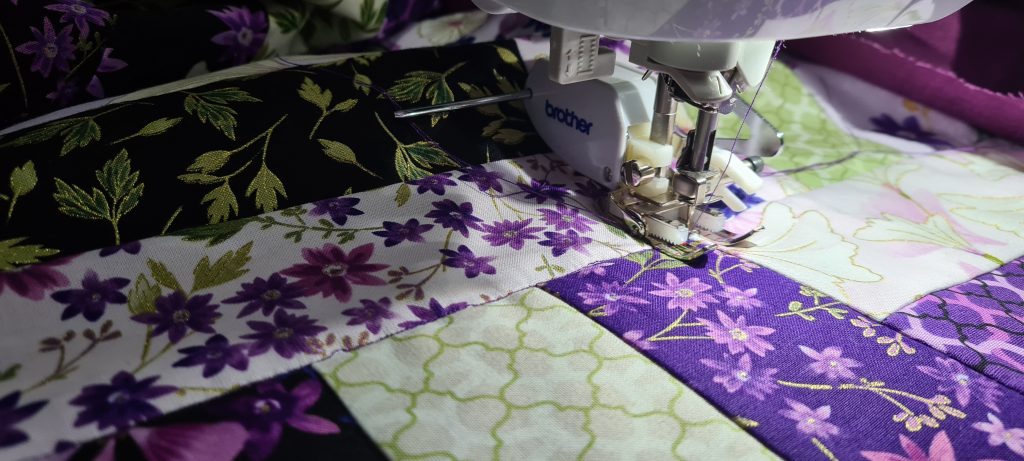
I have now done most of the major ditch channels, and am not 100% happy with the backing – it has still rippled. I will persevere a bit more tonight and then either do some fancy quilting in some individual rectangles, or just try and complete the binding. I am going to do a turned edge binding and fold over the excess backing fabric to the front.
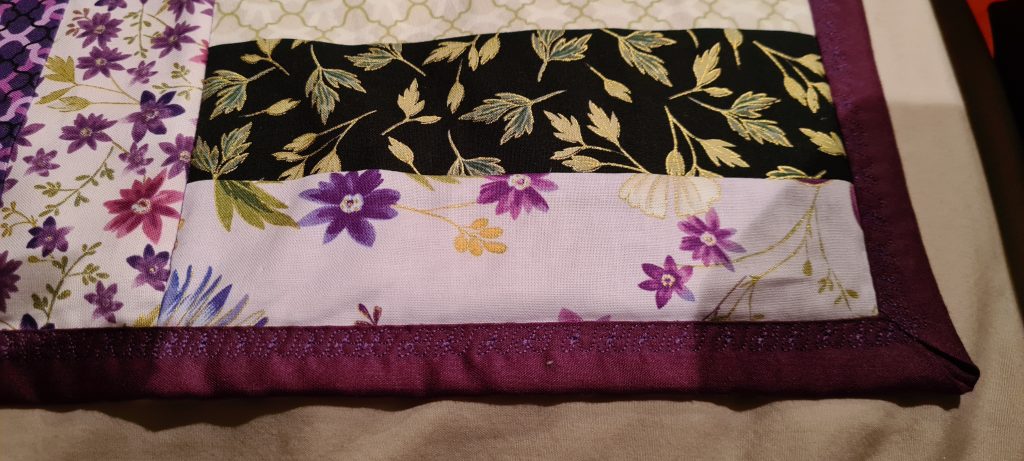
First trimming the wadding to the size of the quilt, and then trimming the backing to 1.5″ round to fold over the front:
I ironed the backing and pinned all the way round, and decided to use one of the fancy stitches on the machine to top stitch it. My Brother Innovis f420 has loads of fancy stitches which I have actually never used, so great to finally use one! However, with the bulk of the quilt, it hasn’t actually fed evenly through all the way round, so some of the patterns are longer than others. No-one will be getting that close to look, so I could have kept quiet!!
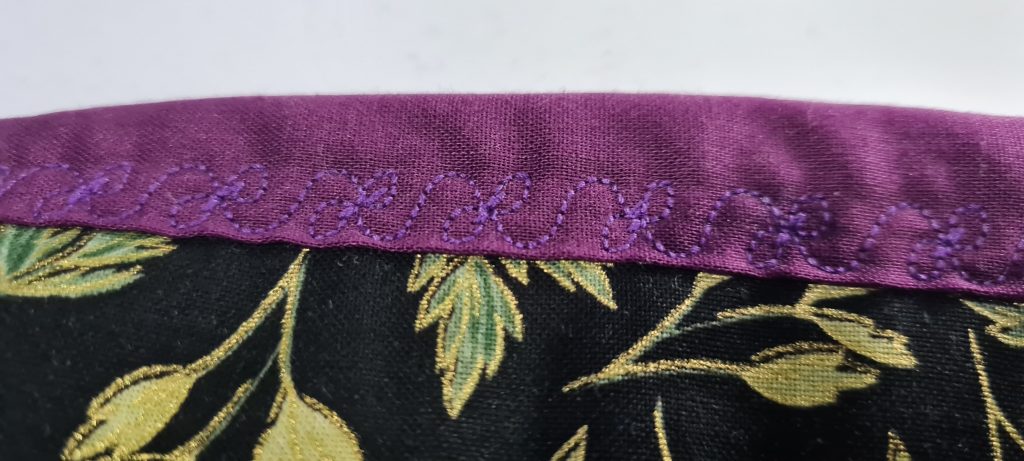

And the finished item, front, back and corners!

Next task is to make some matching bolster pillows.. I have managed to find another set of the same jelly roll (or strip pie – as it didn’t come in a roll), so that is next on the list 🙂
1 comment
Lovely – well done. Your descriptions are really good, they’re making me want to shop for jelly rolls.