
After trying free-motion quilting with Ella, I decided to try the stencil approach to get a regular pattern in my quilt. I didn’t think I would be able to do this completely freehand, so stencils seemed the way to go. However, having tried this on a small scale, it is going to be a nightmare to do on the full size quilt. With the pattern of my quilting, stich-in-the-ditch also doesn’t seem as though it will work. Hence I haven’t finished it still.
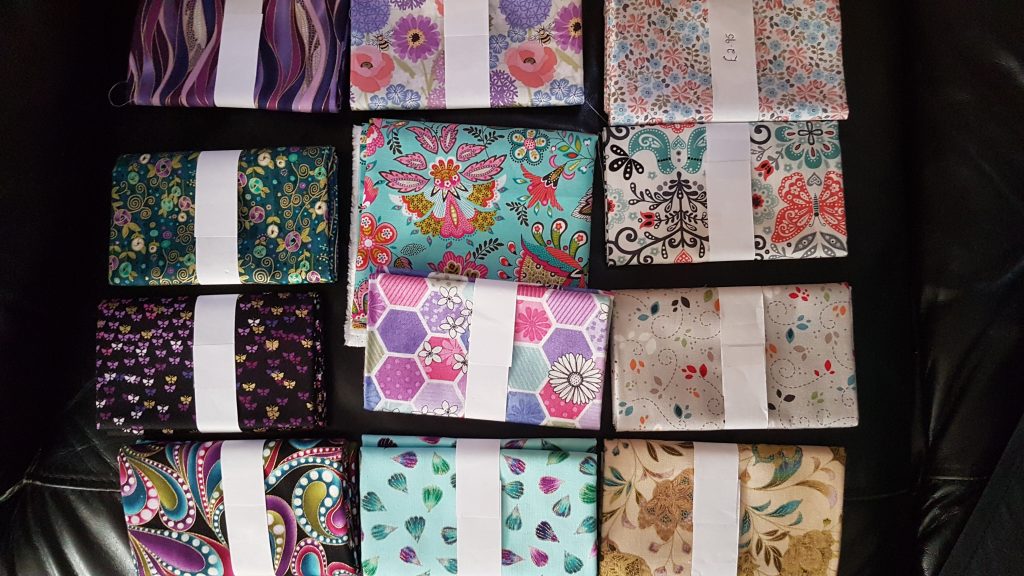
Anyway… here are the stencils I bought:

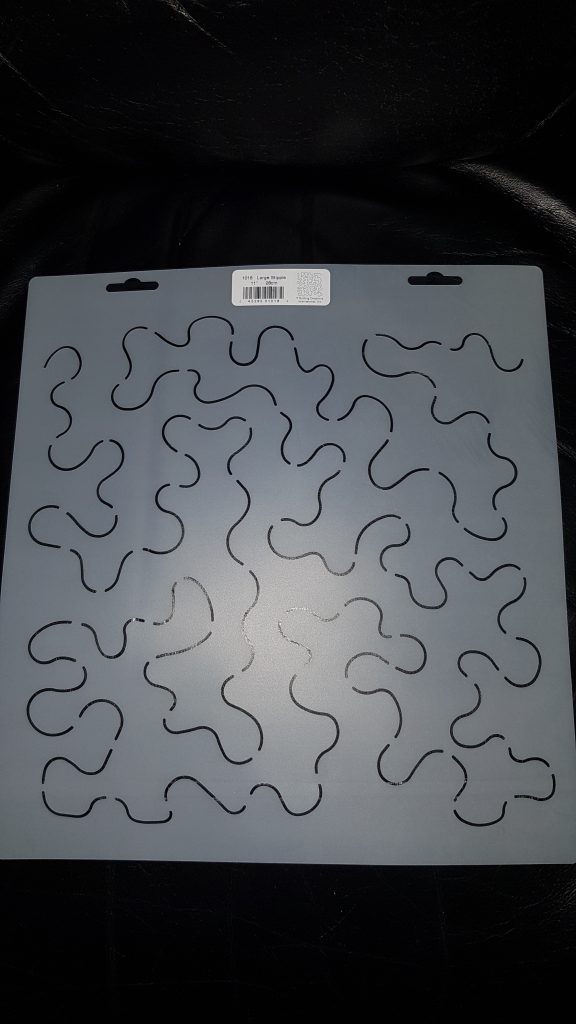
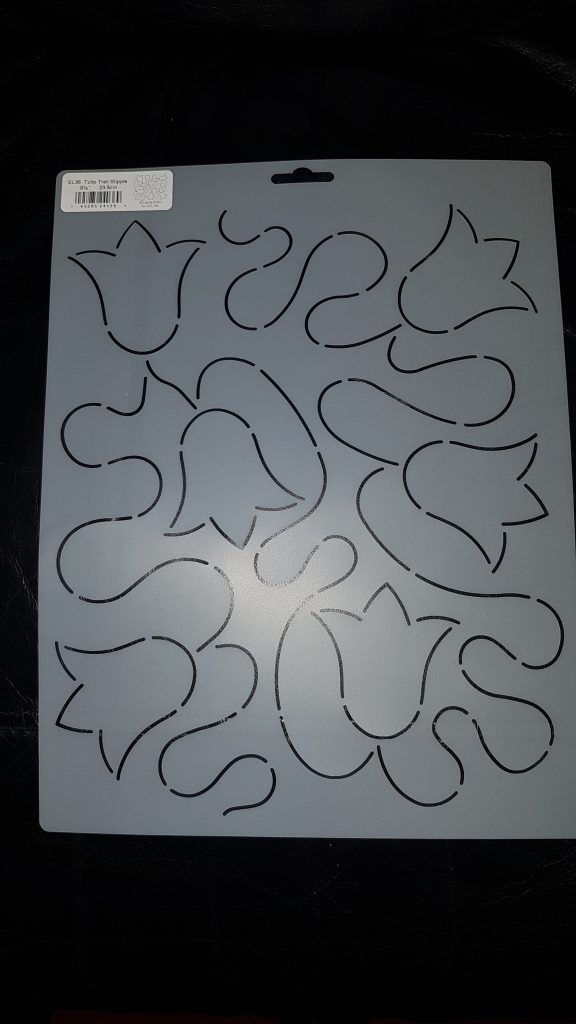
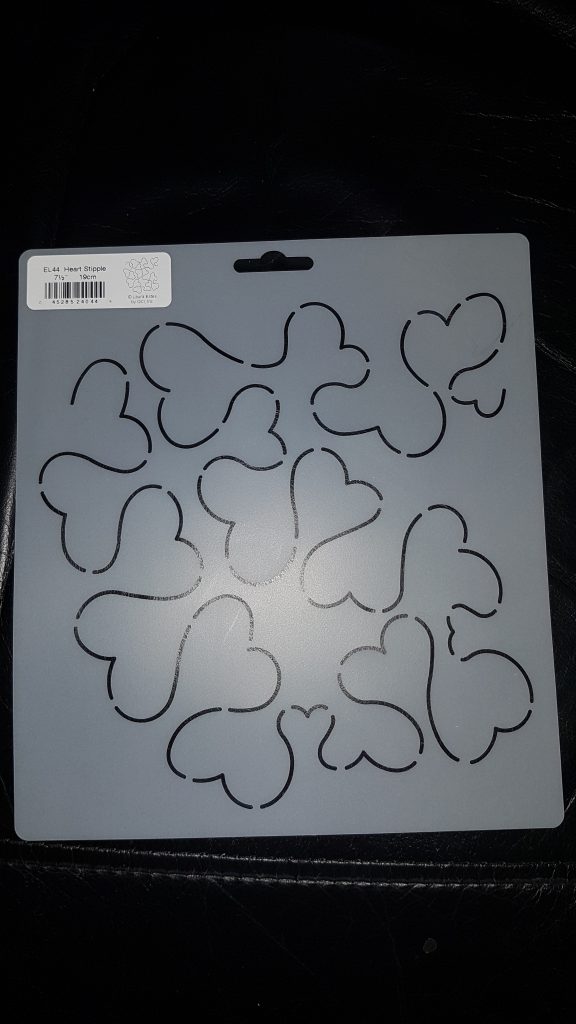
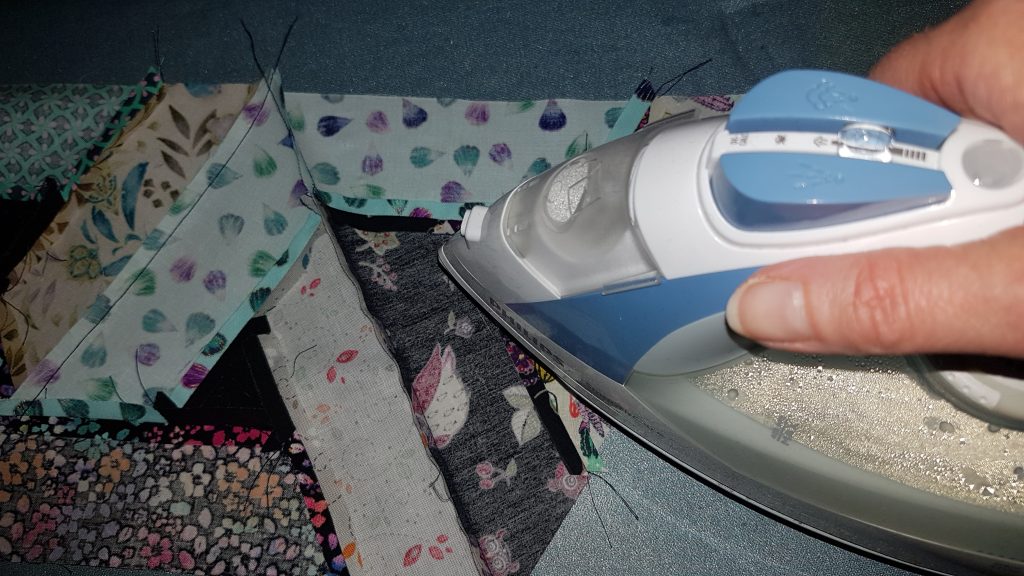
The idea is to copy the pattern onto the fabric with a frixion pen, sew over it, and then ironing will remove the pen – simples.
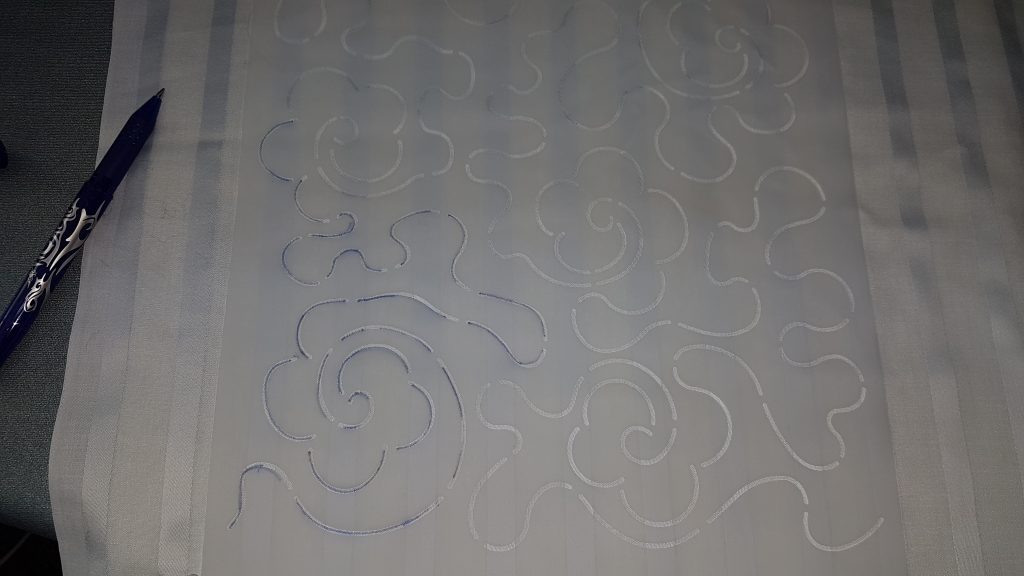
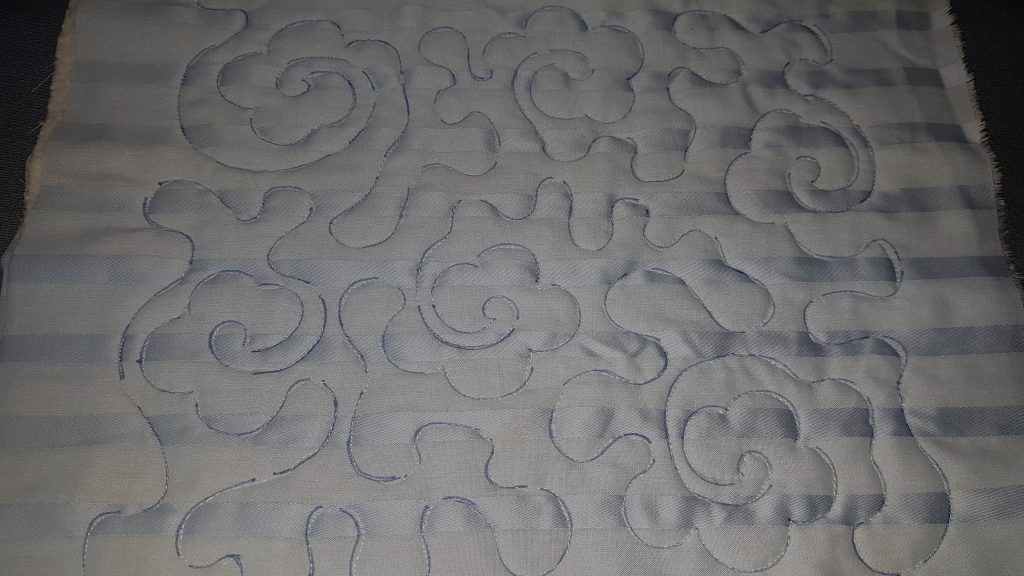
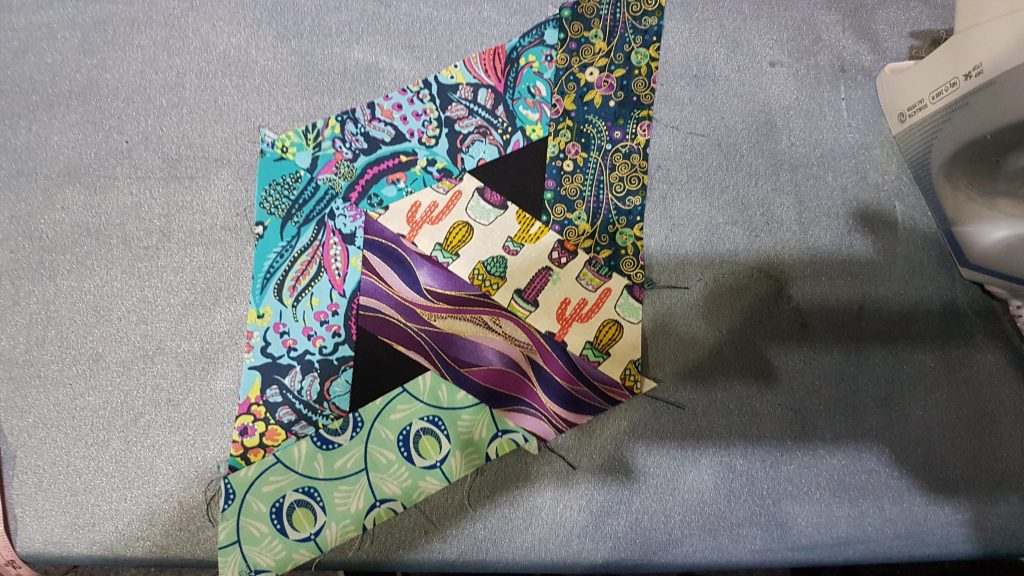
This seemed to be going okay, so I decided to make a small piece of patchwork that I could quilt.
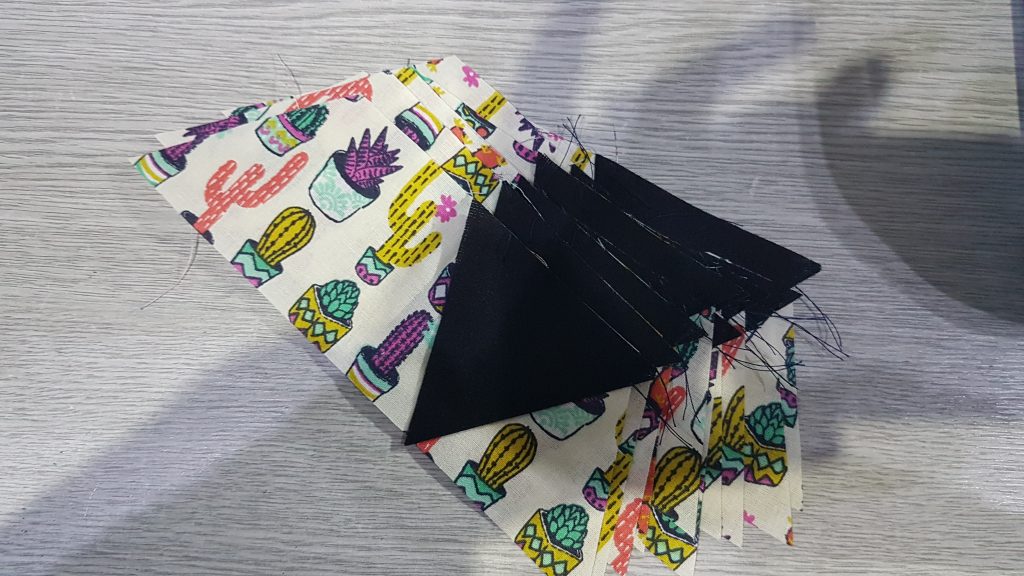
I made the mistake of showing the options to my son, who chose a pattern of teeny tiny squares and half square triangles (HSTs)…
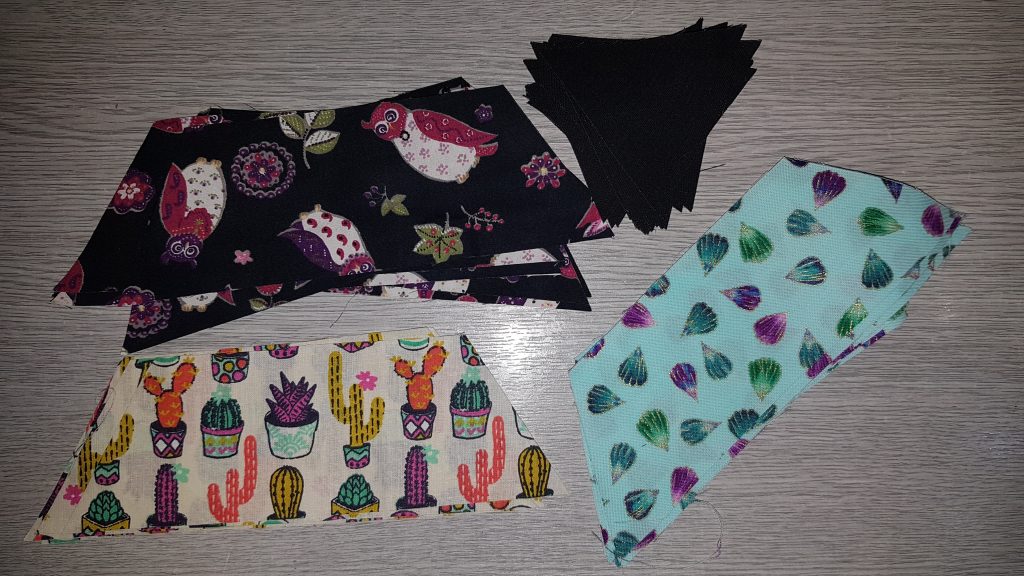
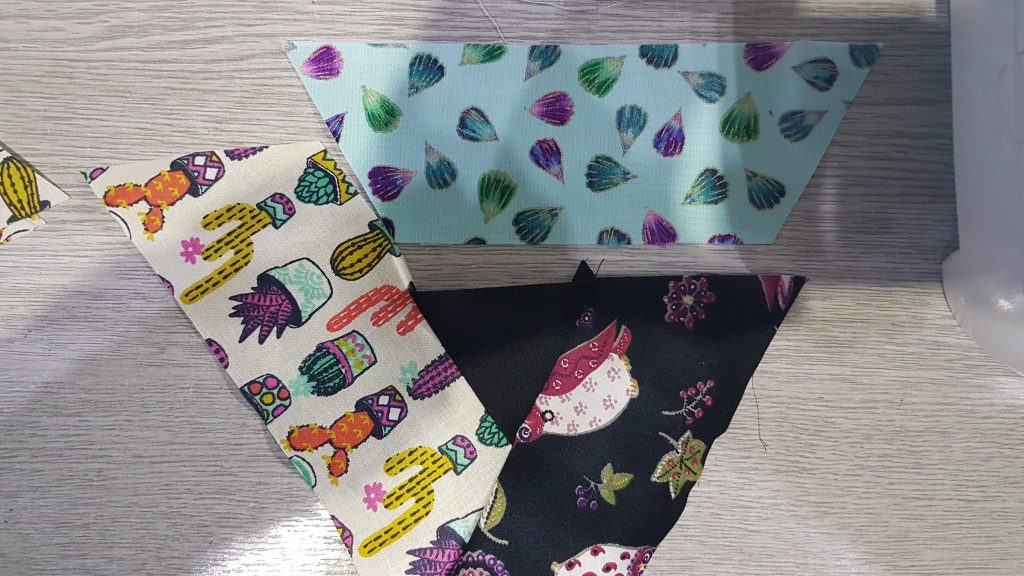
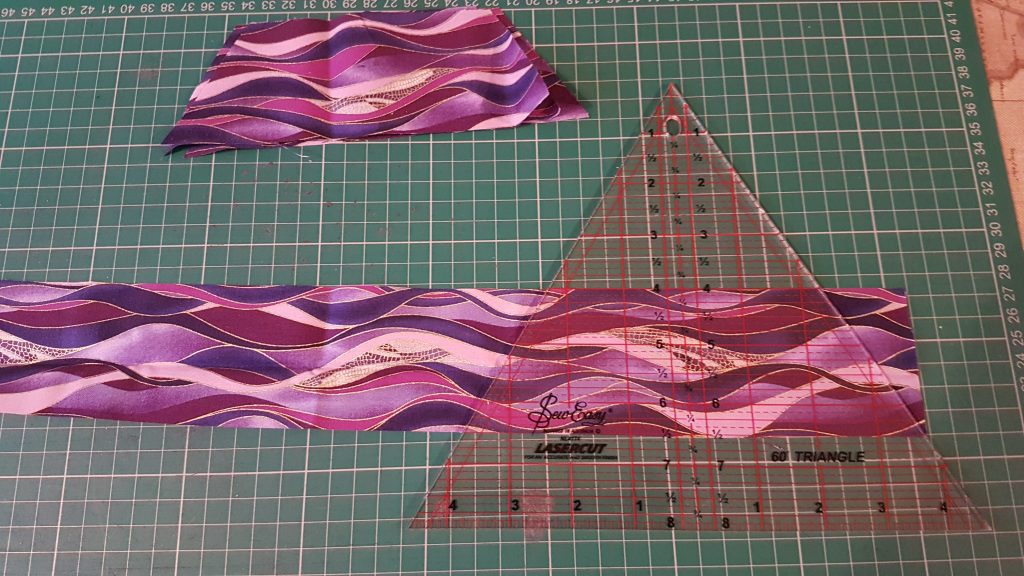
fabrics right side together 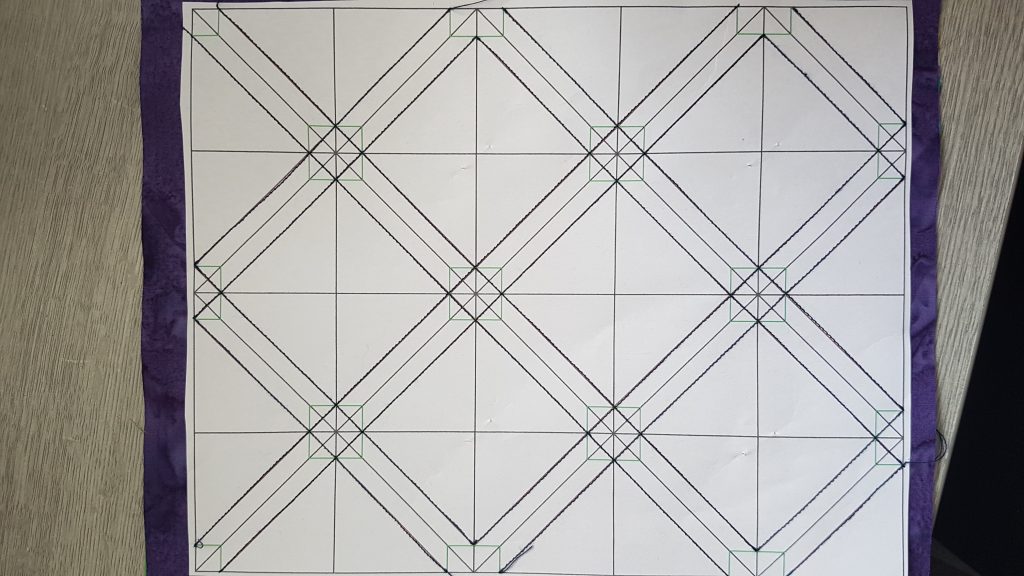
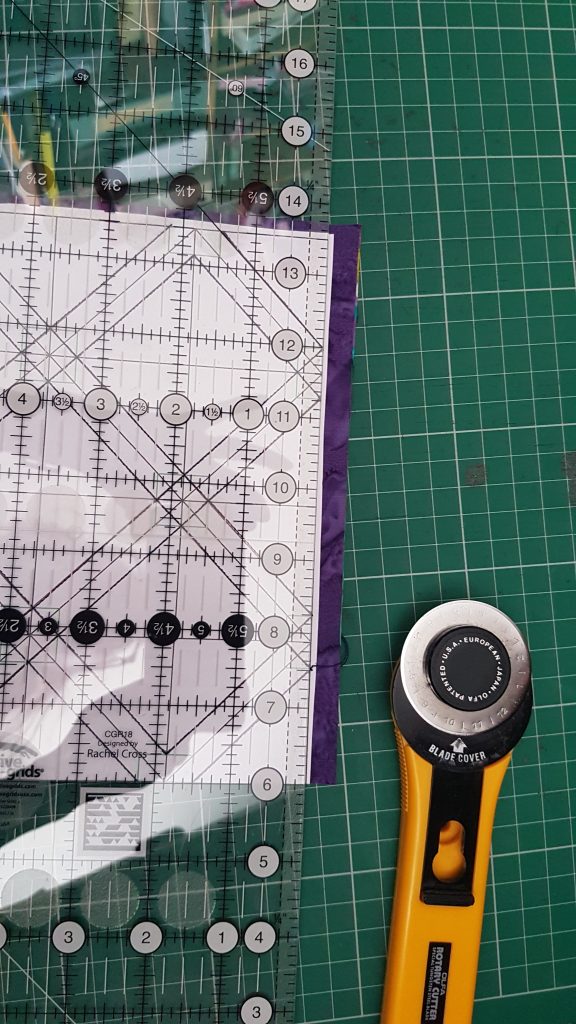
template on top 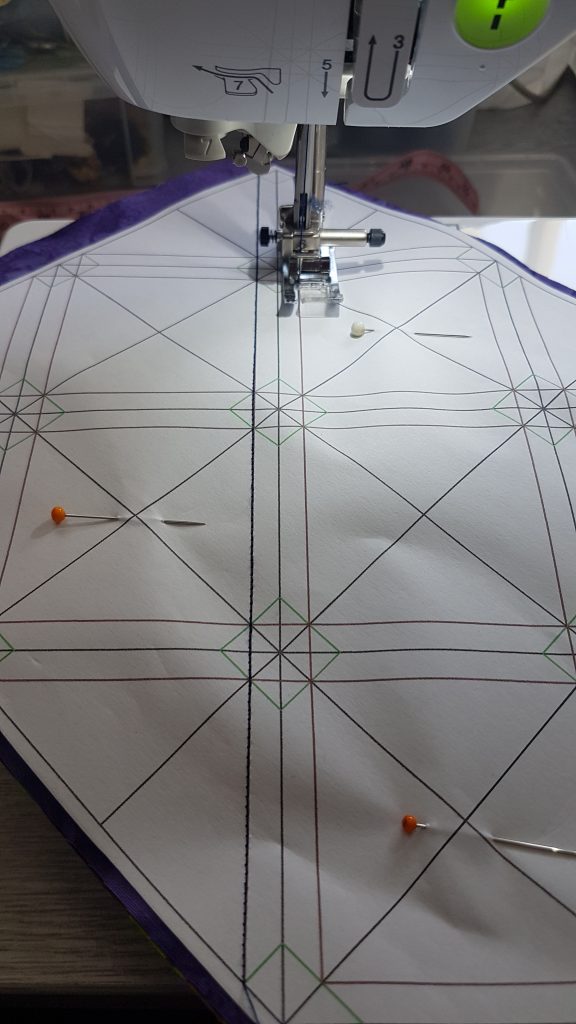
sew along the red lines (original template is colour coded) 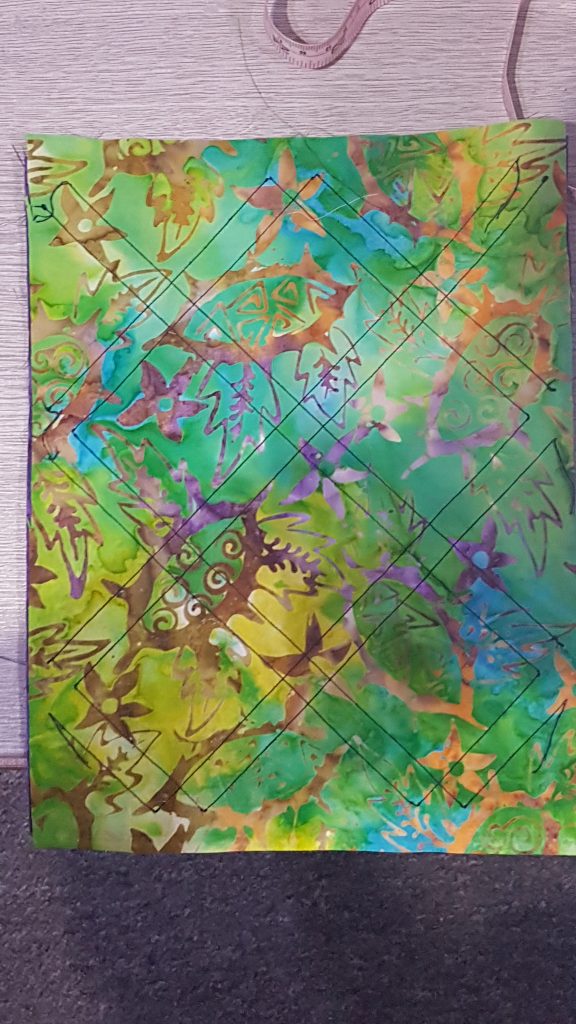
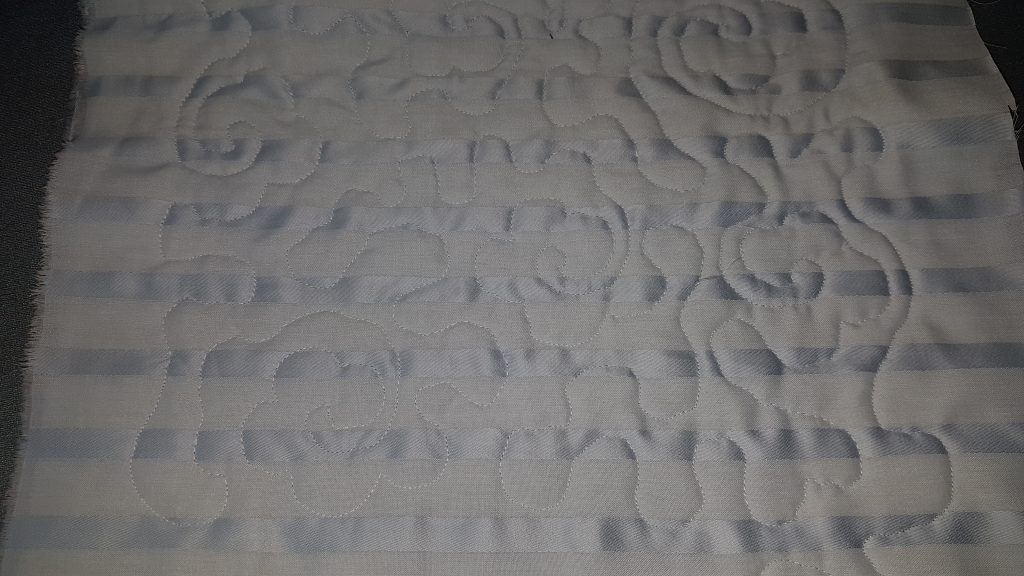
this is what it looks like on the back 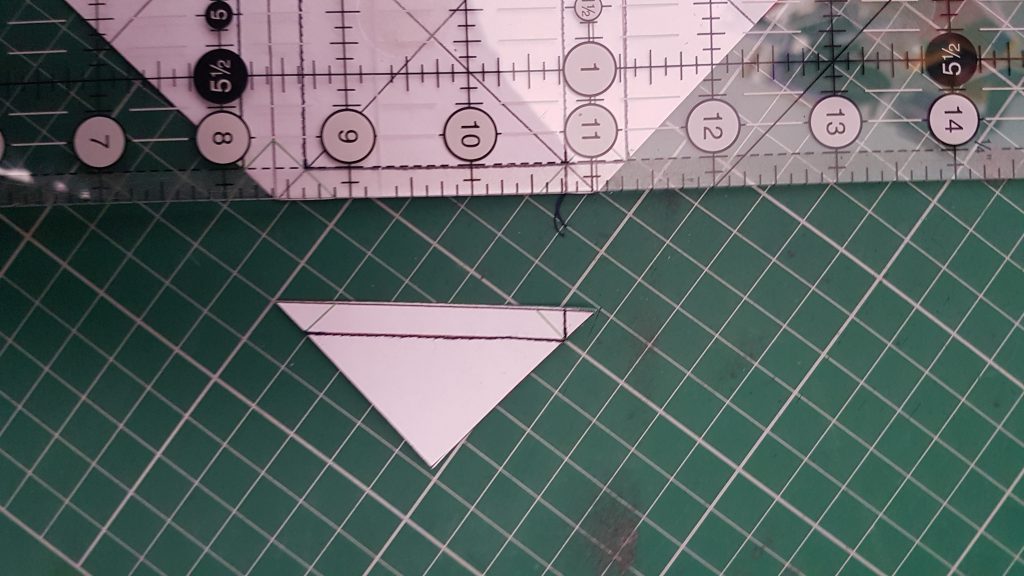
cut along all the black lines
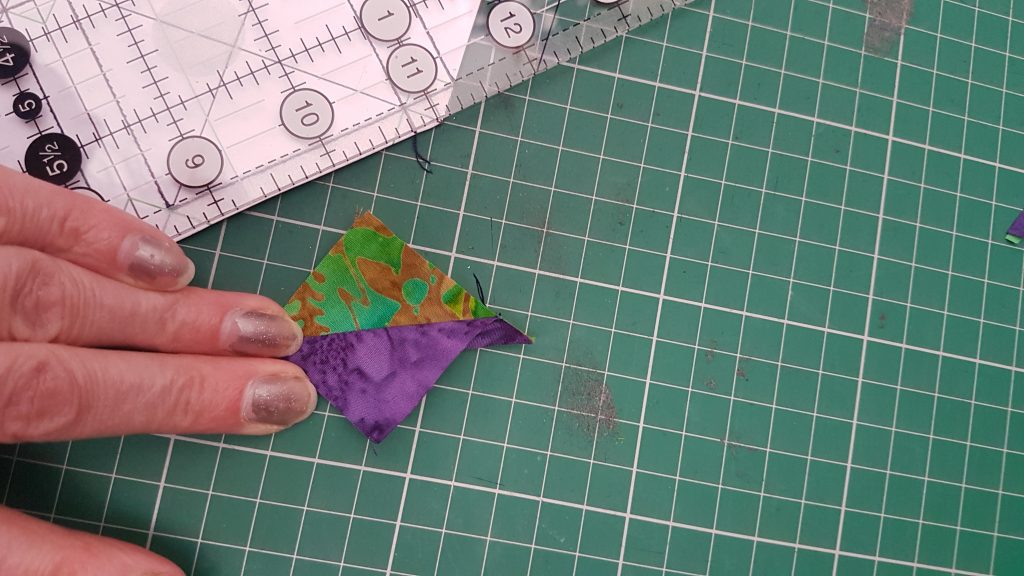
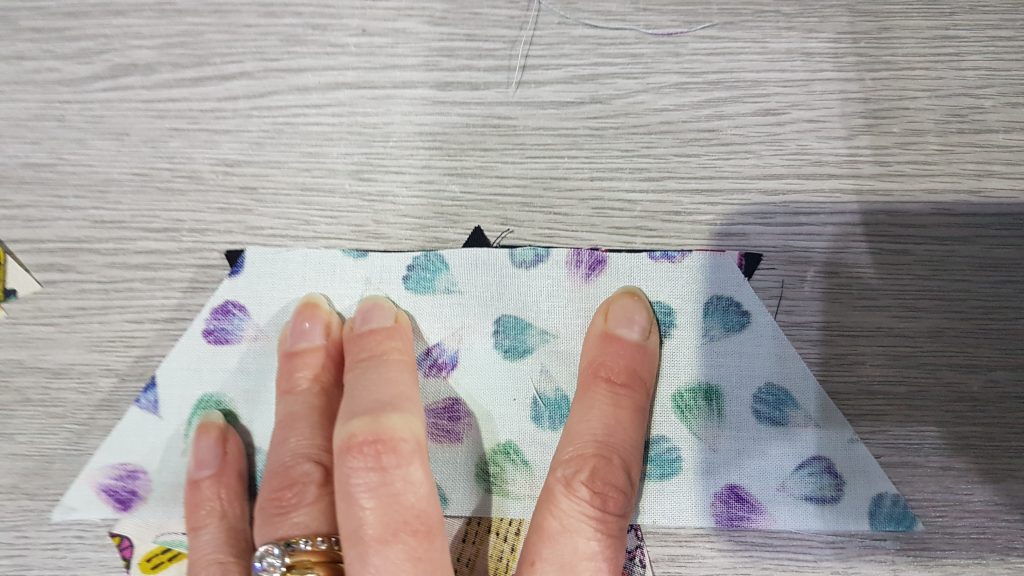
rip off the paper and open out 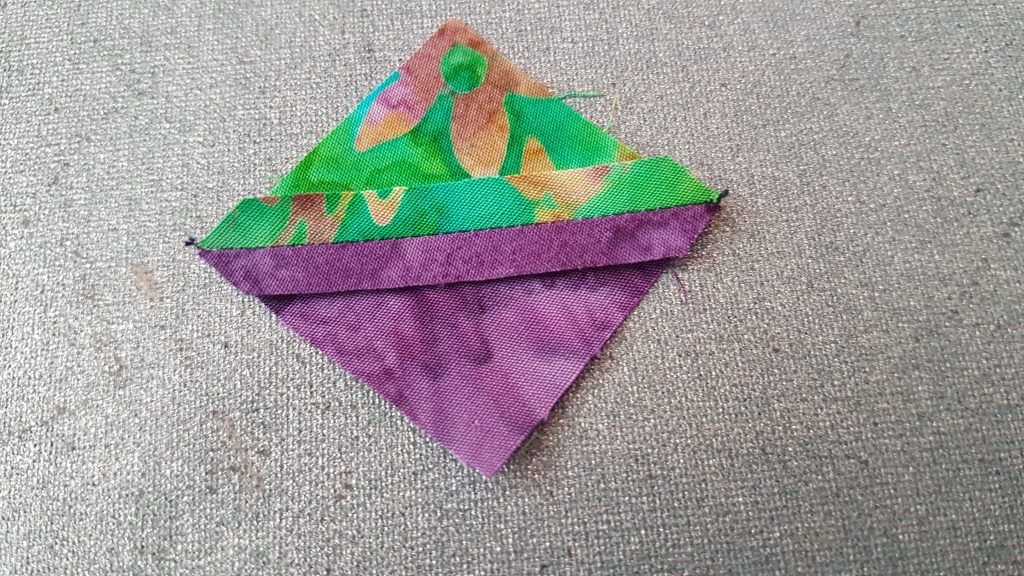
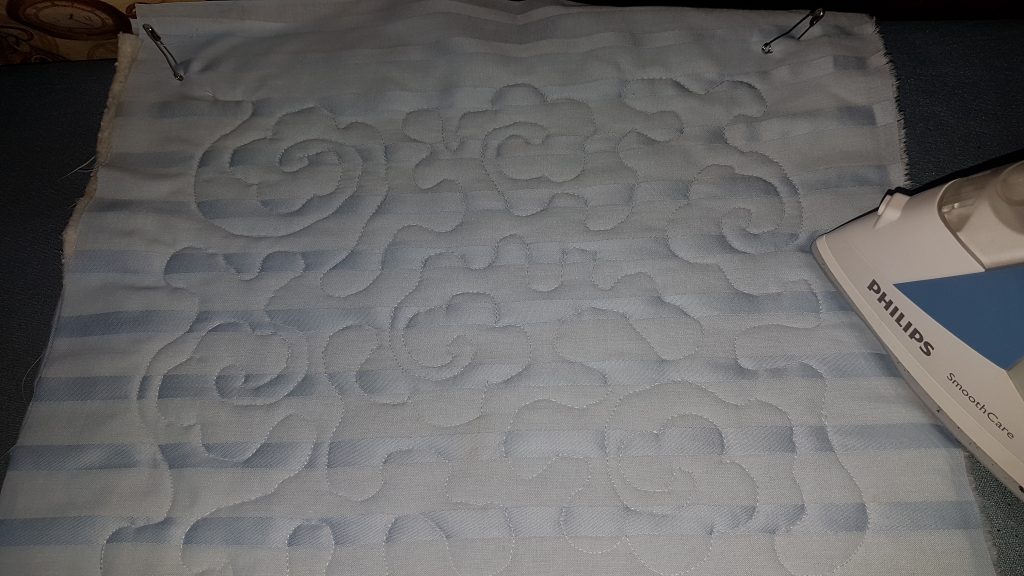
iron 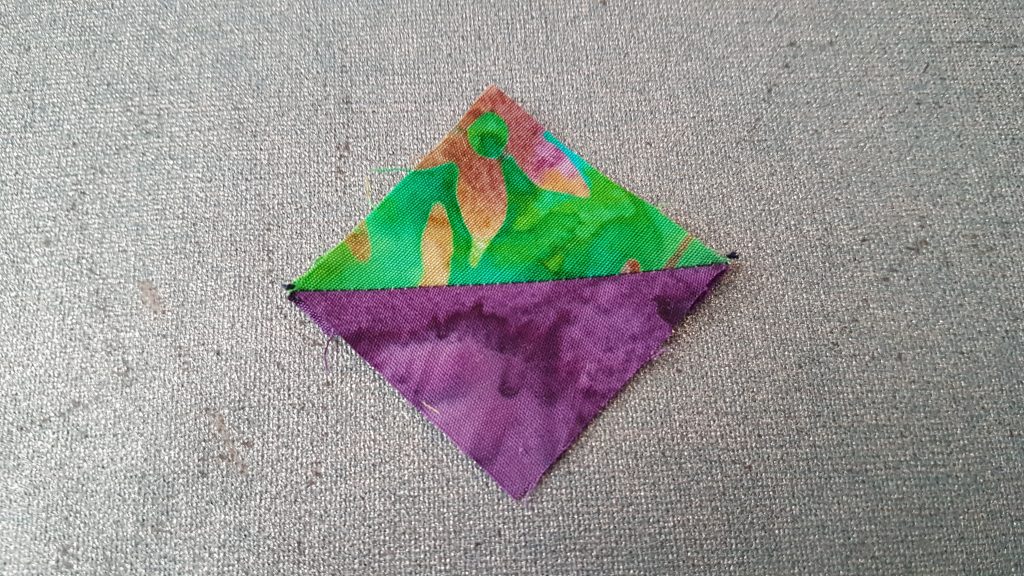
1″ square!
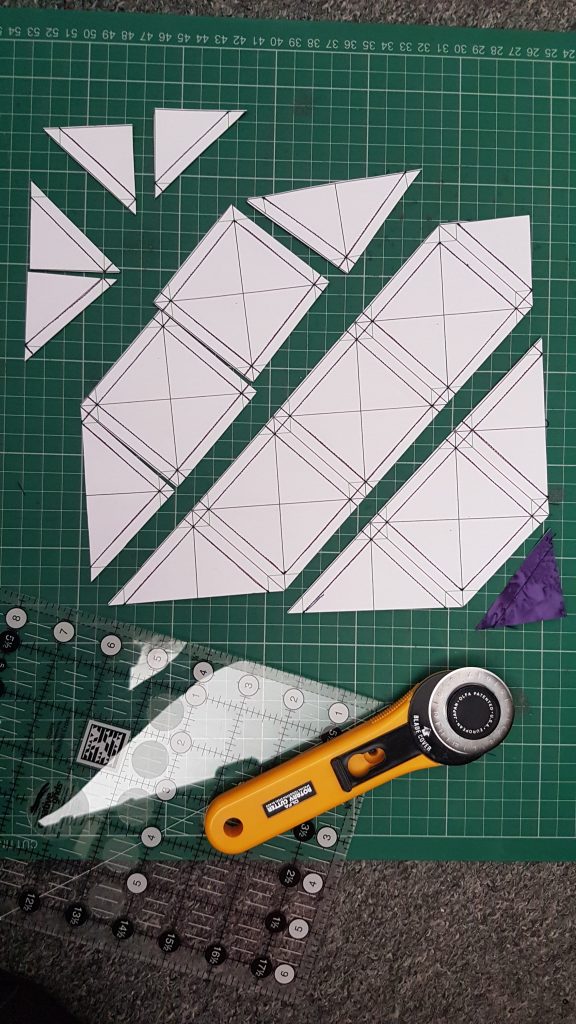
cut along all the lines 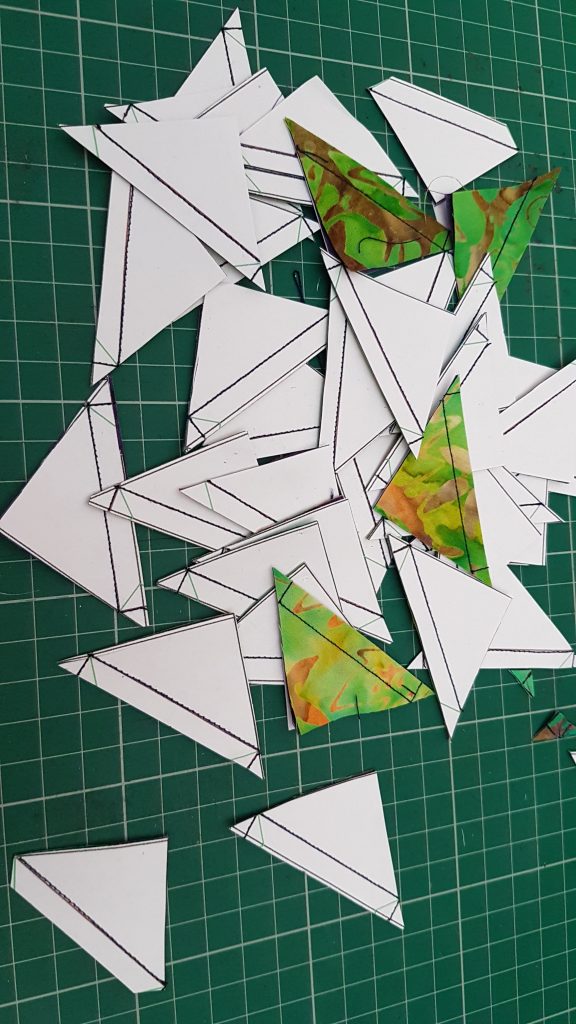
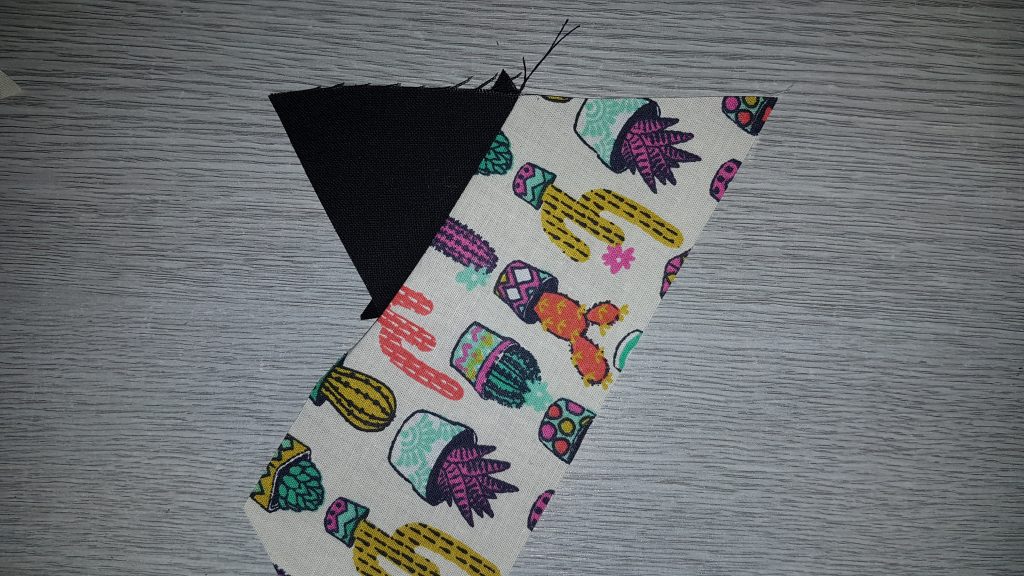
to get lots of triangles 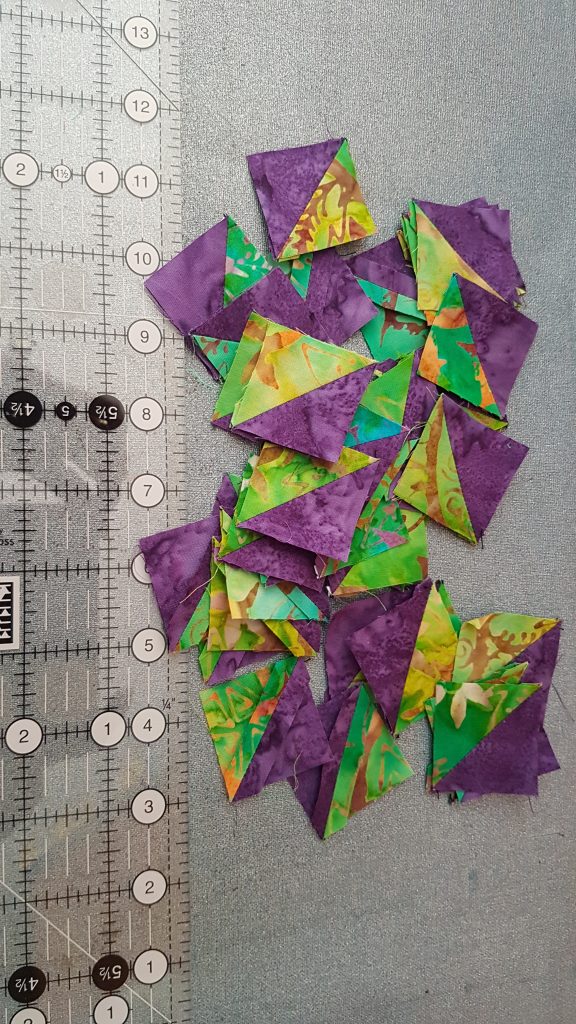
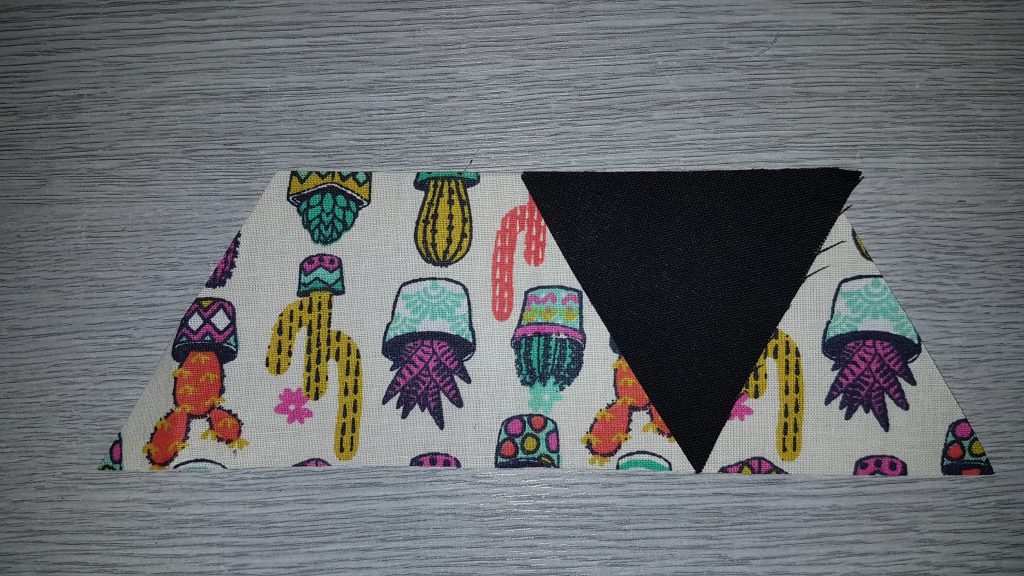
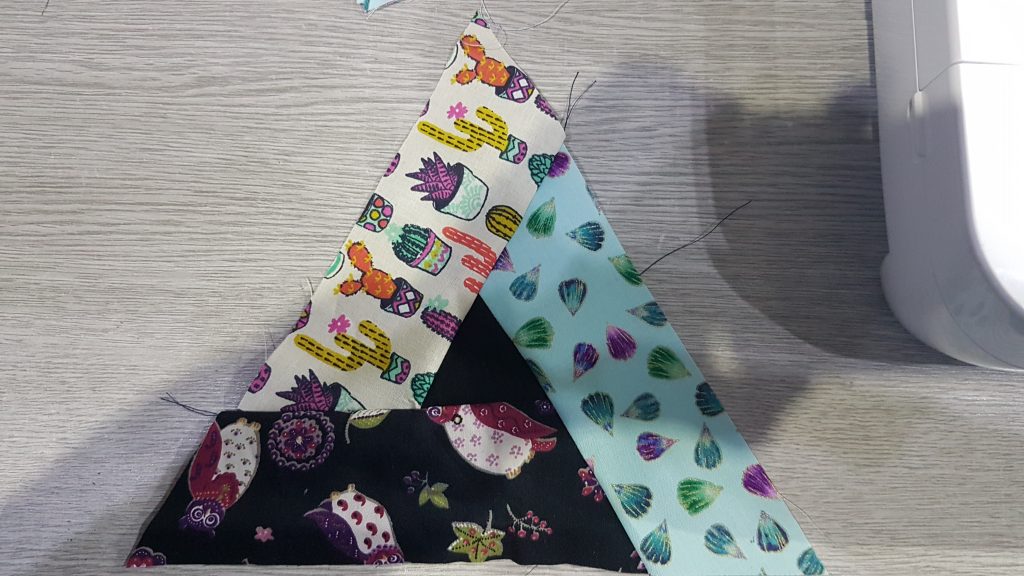
open out and iron – LOTS of teeny tiny HSTs
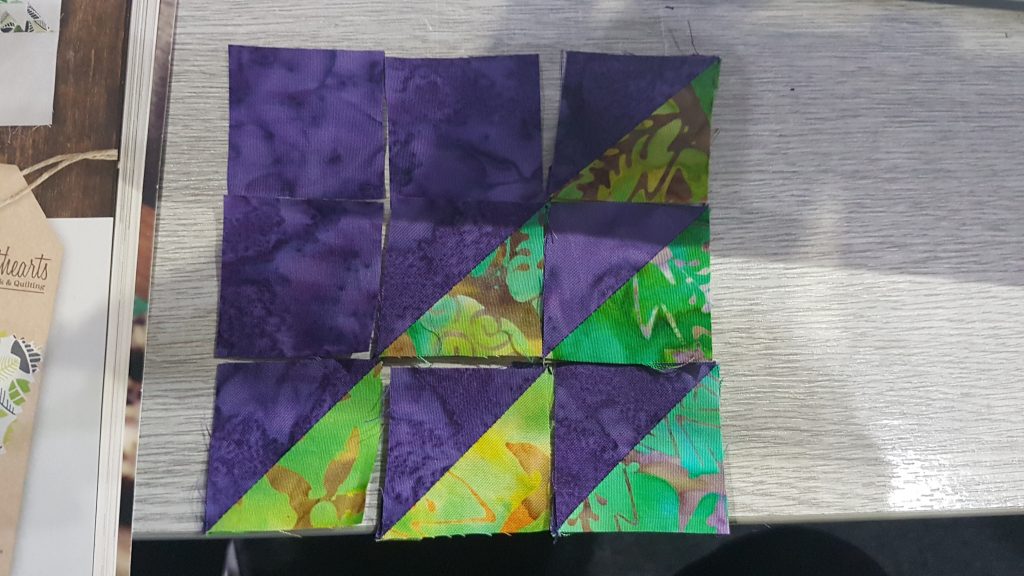
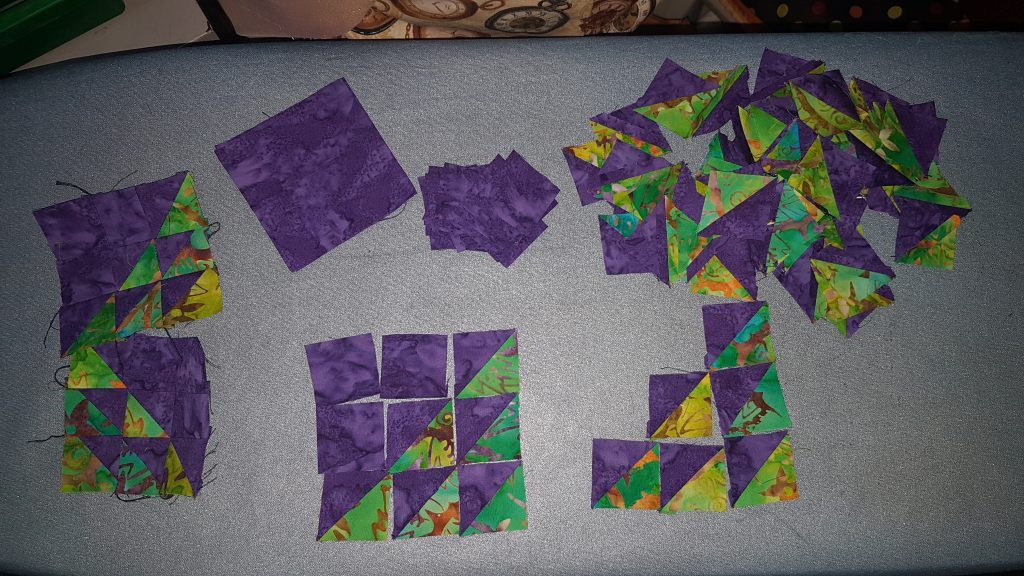
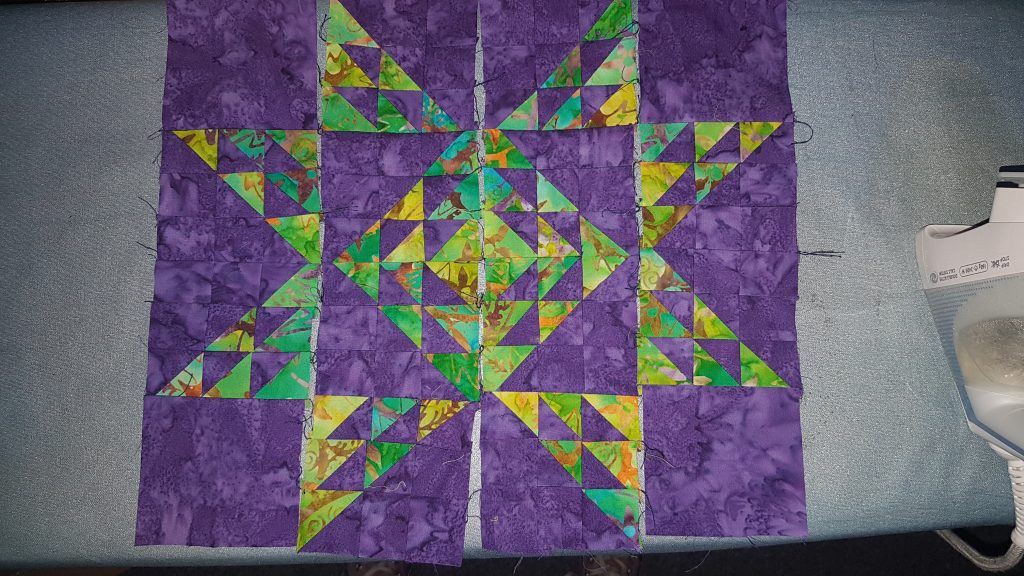
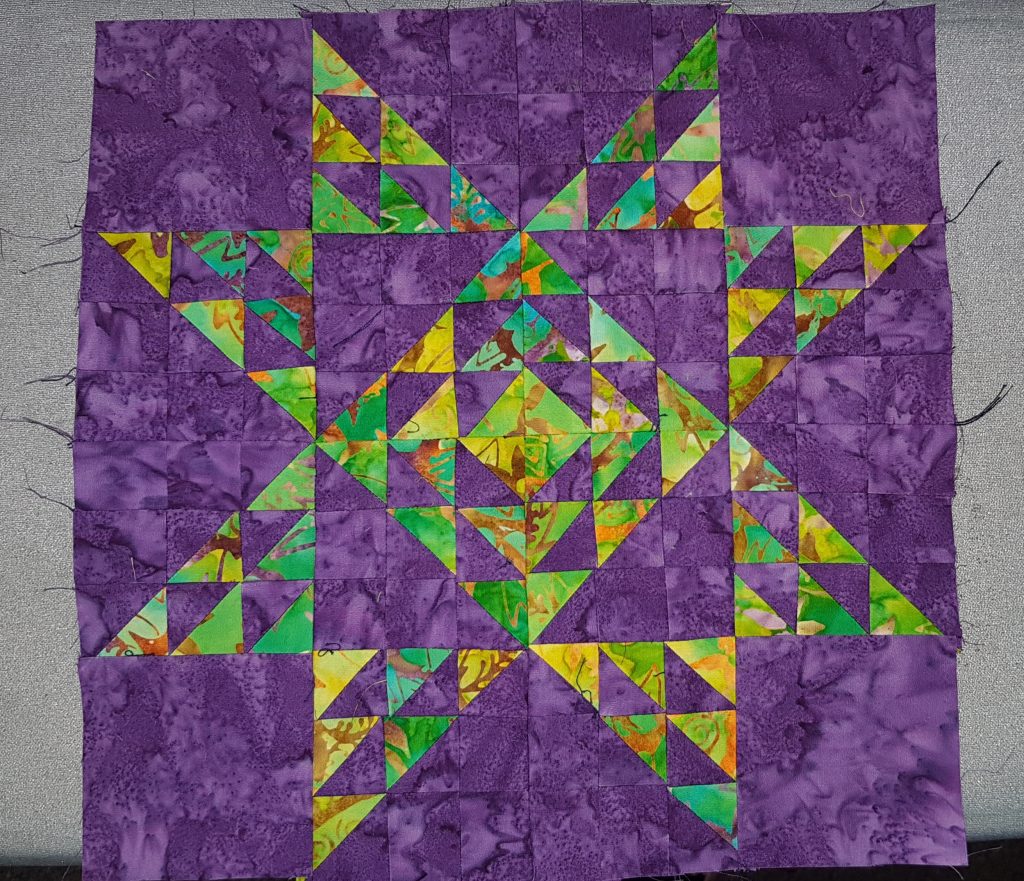
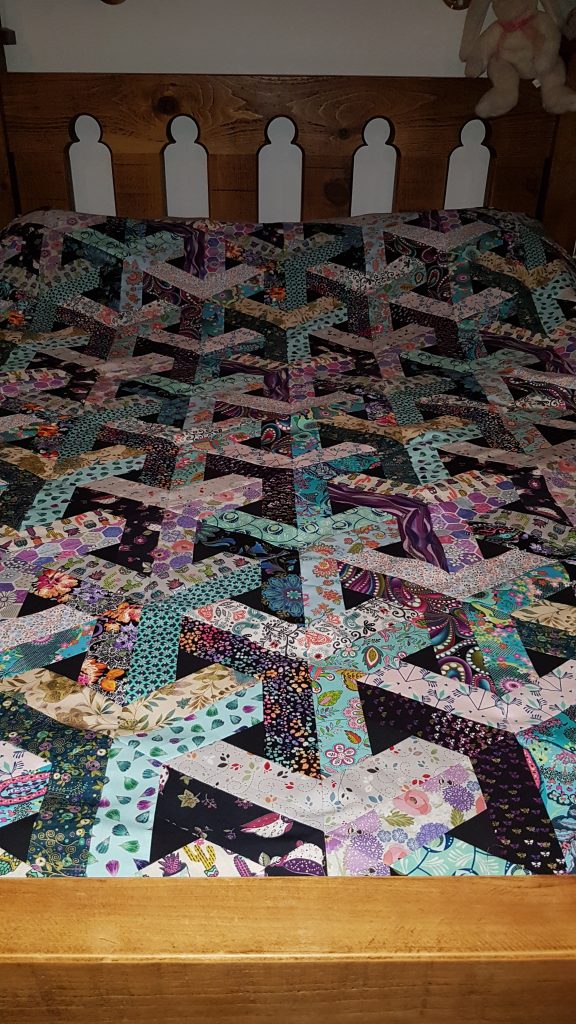
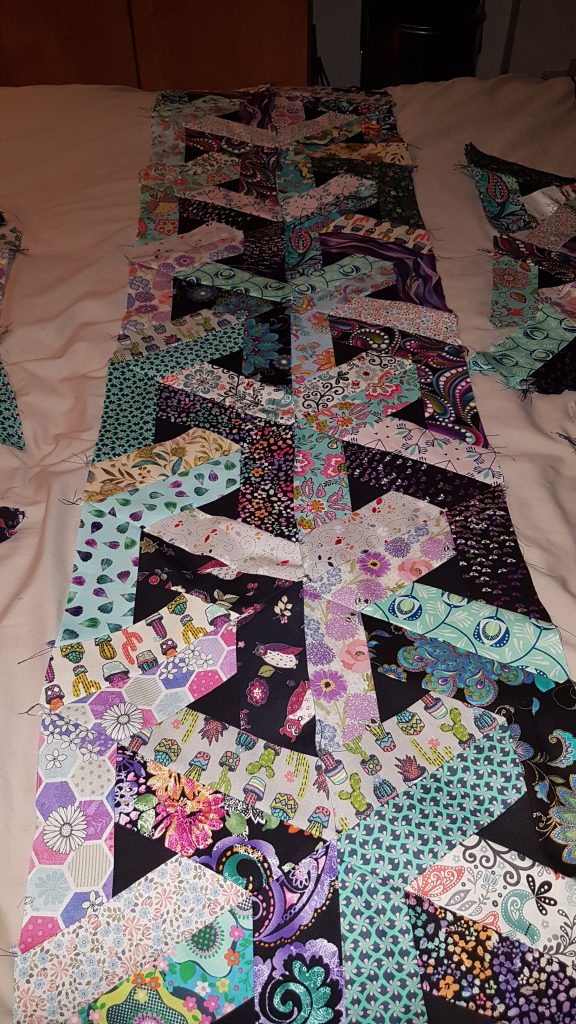
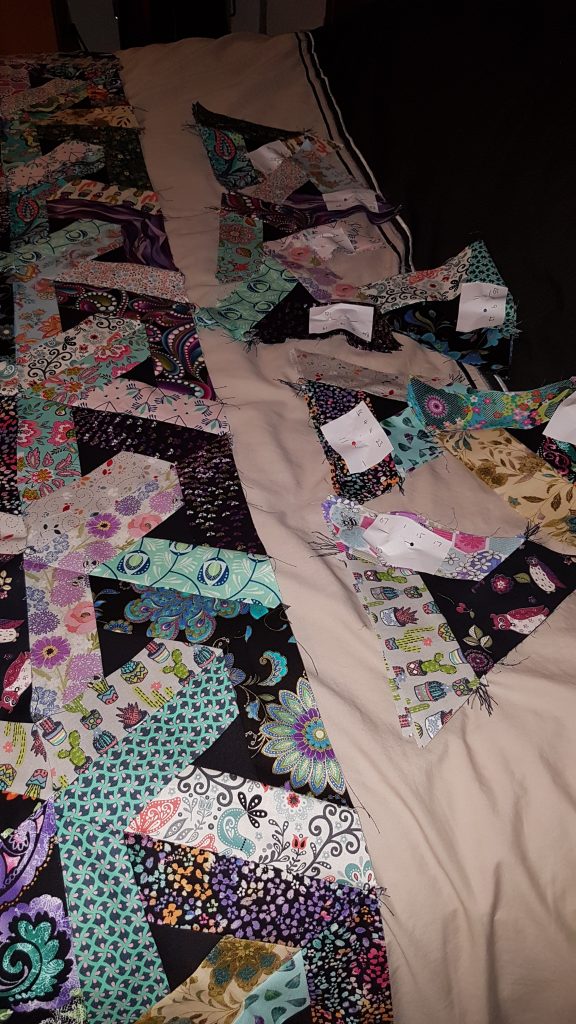
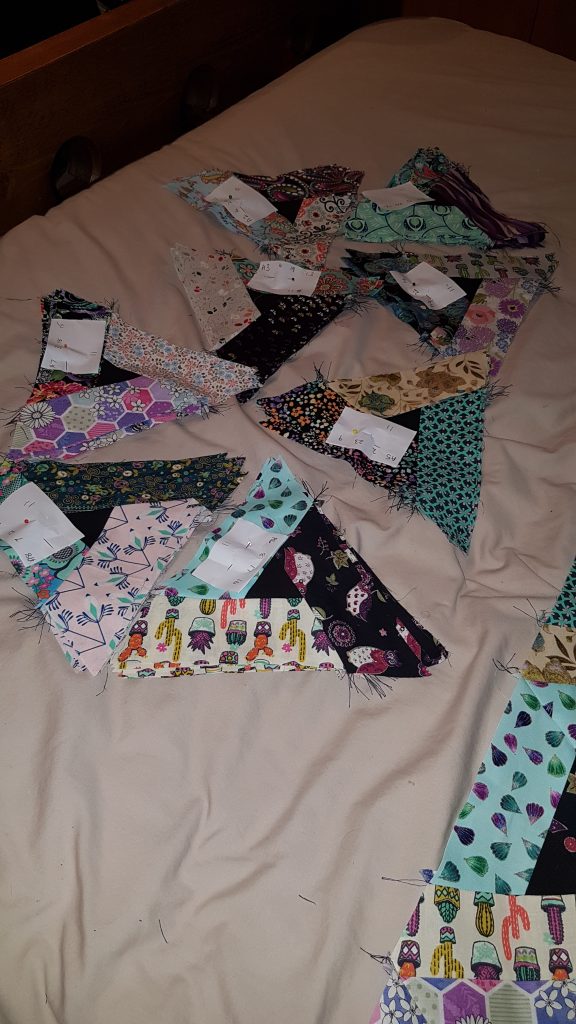
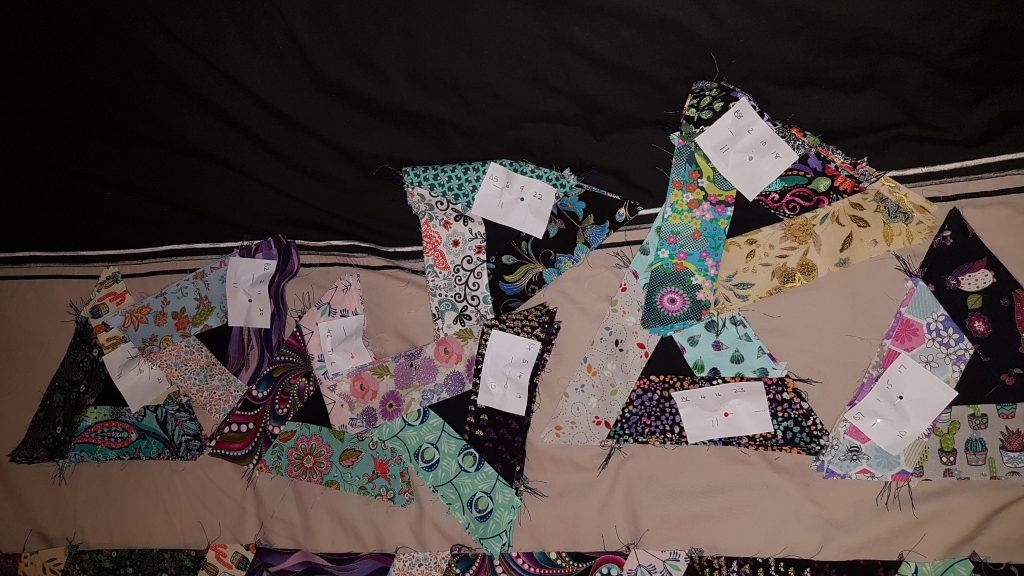
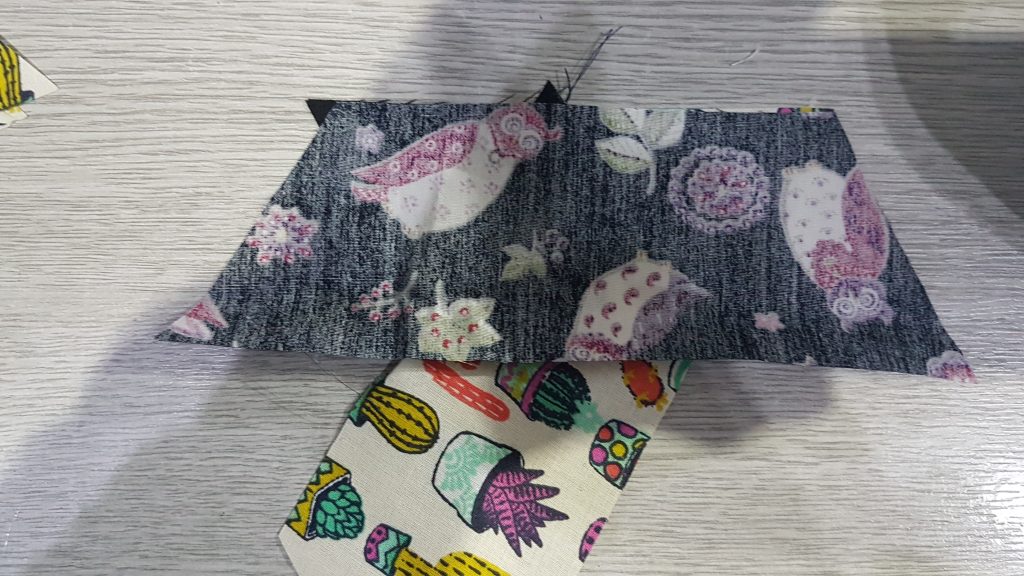
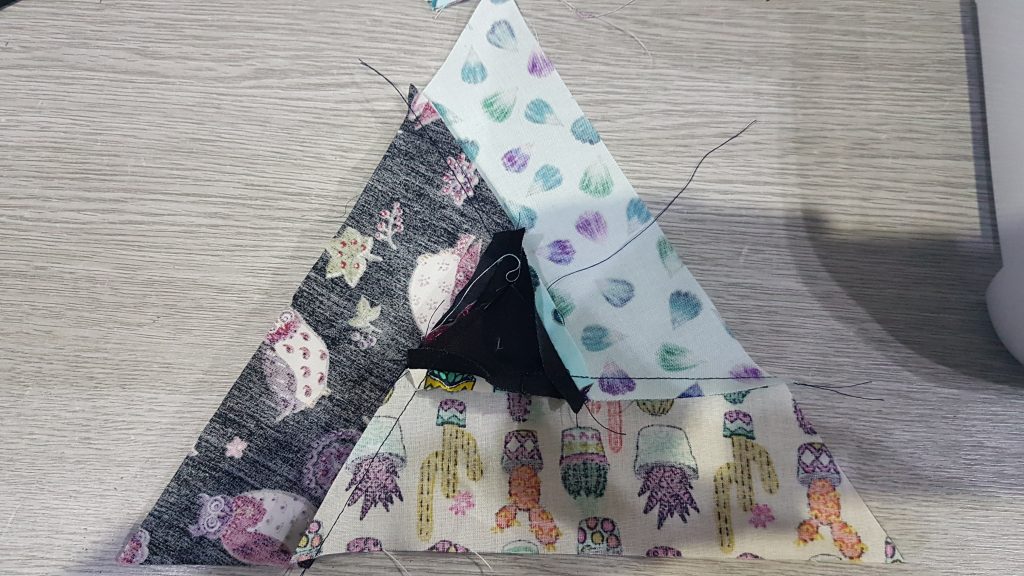
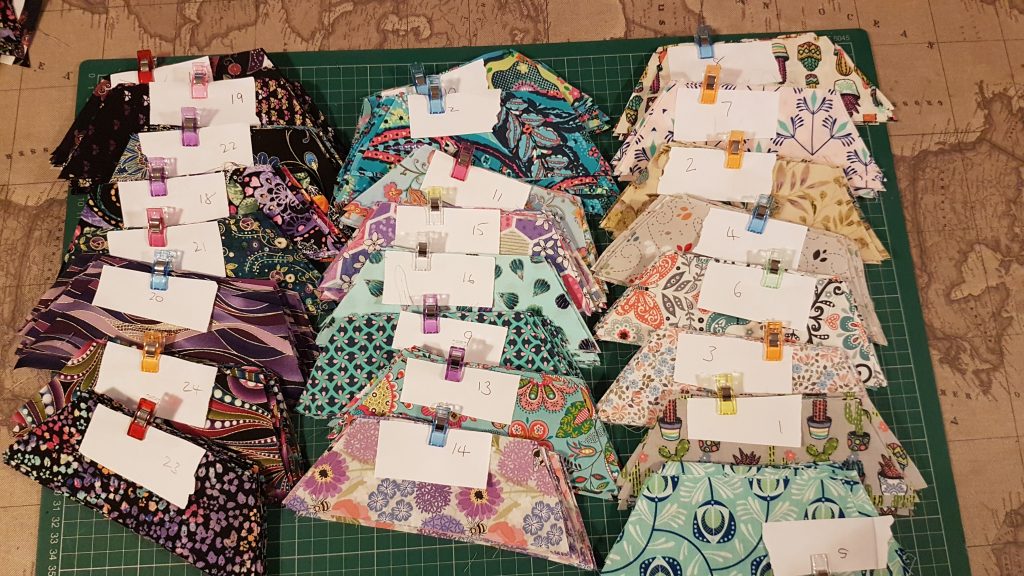
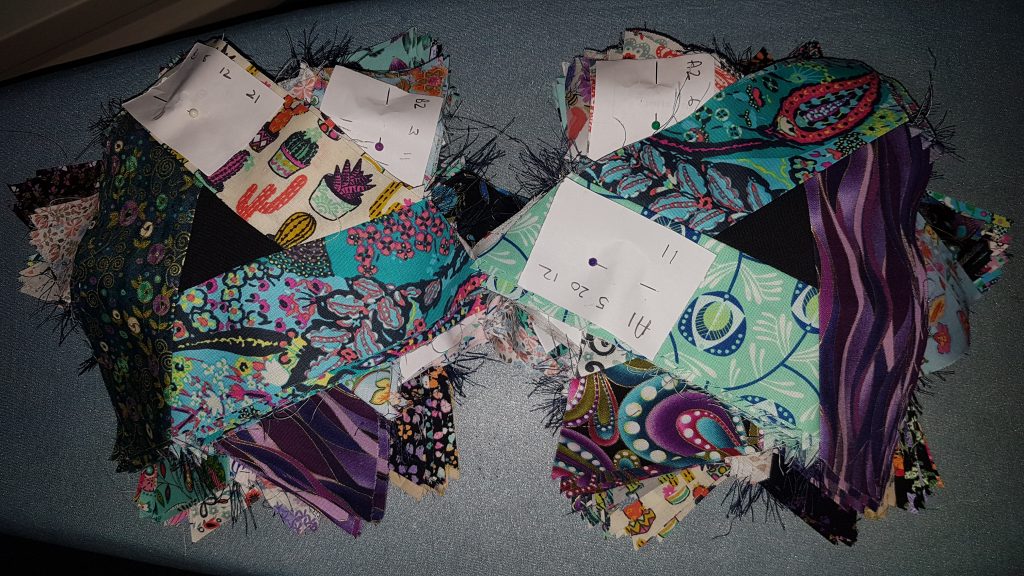
these are then joined together in blocks of 9 – 6 of these HSTs 3 plain squares 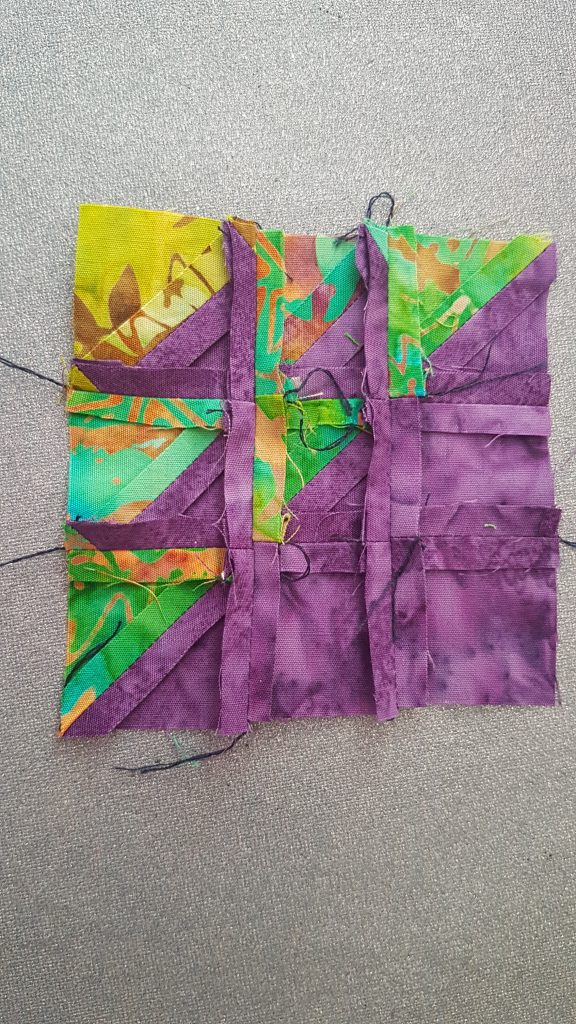
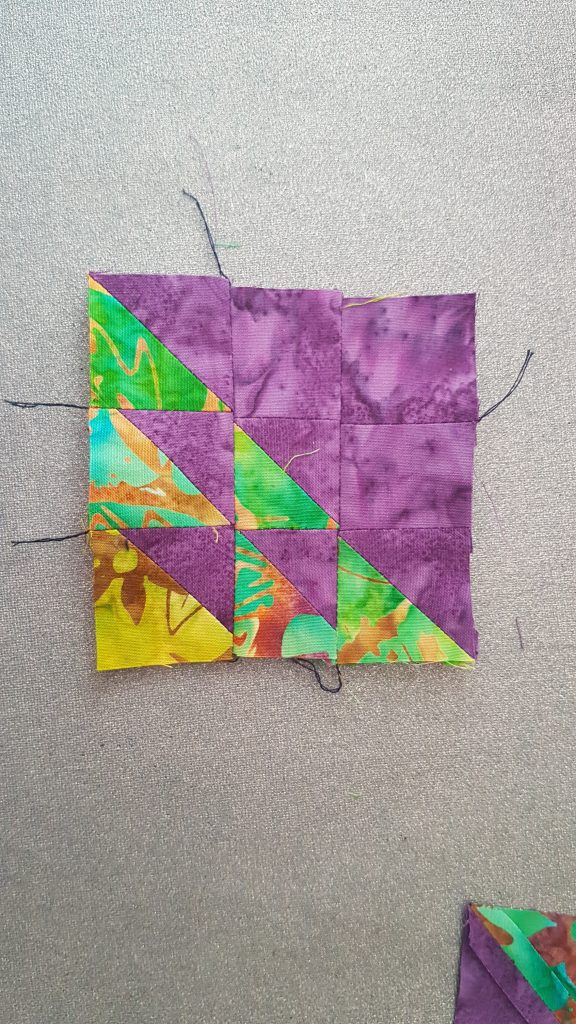
We need to make 11 more of these squares, a total of 12 of them. There are 4 more large plain squares.

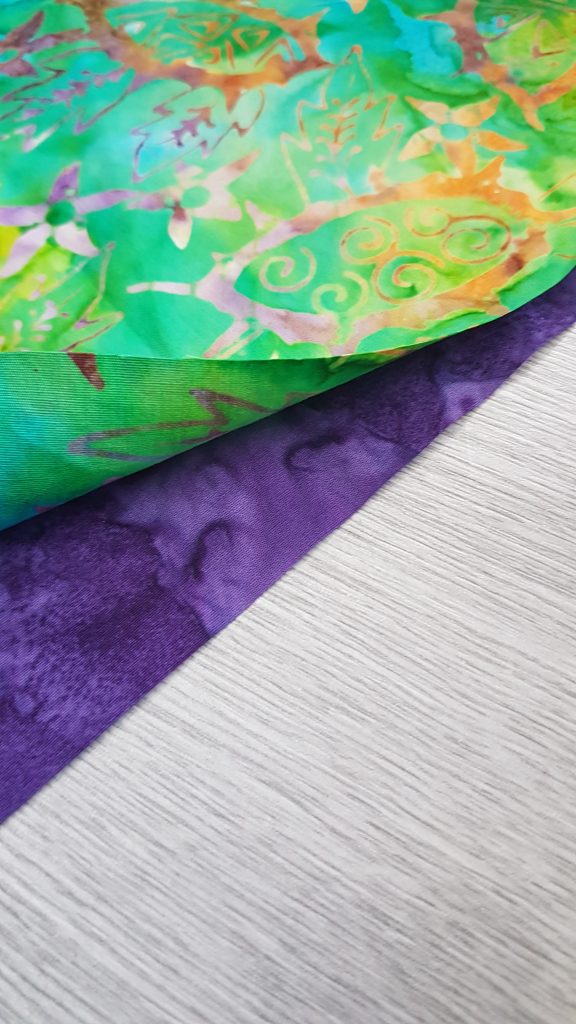
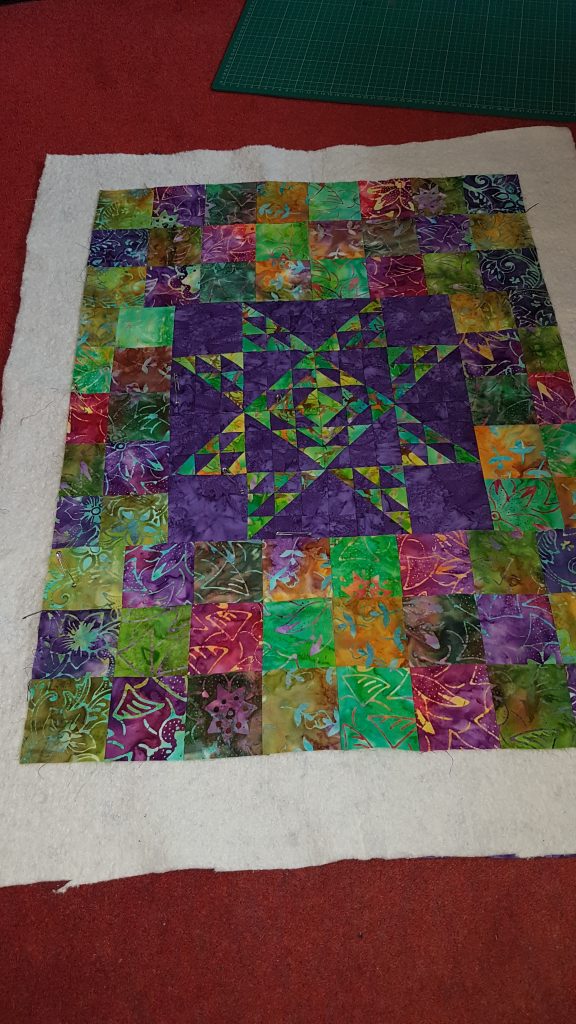
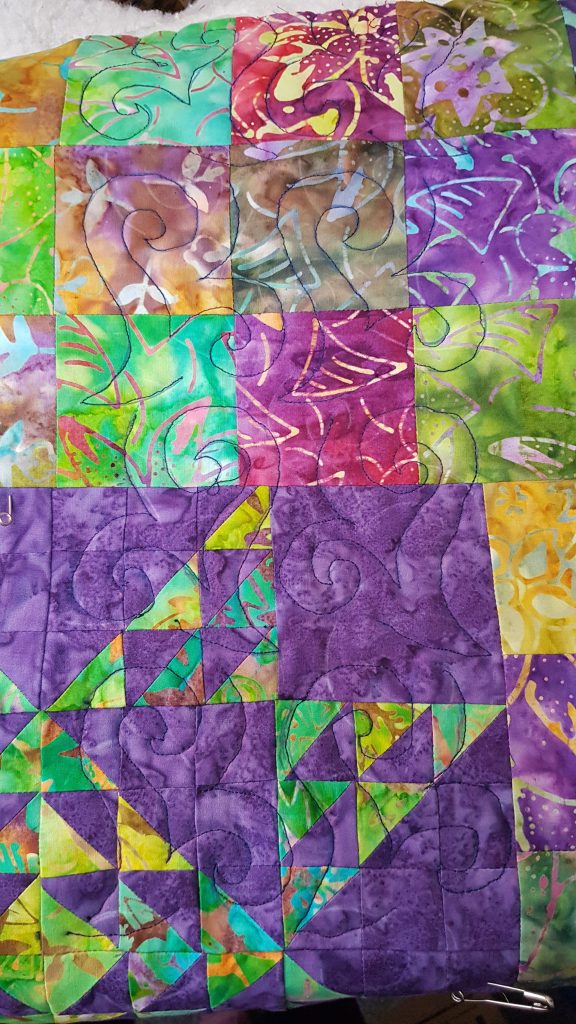
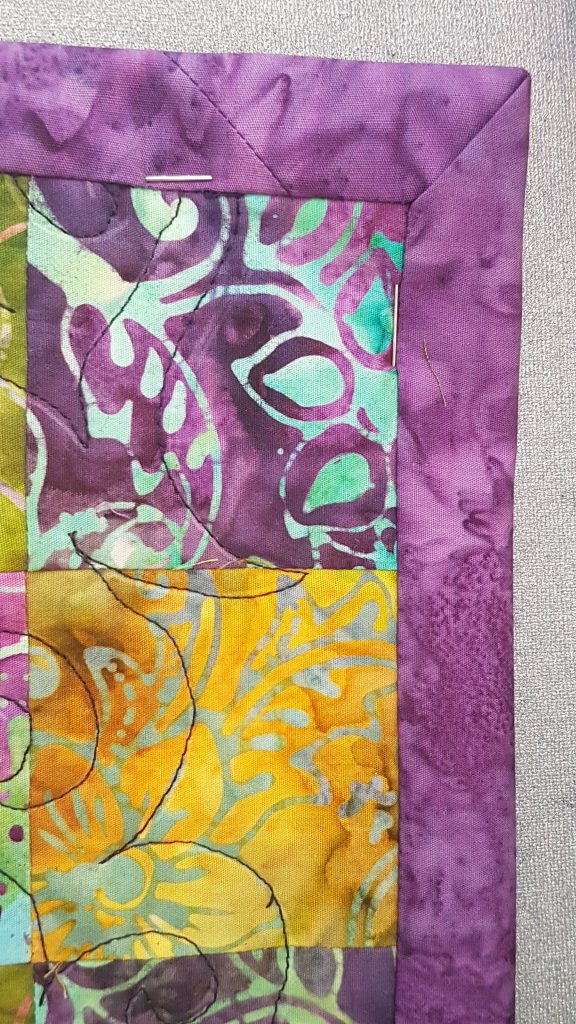
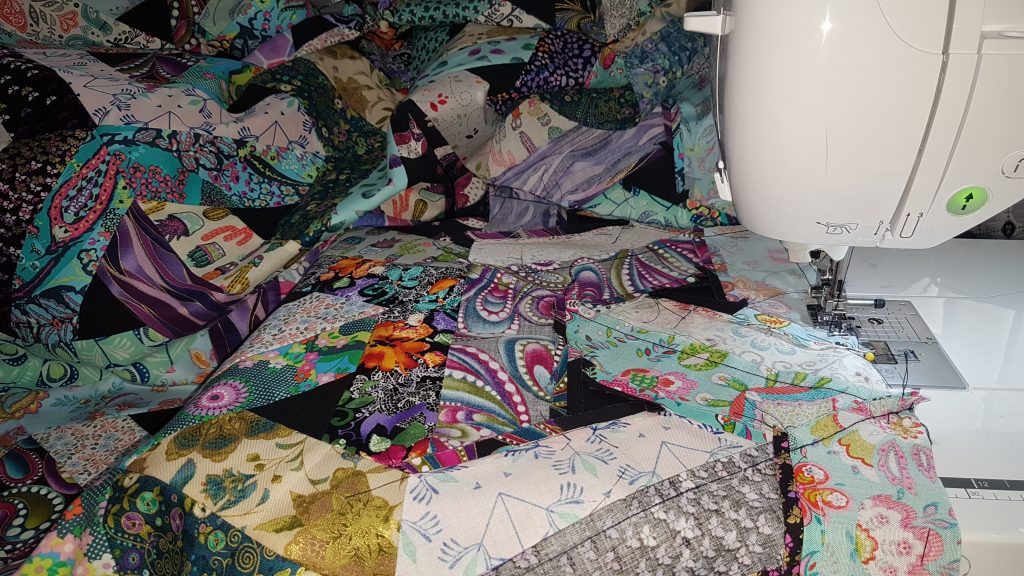
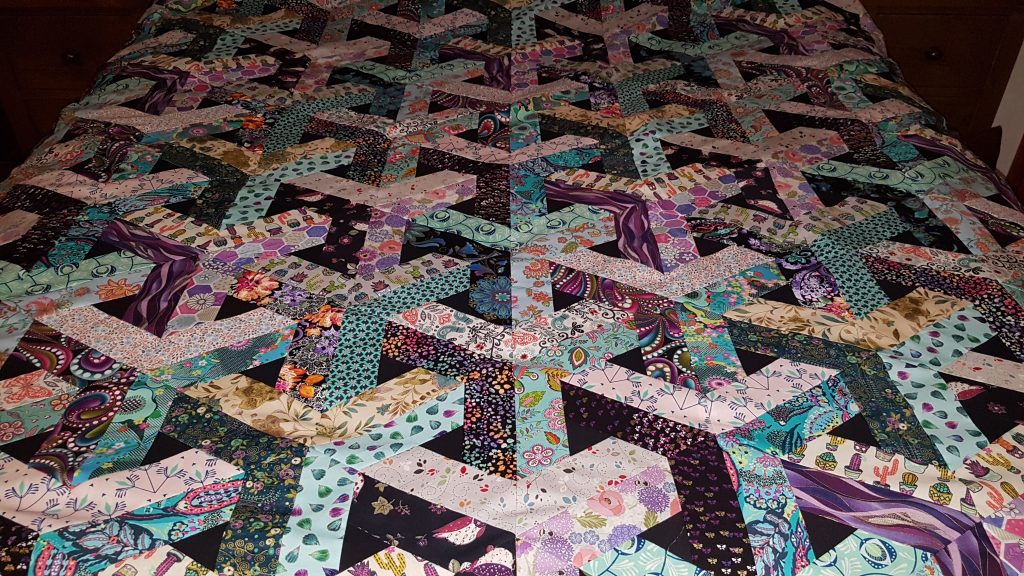
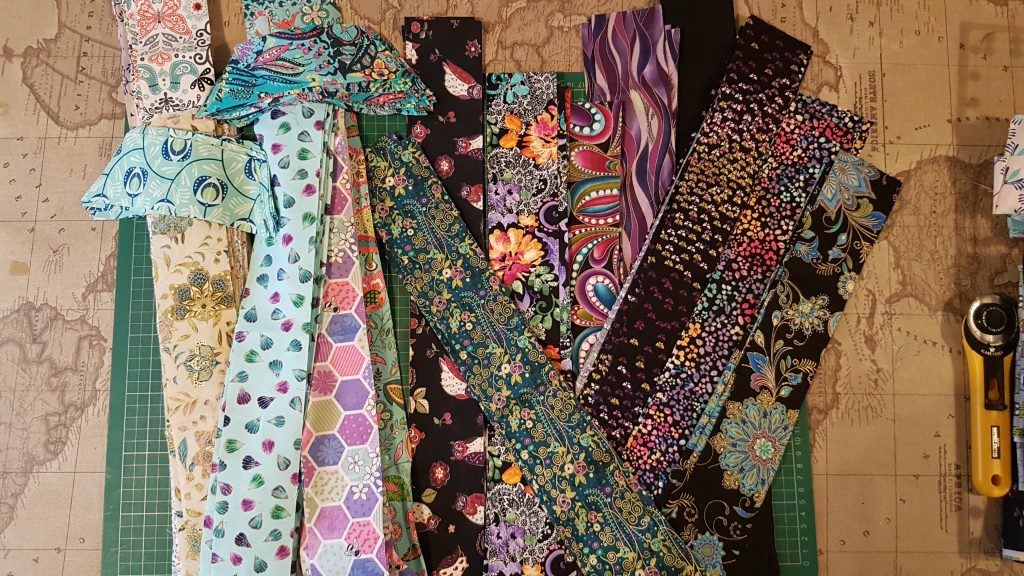
I then added some other batik fabric patchwork around the outside that I had prepared previously to make a rectangle, and layered with some quilt batting and backing fabric in the purple.
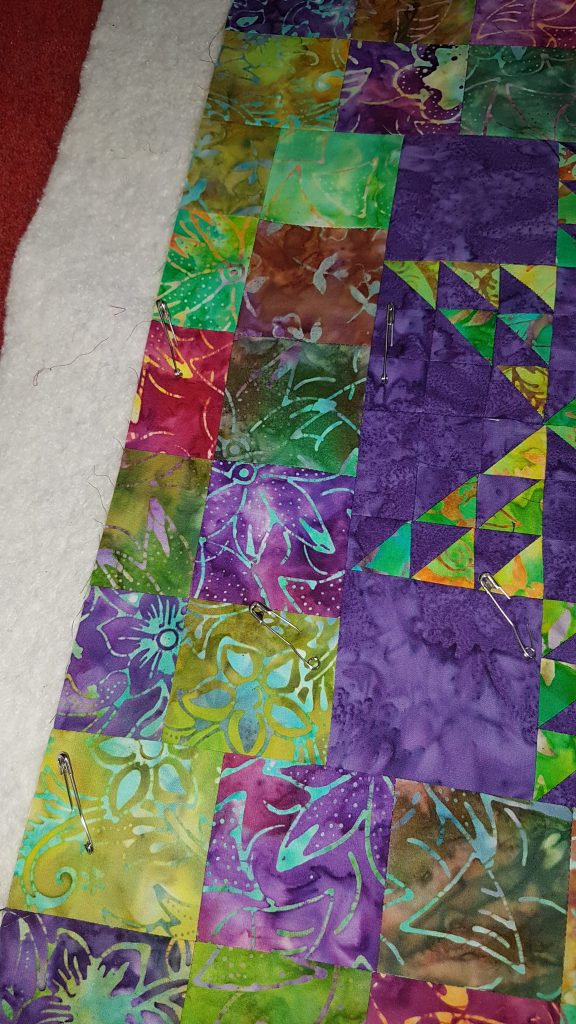
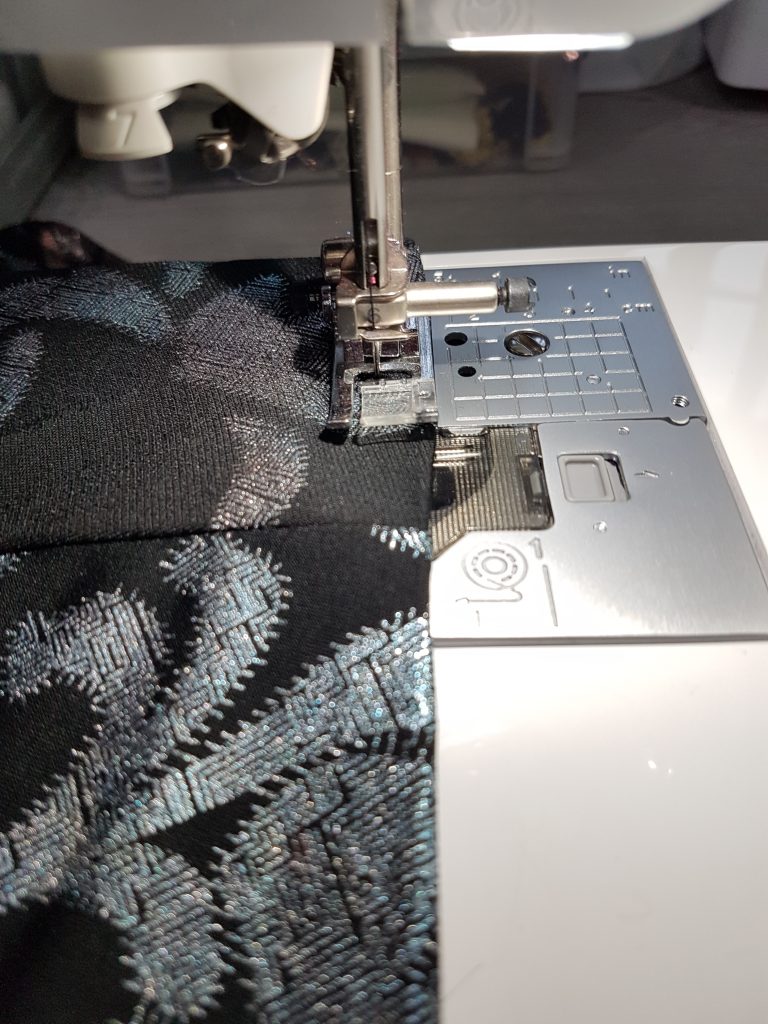
Used quilting safety pins to keep all the layers together, and started copying the stencil pattern onto the fabric. This was much harder than my practice on plain pale fabric, so I had to alternate between the frixion pen, and white chalk pencil, which was still quite difficult to see.
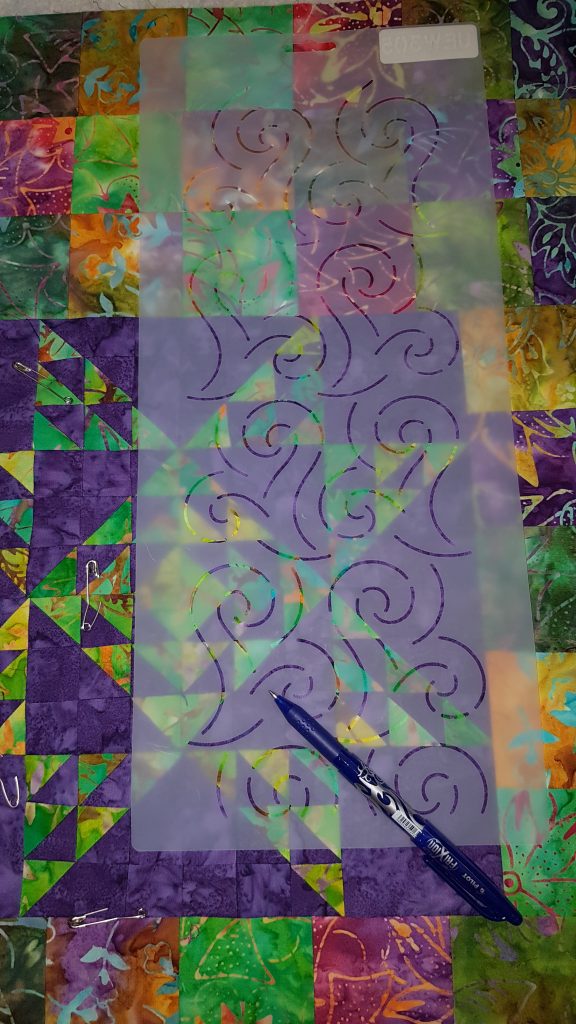
using the stencil starting from the centre 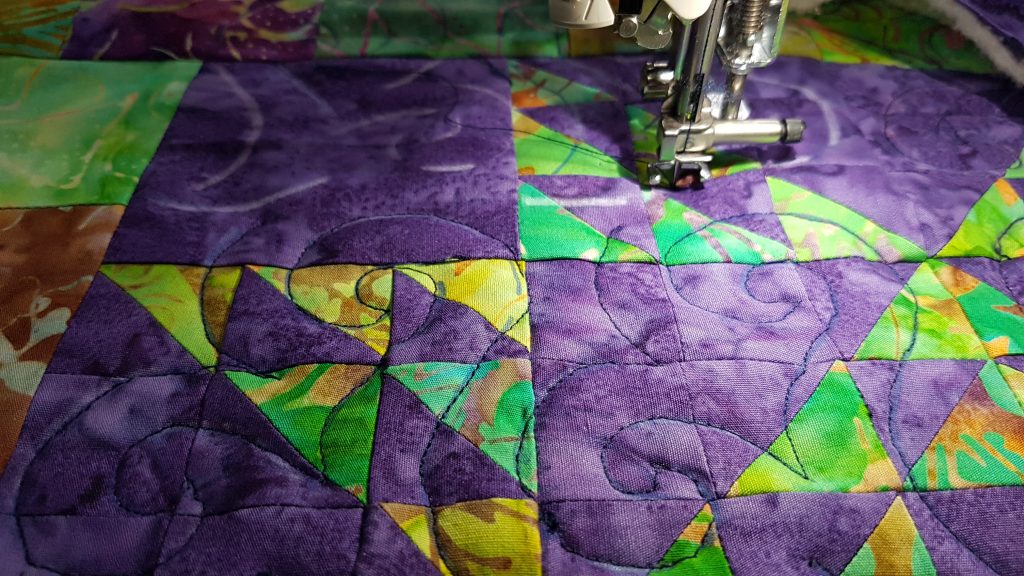
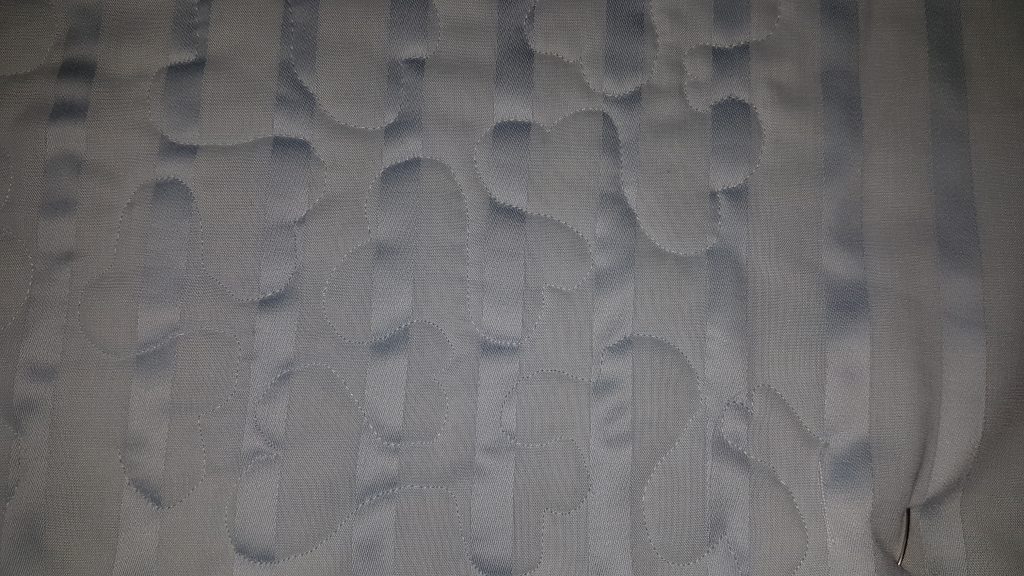
sewing… 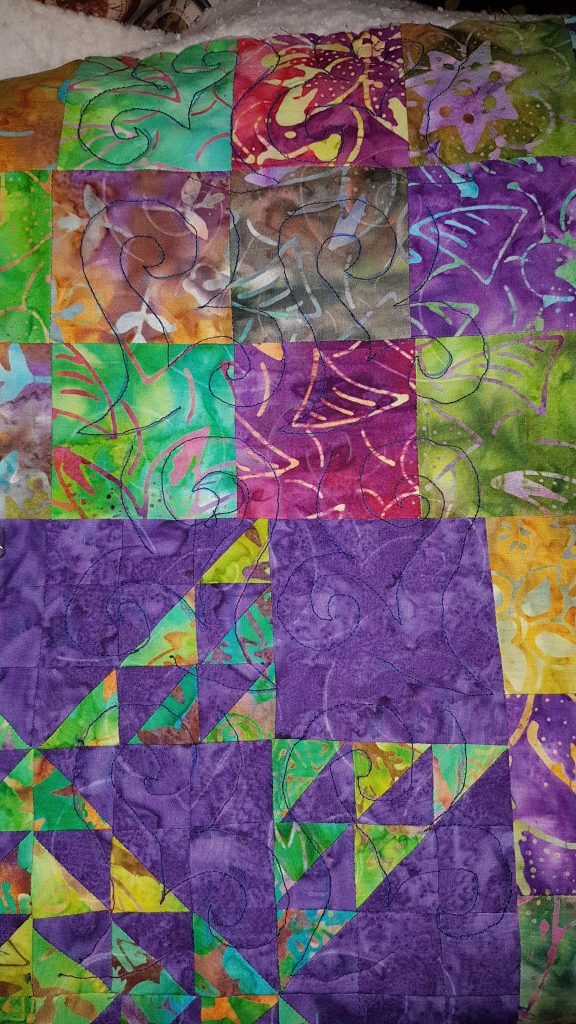
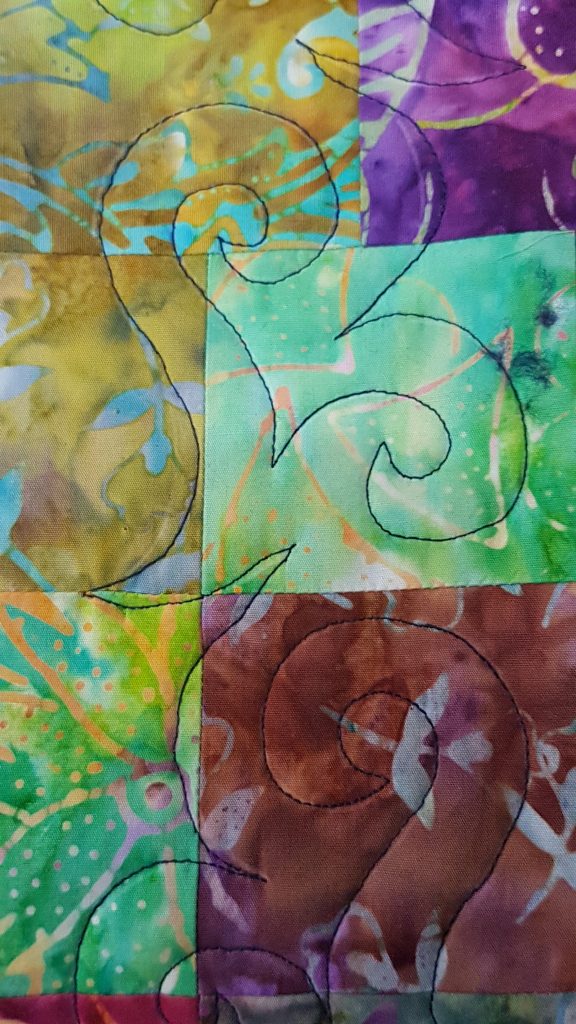
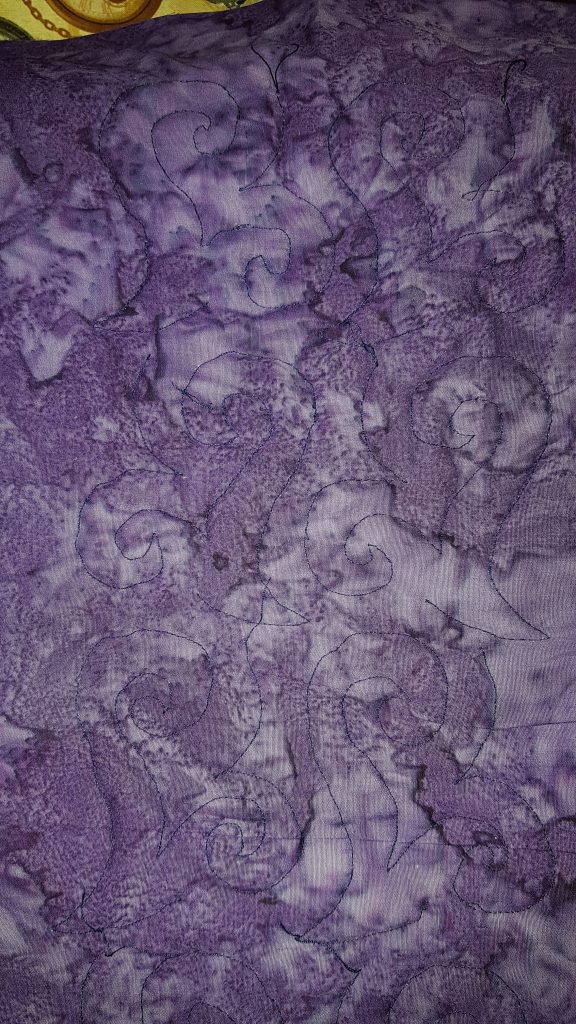
the back
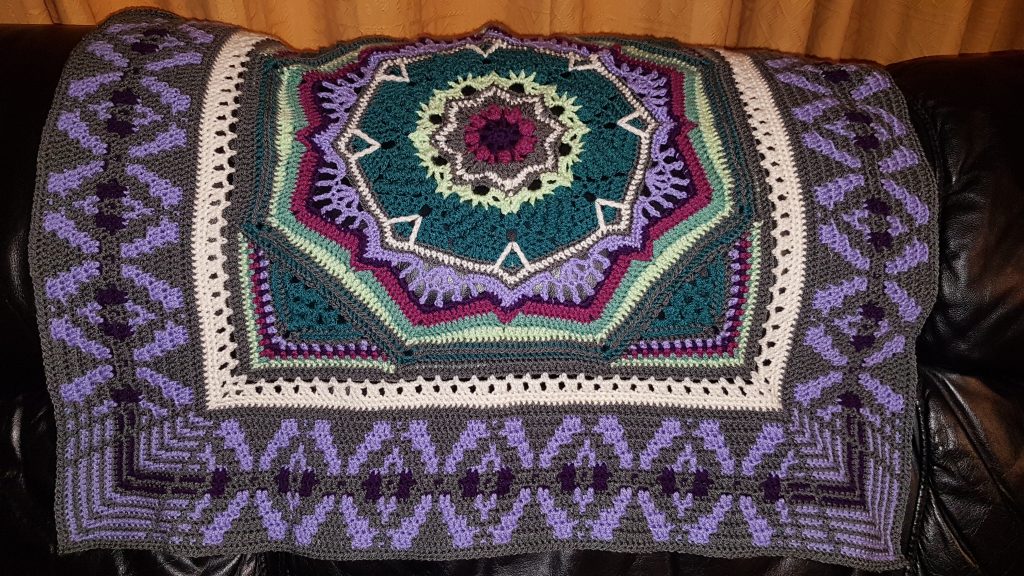
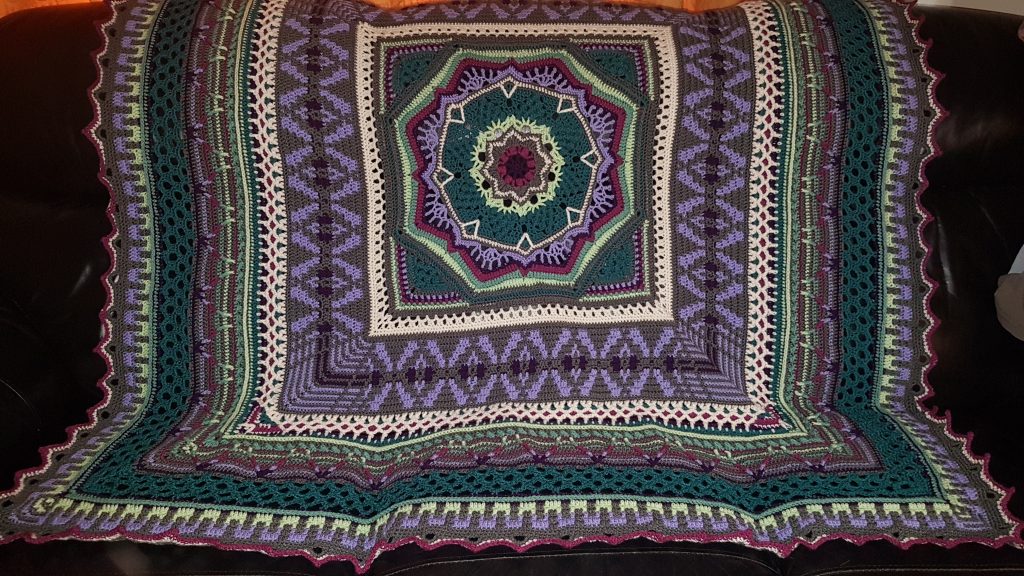
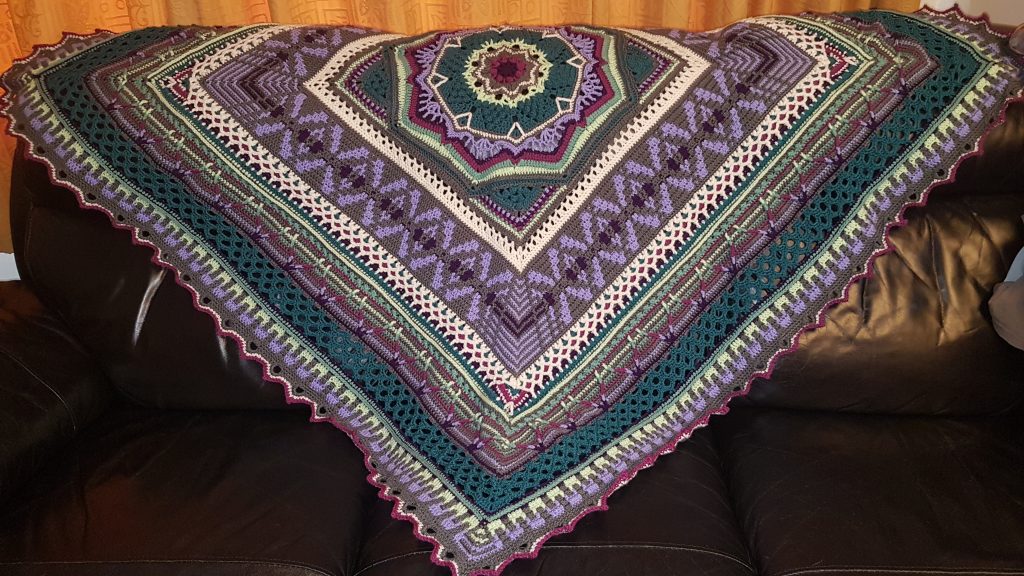
This has frequently been the centre piece for our Friday curry nights!
I was very pleased with the patchwork, but it was quite bulky for quilting for my first attempt.
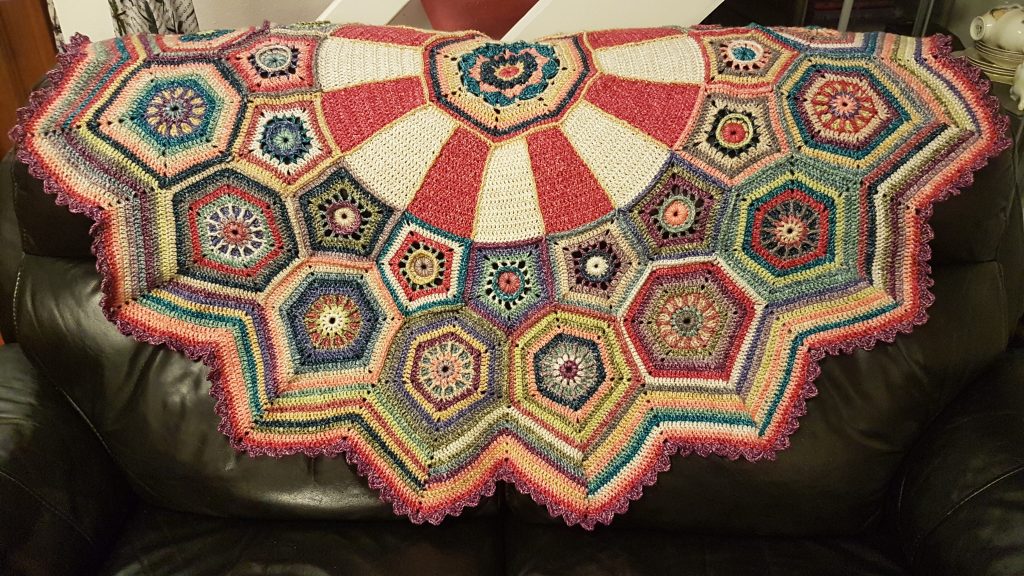
I am still plucking up courage to quilt my 3D patchwork bedspread.


Recent Comments