Tractor shirts 2019

Doesn’t everyone buy fabric on holiday? We had got the bus from Looe to Polperro this time (we normally go the other way), and were walking back along the coast path. I hadn’t expected a fabric shop in Polperro!!! But obviously had to go in. Hubby saw some tractor fabric he liked, so 4m were purchased to make the boys matching shirts!! I didn’t get round to making them until this year though.

Paul wore his for the first time at Lymm Historic Transport Day last weekend when he took his Grey Fergie. Somehow I didn’t get a picture 🙁

More Shirts 2019

I saw this raven / skull fabric near Halloween time (again in Abakhan – it sounds like I live there, but I just nip in occasionally while my daughter is trampolining!), and knew it was perfect for my son. Although it took me quite a long time to get round to making it up!

I got on a bit of a roll and made two shirts very close together. My son was going to a science fair with school, and I am not sure why we thought it would be fun to wear a science themed shirt, but he agreed, and the search for suitable fabric began!! I got this on-line from Frumble, general science stuff and the periodic table. Fantastic for the science fair!

Christmas 2018

We were going away for Christmas for the first time ever. I wasn’t certain about this! But I did want something nice to wear while being waited on!!

I found this sparkly fabric in Abakhan in Altrincham, but there wasn’t very much of it. This was really easy to make, mainly on the overlocker, as stretch fabric. I had to buy some plain black stretch fabric for the right hand side. I love this.

I also self drafted a skirt. I wanted it fairly full, so used my Simplicity 1459 1950s vintage pattern as a starting point. I made it less full, and pleated at the waist rather than gathering. I wanted something longer at the back, and in hindsight I could have made it shorter at the front to make the shaping more obvious. I was after something a bit shaped at the back like the Simplicity 2172 jacket, but I didn’t quite shape it enough. Lovely poinsettia fabric though, and I loved wearing something completely original on Christmas Day.

Pocket watch fabric

This project has been ongoing from sometime in 2017 and I think was only finally finished in 2019 with the trim and buttons, and still hasn’t been worn 🙁 It is a combination of these three Truly Victorian patterns:

I saw the lovely pocket watch fabric in Abakhan, and must have bought quite a lot of it (waistcoats for the boys too!). I found a really cheap plain fabric to go with it. I think it was in the sale, and only about £3 a metre!! I thought if I make a mess of the jacket it won’t really matter at £3 pm!! Note, I know everybody says to make a mock up out of old duvet covers or whatever, but I never do. I figure that if I have spent so long making something, if it works, then I want to be able to use it! I know, one day I will become unstuck! The cheap fabric probably was a mistake for two reasons. 1 – it snags easily, 2 – it is cream!

I started off with the skirt. TV261 – 1885 Underskirt. I had made a version of it before so knew it was pretty straight forward. I made the fuller version this time and still added two rows of pleats. The optional bouffant is flat lined with 2 layers of netting. Pleats are sewn into the side seams, and tapes are used to fasten the bustle up in place.

I made the overskirt next – TV303 – 1873 side drape overskirt. The front apron is pretty standard. The side drapes, and sash, both have the contrasting fabric on the back. It took me over a year to get round to sewing the trim on though.

TV462 – 1883 Tail Bodice. I started the jacket very carefully.. I measured myself several times, and read the instructions on how to amend the pattern if different parts of your body are different sizes (whose aren’t?). I must have got something wrong!! I tried it on partway through making, and couldn’t close it at the front! Unpicked, and seams made much narrower, and it would just about fit!!! I need to remember that IF I ever attempt it again! The jacket is boned, and the back pleats are quite hard to get right.

I ended up buying frog fasteners for the jacket so I didn’t have to overlap the front as it wasn’t big enough for me to do buttonholes – oops.

And altogether, with the trim added to the overskirt.

And matching waistcoats… All still to be worn.

Carousel blanket

Started mid November, finished end of Jan 2019. My husband picked this one, out of a selection of blanket patterns I liked. He liked the vibrant colours. I liked the look of this, but it wasn’t the most fun to do, as it was a bit TOO repetitive. However, it looked great when finished.

First part was great 🙂

Next stage a bit boring! Especially crocheting them together!

The next stage was unusual – pentagons. Not known for their fantastic ability to tesselate… so they are IRREGULAR pentagons. I couldn’t use my normal method of doing round by round, partly due to the seemingly randomness of the colour scheme, but also because the last round crochets them together as you go!

So after pentagons, we got further IRREGULAR hexagons. Even though the colours seem random, I did give doing each round at a time a go:

And finally a border:

A friend commented that it was the one she liked most out of the blankets I had done, so I gave it to her as a birthday gift. I now need to make another, as my husband liked it too!! I do agree it looks fantastic!

Cosmic blanket

With Demelza finished on 28th July 2018, this was me on the 29th!!!

This one is also Stylecraft DK, some standard, and some batik elements (which cost a little bit more per ball, but still great value). I had come across the Cosmic blanket on one of the Facebook crochet groups I follow, and I joined the specific group for this blanket, which had been another Crochet a-long (CAL), which had finished. The group had lots of lovely pictures of finished blankets, so I was highly motivated to start mine! The designer, Helen Shrimpton, had 4 suggested colour schemes, and I took one and varied just a couple of the colours.

The pattern is still available for free here:
http://crystalsandcrochet.com/crochet/category/cosmic-cal/

The initial instructions are extremely helpful and there is a handy row by row colour guide, so you can figure out which rows you want to change colours on. There are also video guides for each part, which I referred to for a couple of complicated rows.

This differed massively from the previous blankets as it is crocheted in one. The rows get bigger and bigger!! And you need to count the stitches accurately or else!

Part 1 – grew fairly quickly…

Part 2 – making the hexagon into a rectangle. This was taken away on Summer hols!

Not sure on the parts now…this is probably 3 & 4

And it keeps growing:

And done. 3 months work – at the end of October.

This one was claimed by my daughter, as it goes with her room 🙂

Demelza blanket

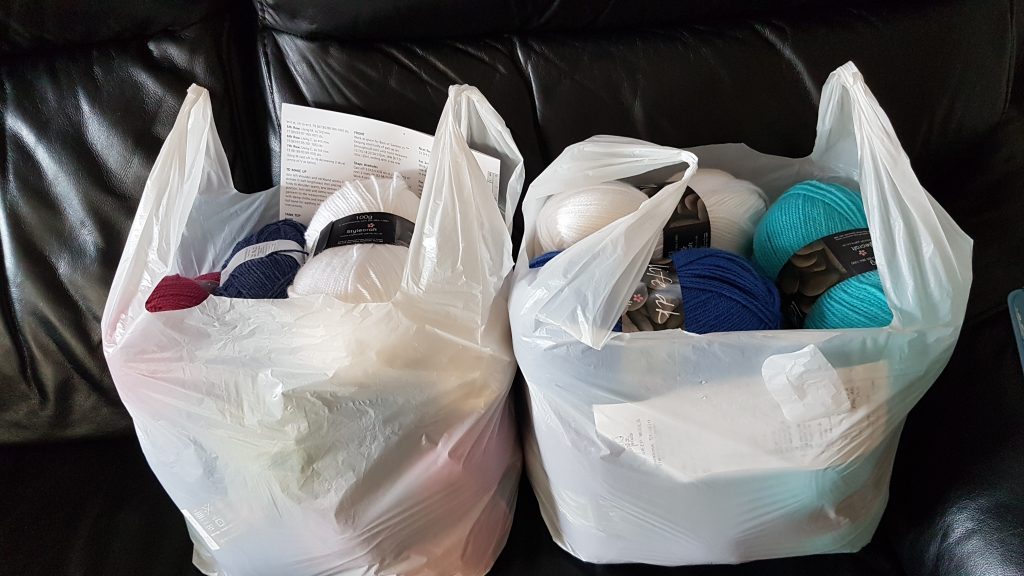
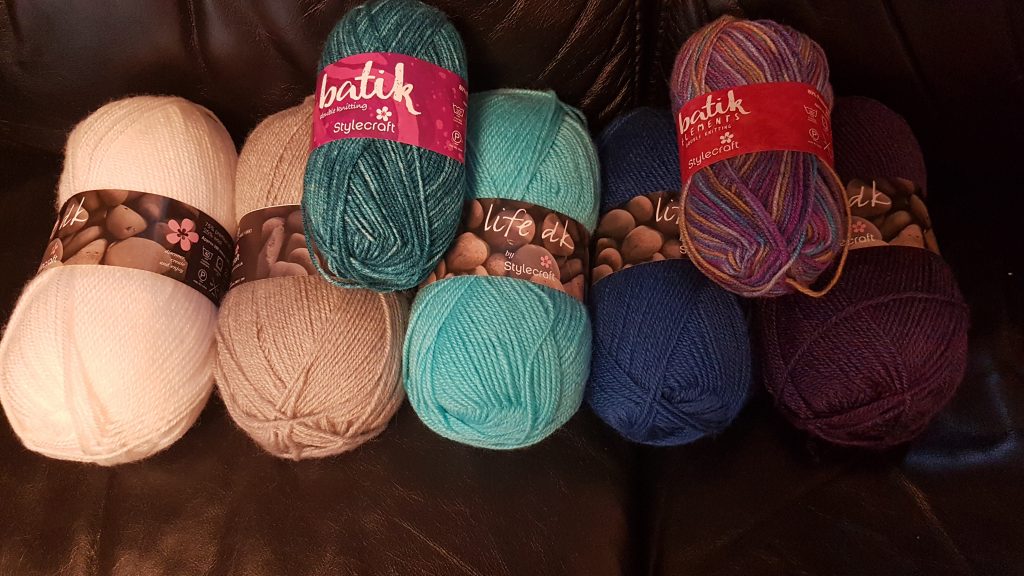
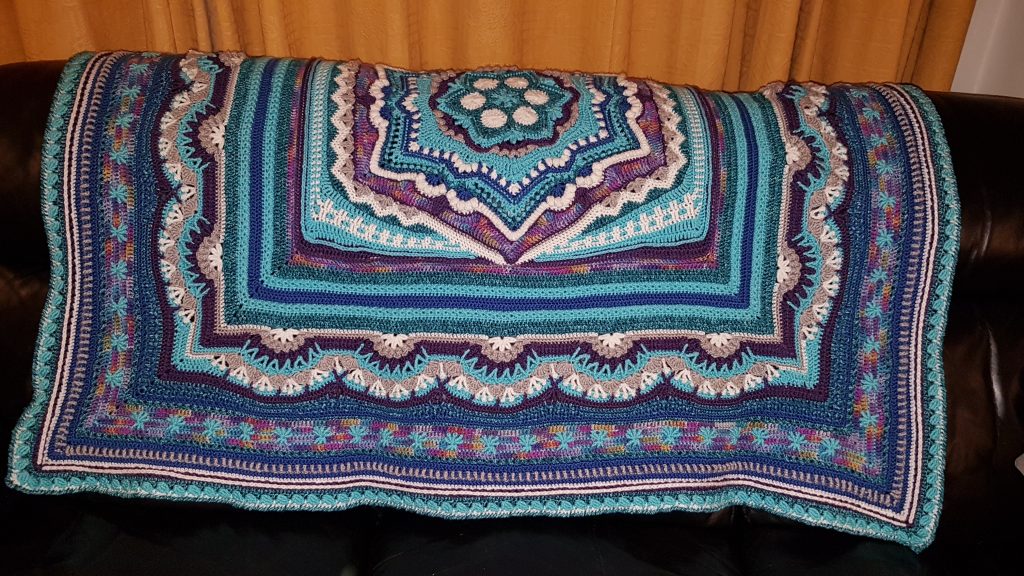
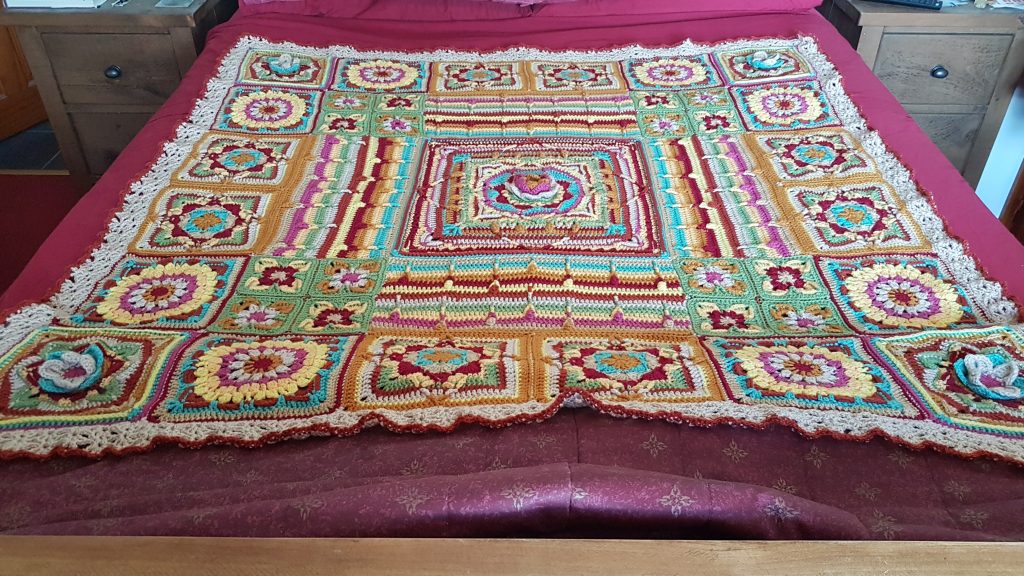
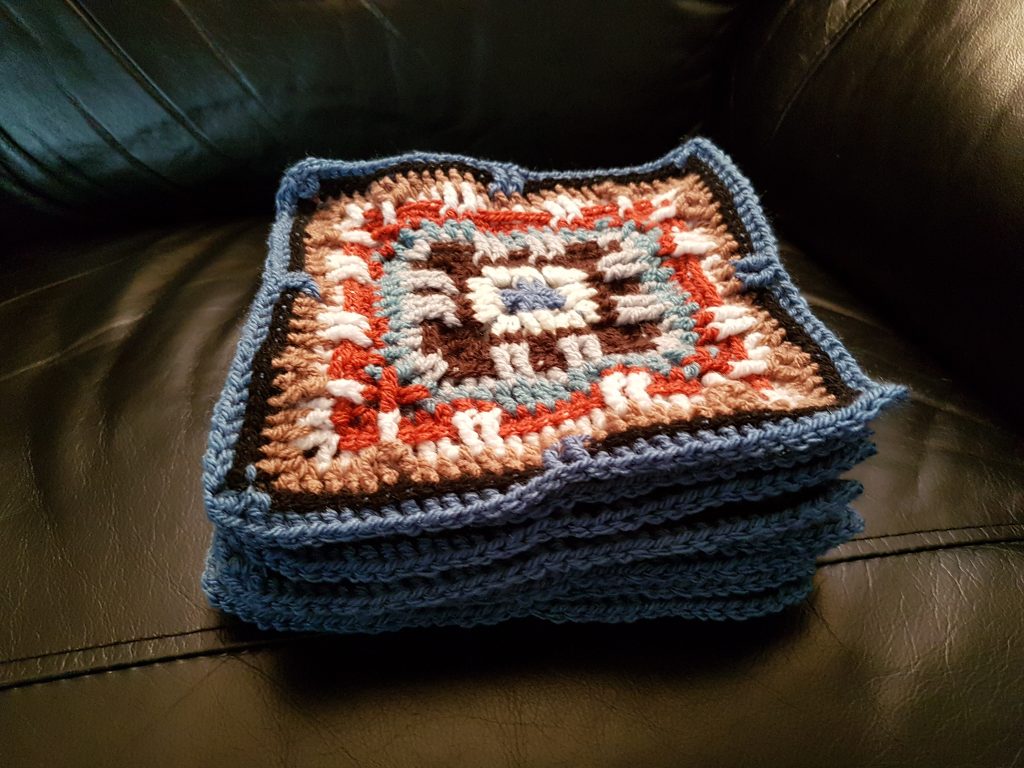
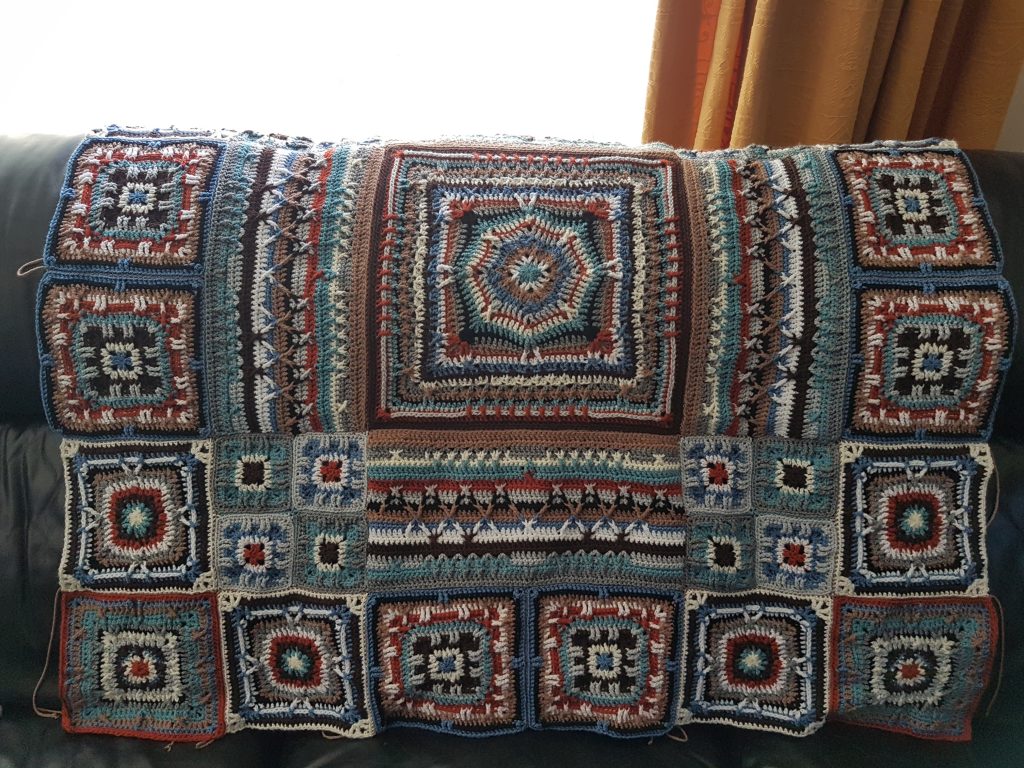
After finishing the Ross blanket at the end of April, it didn’t take me long to get onto the next one – the Demelza in June 2018. Again, this used colours I just wouldn’t pick myself, but I thought looked great. It isn’t so much learning new stitches, but the way they are put together. These squares were really varied and great fun to do.

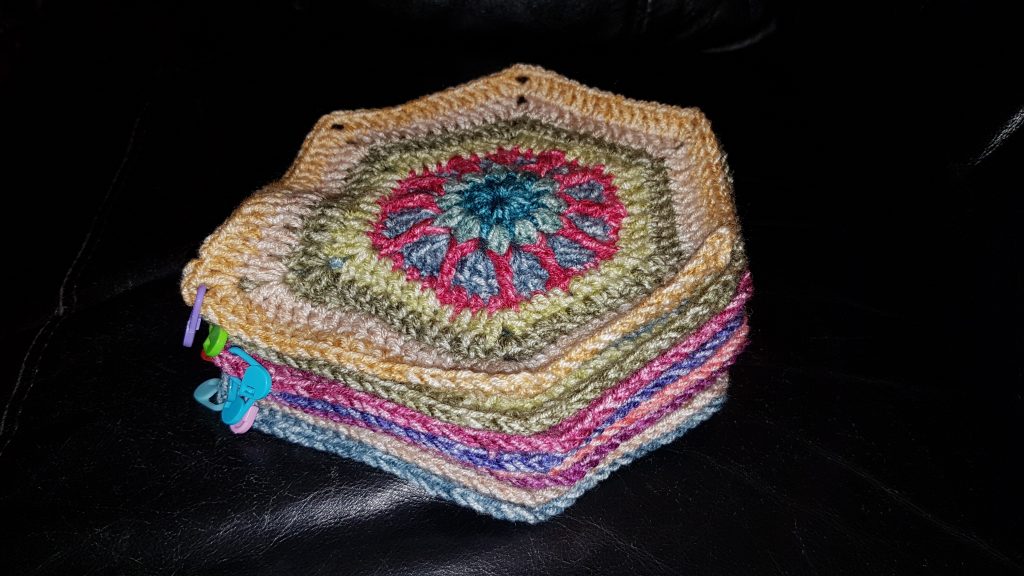
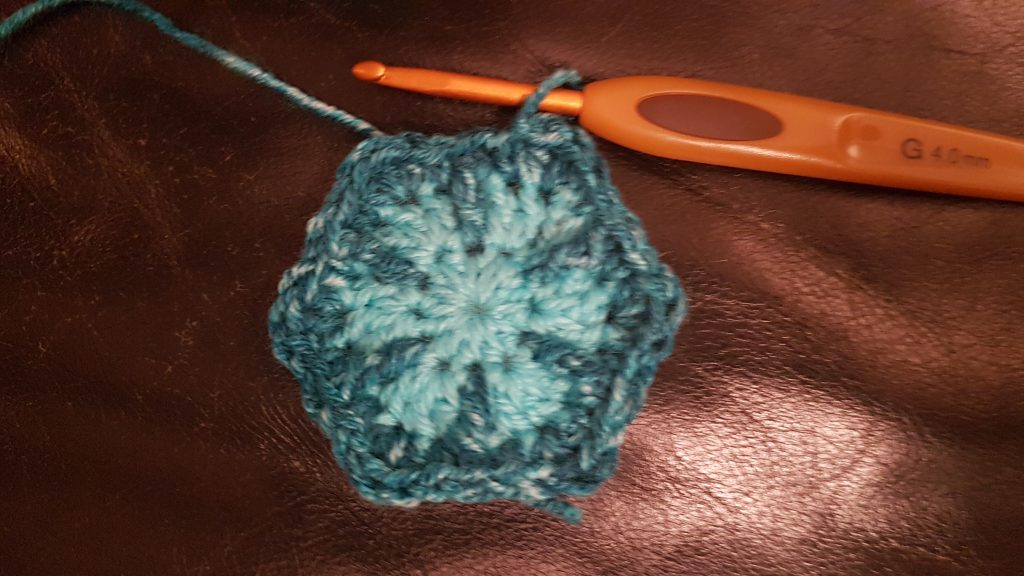
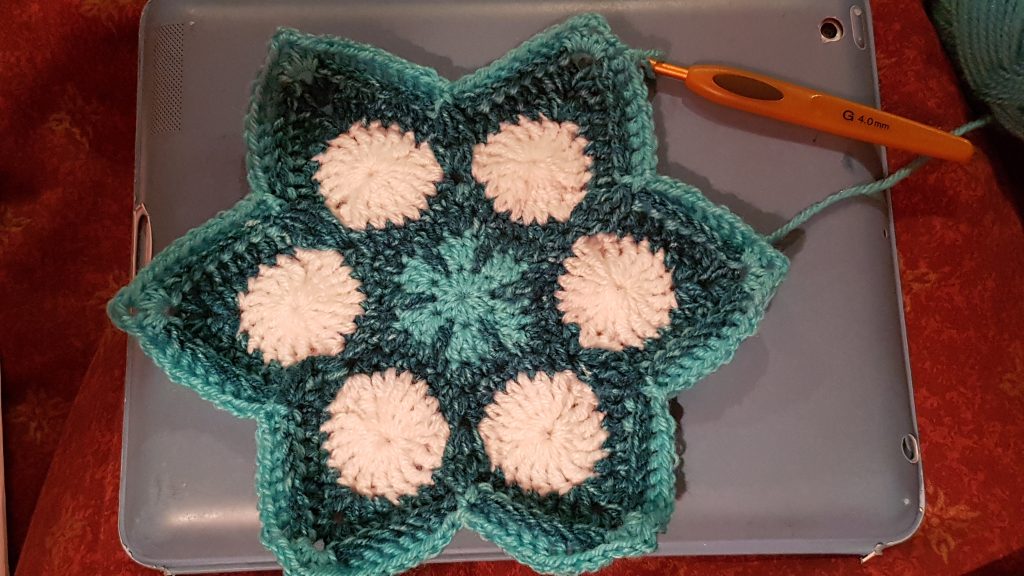
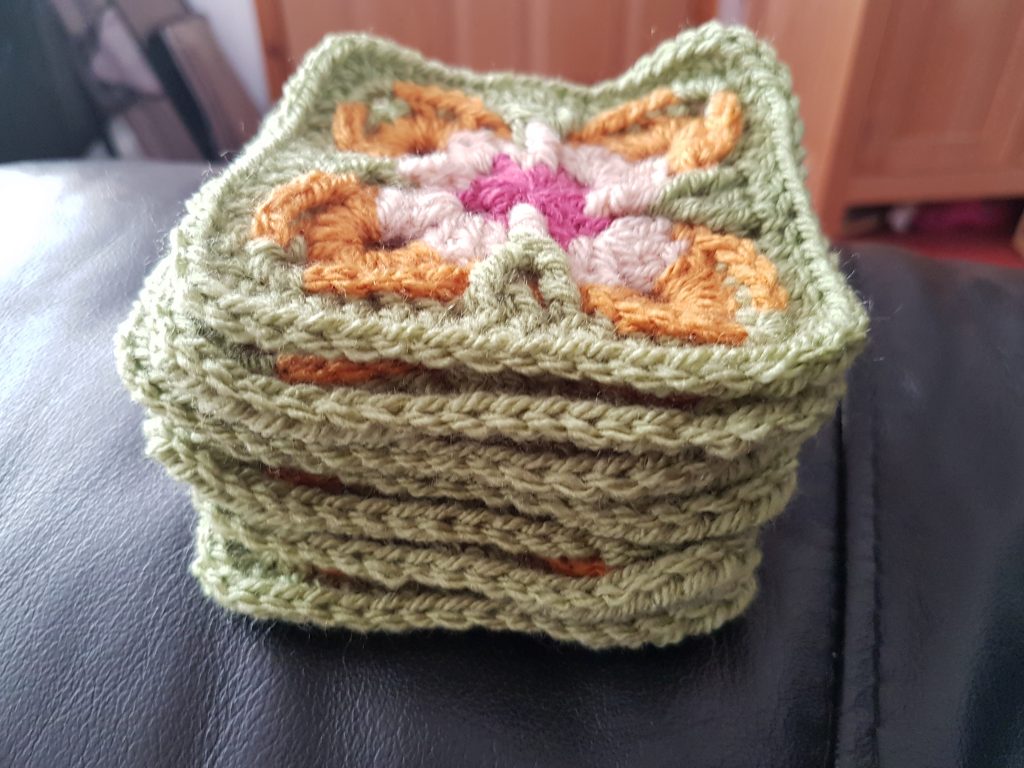
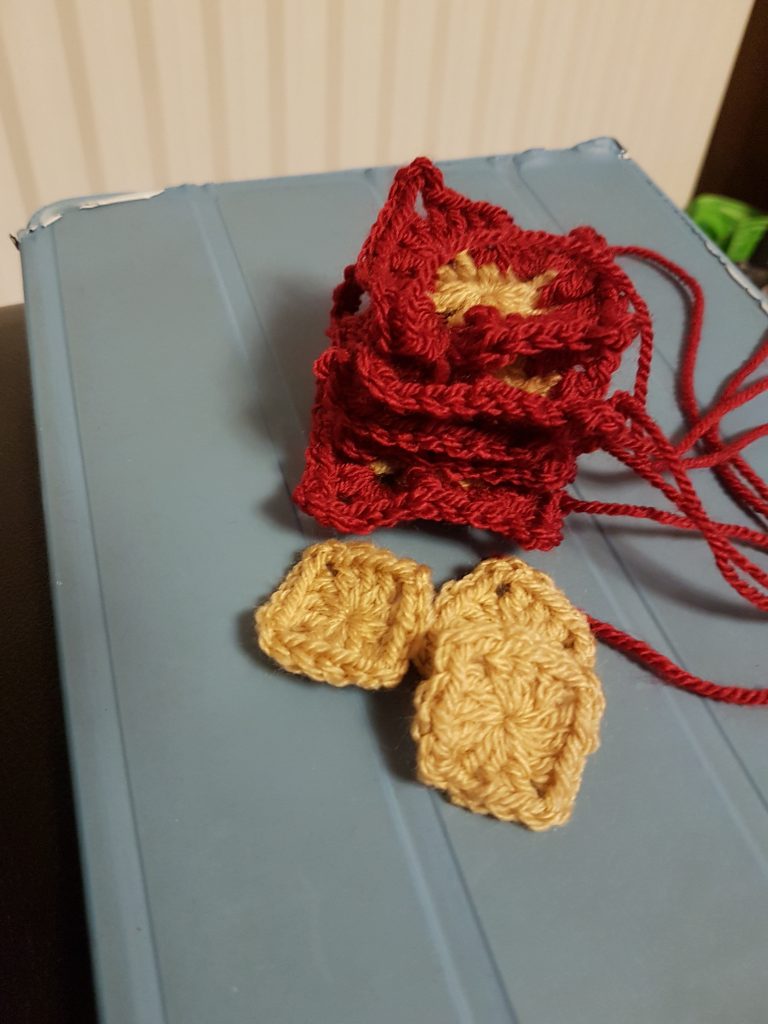
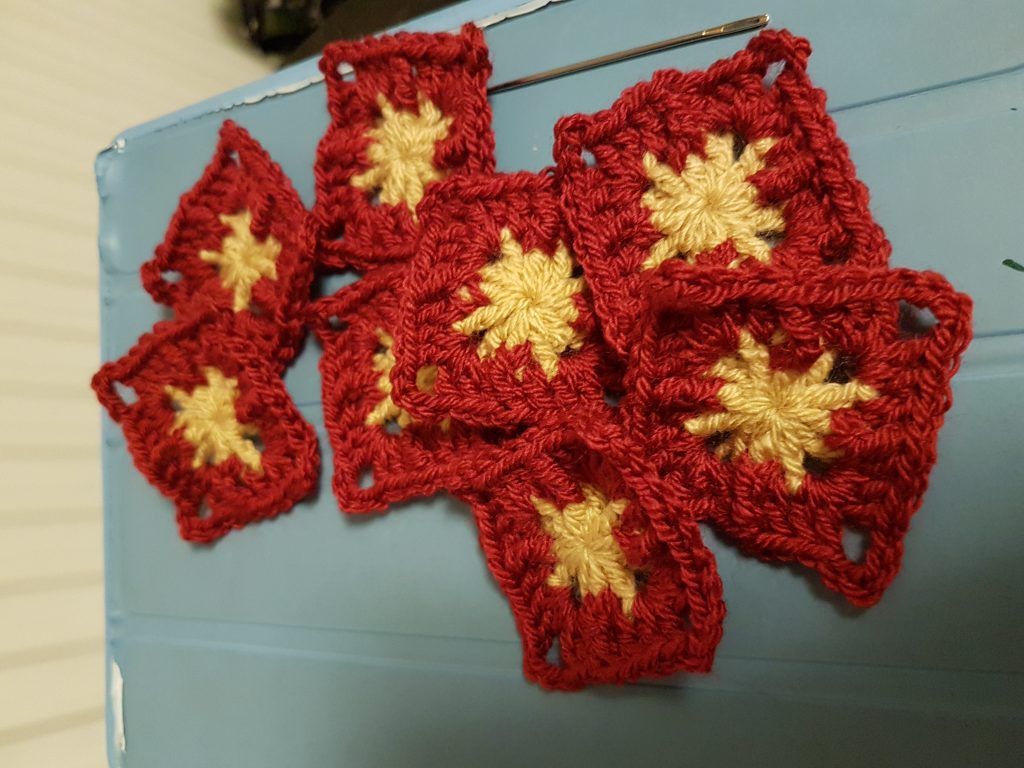
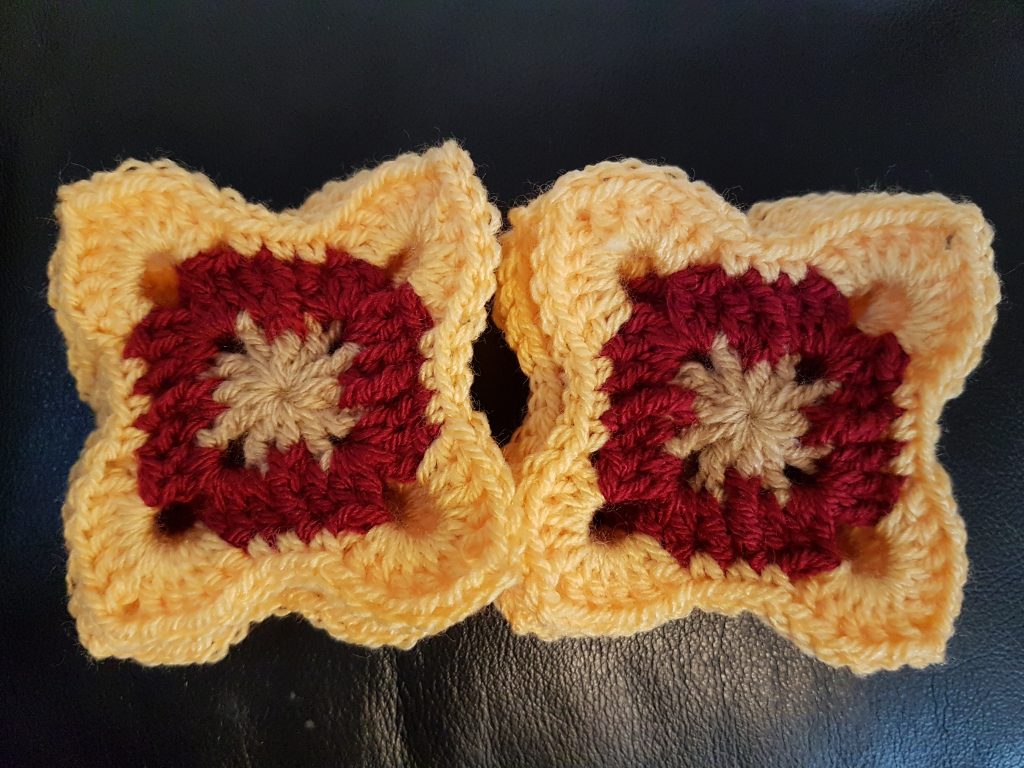
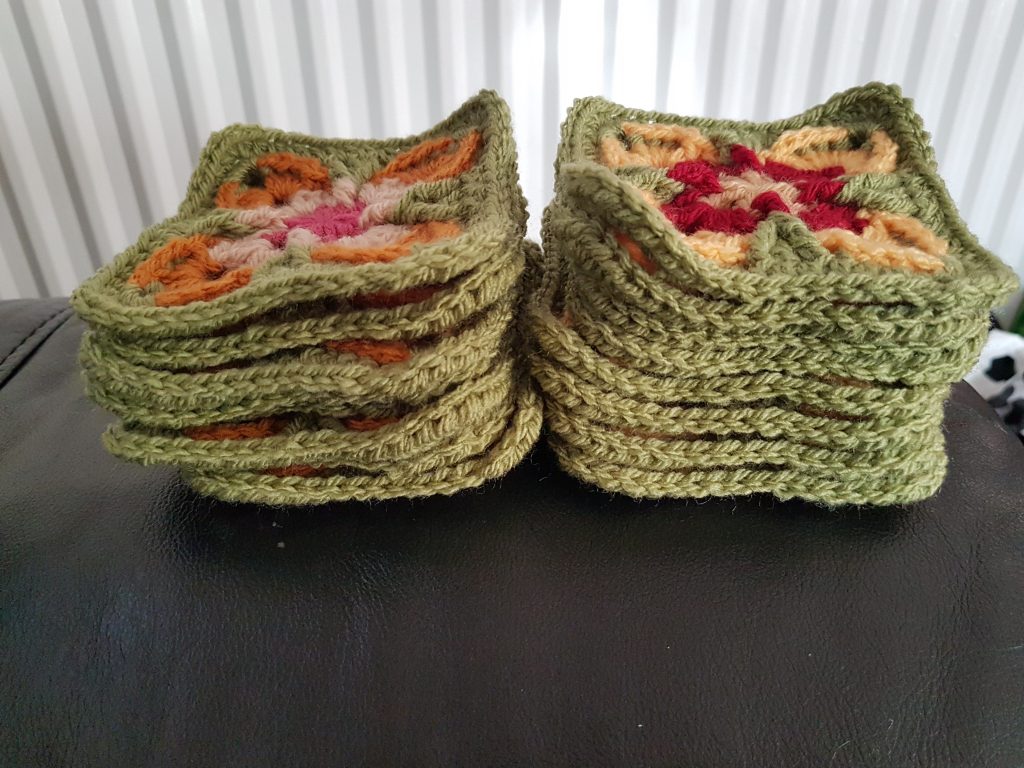
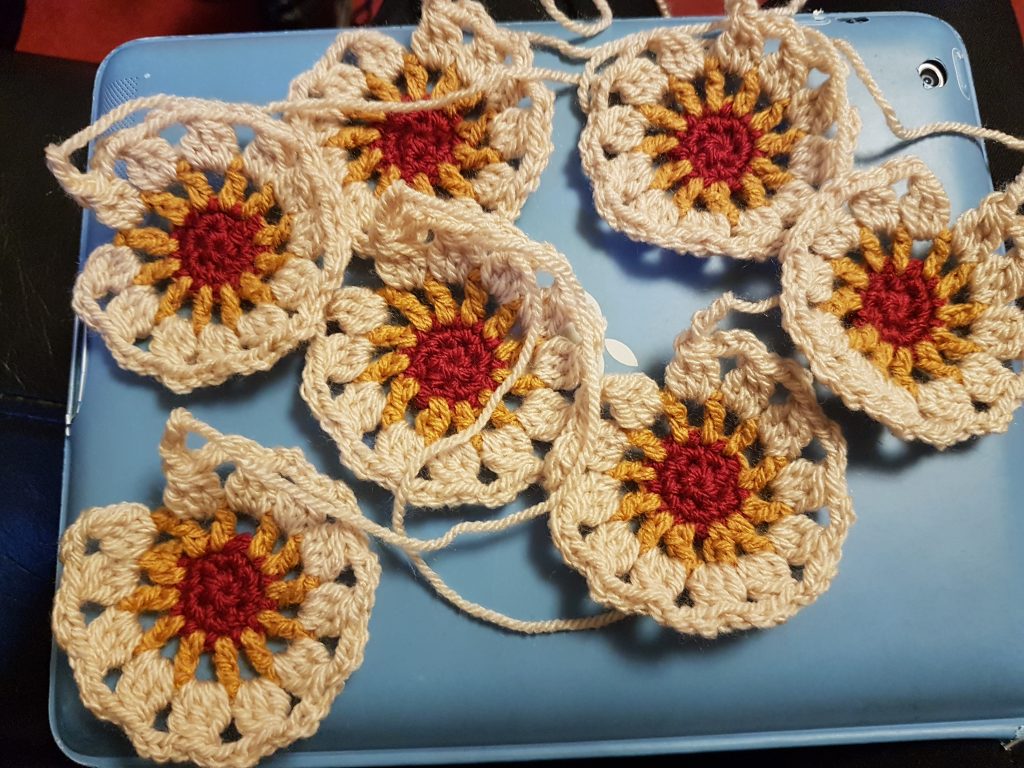
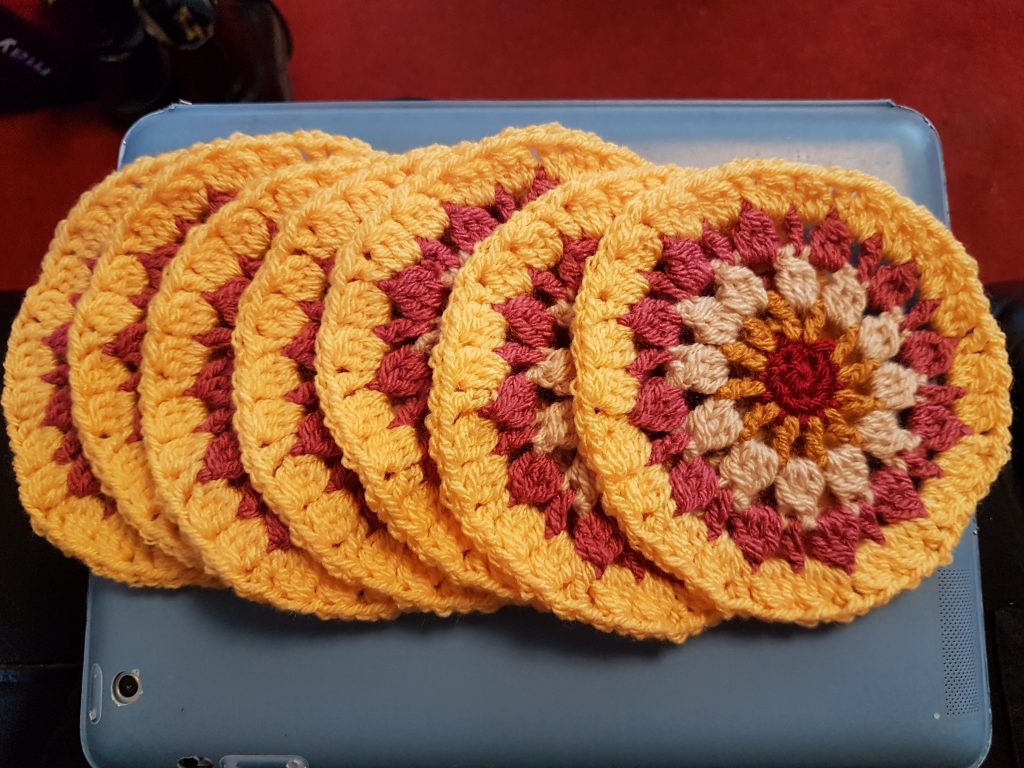
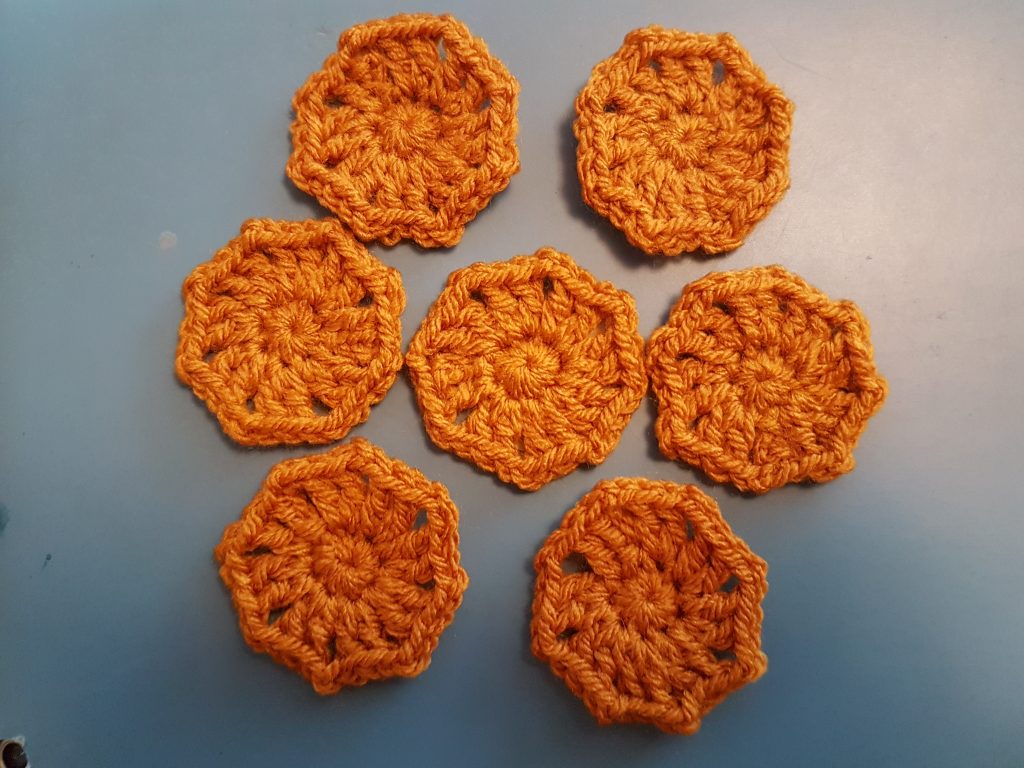
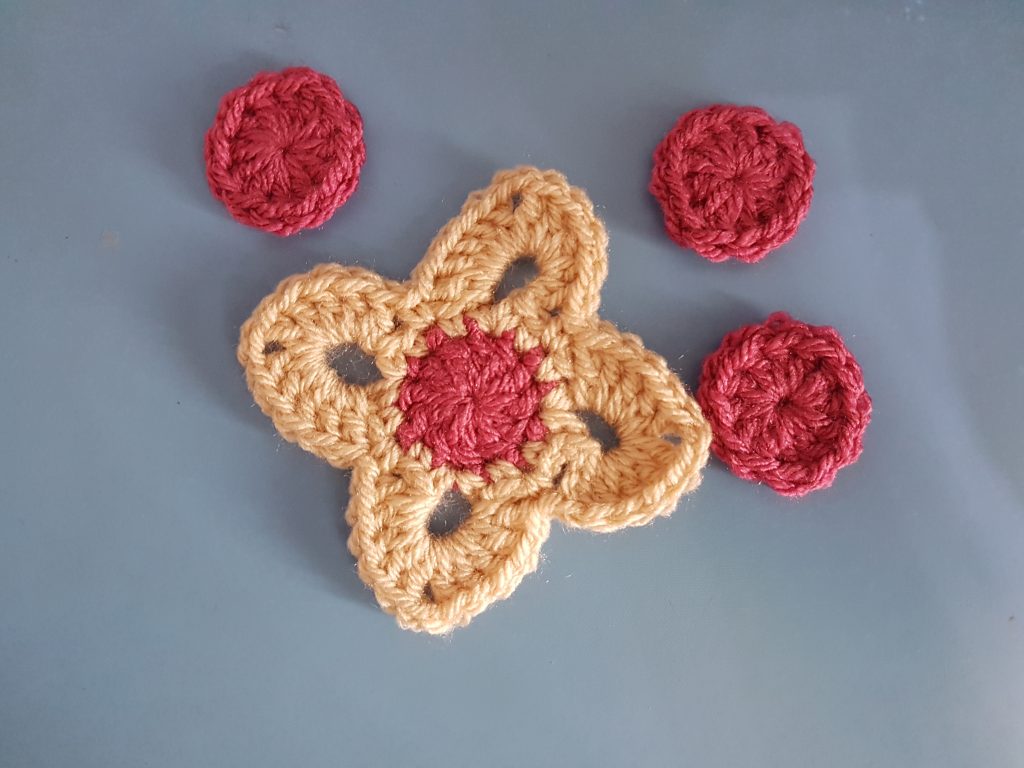
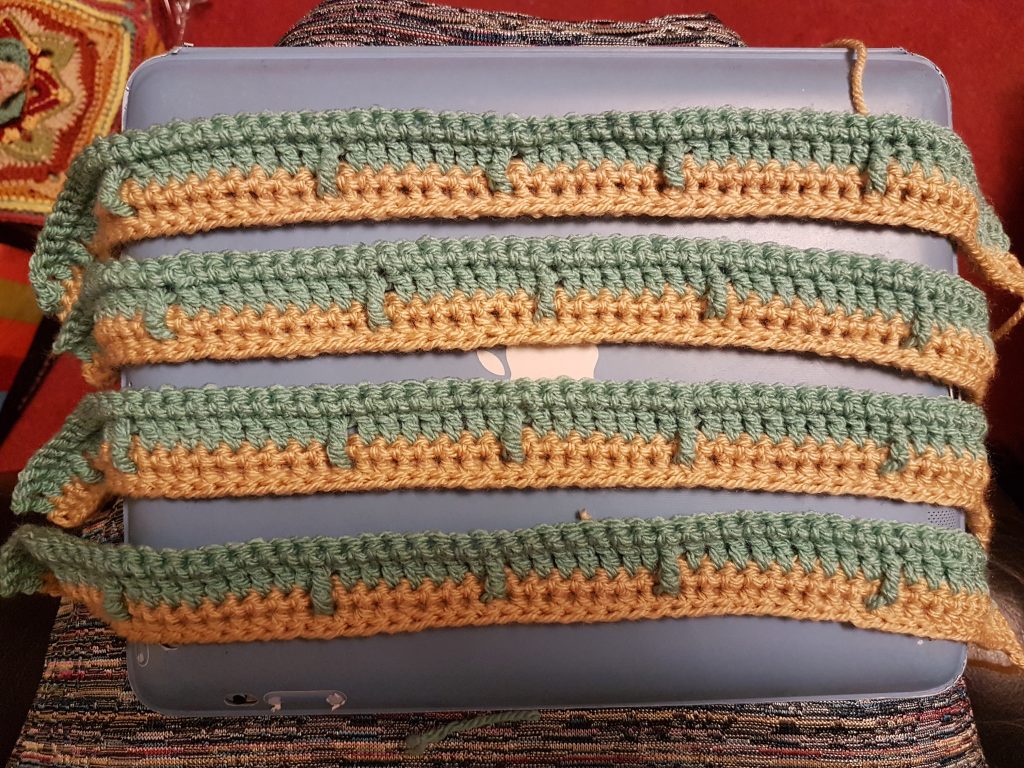
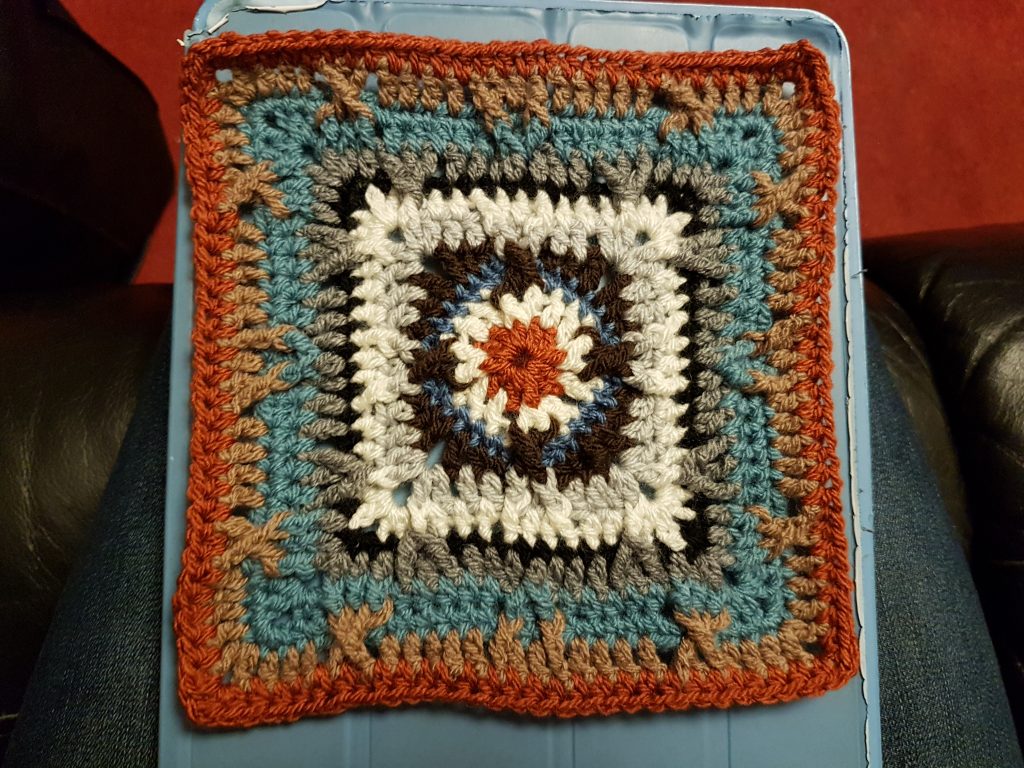
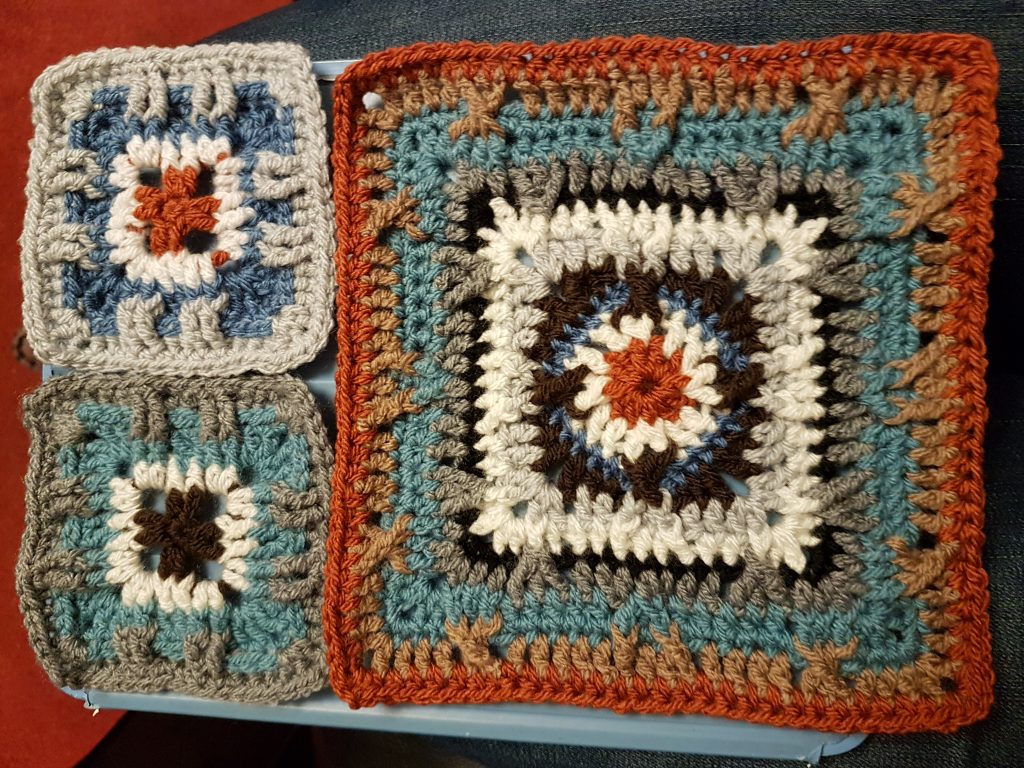
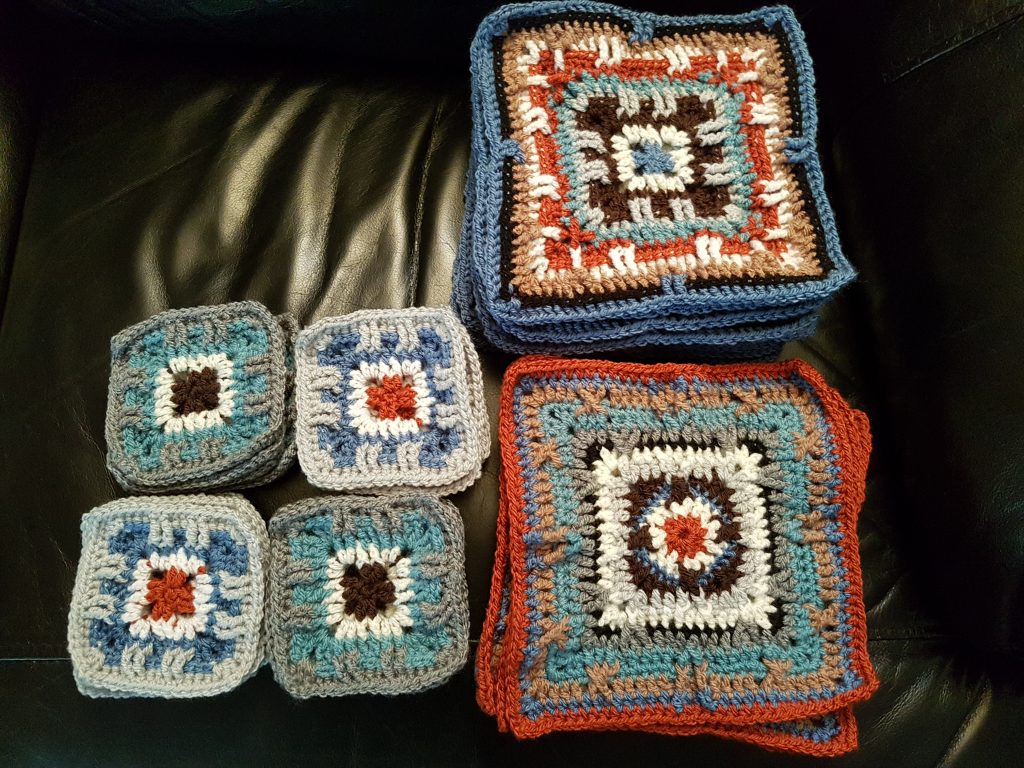
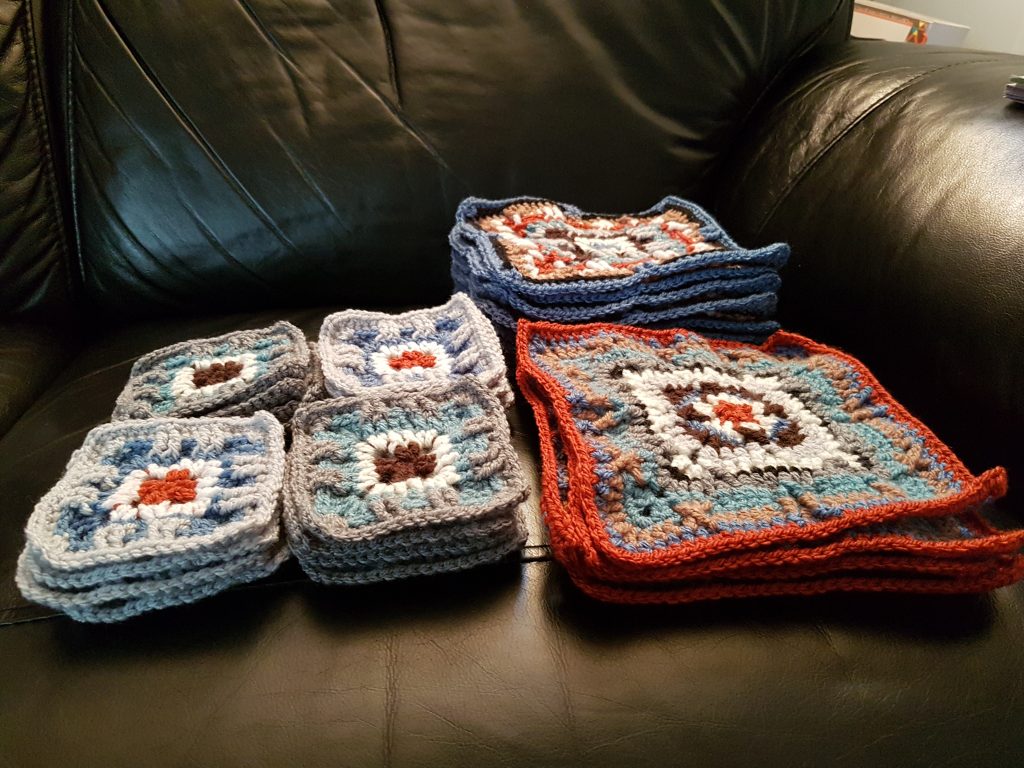
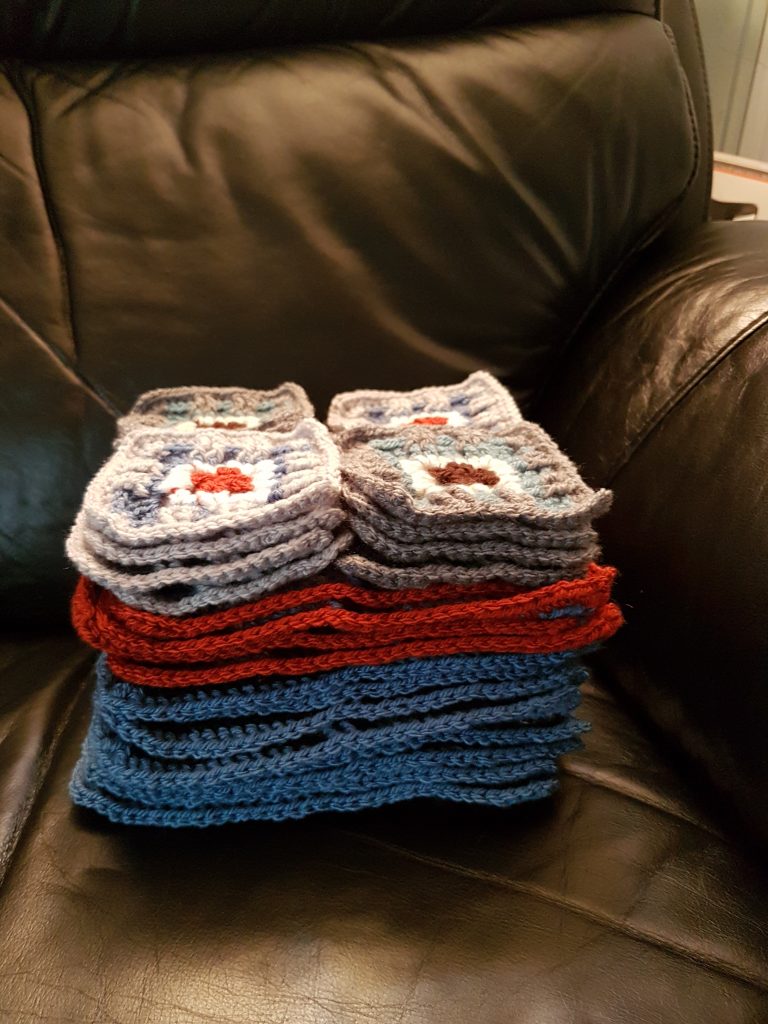
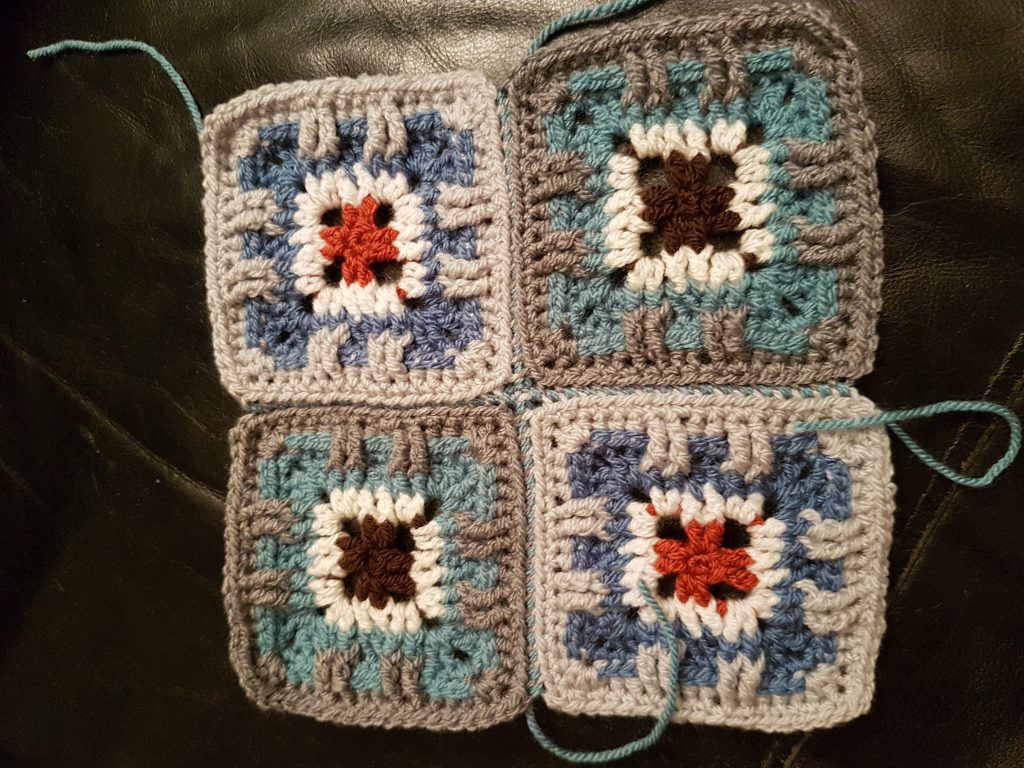
I learnt from the Ross blanket the best way for me to work on them. I start off by doing a complete first square, to see what it looks like. I then work on the remaining squares of that design each round at a time. That way, I remember the pattern and get them done faster. I do the round for each square, and then sew all those ends in. These were week 1. After the first small squares I remembered to take pictures of the rounds in progress:

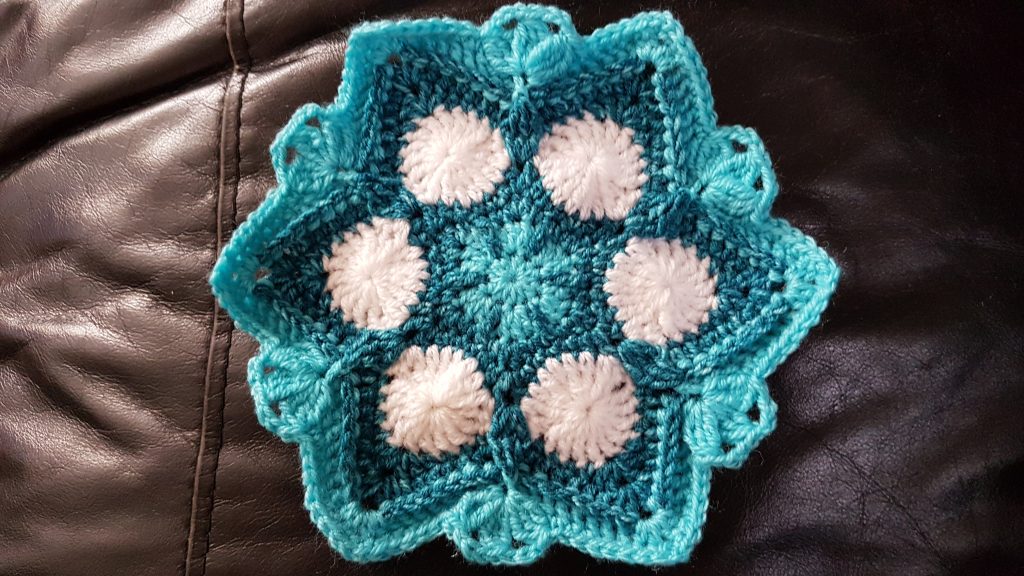
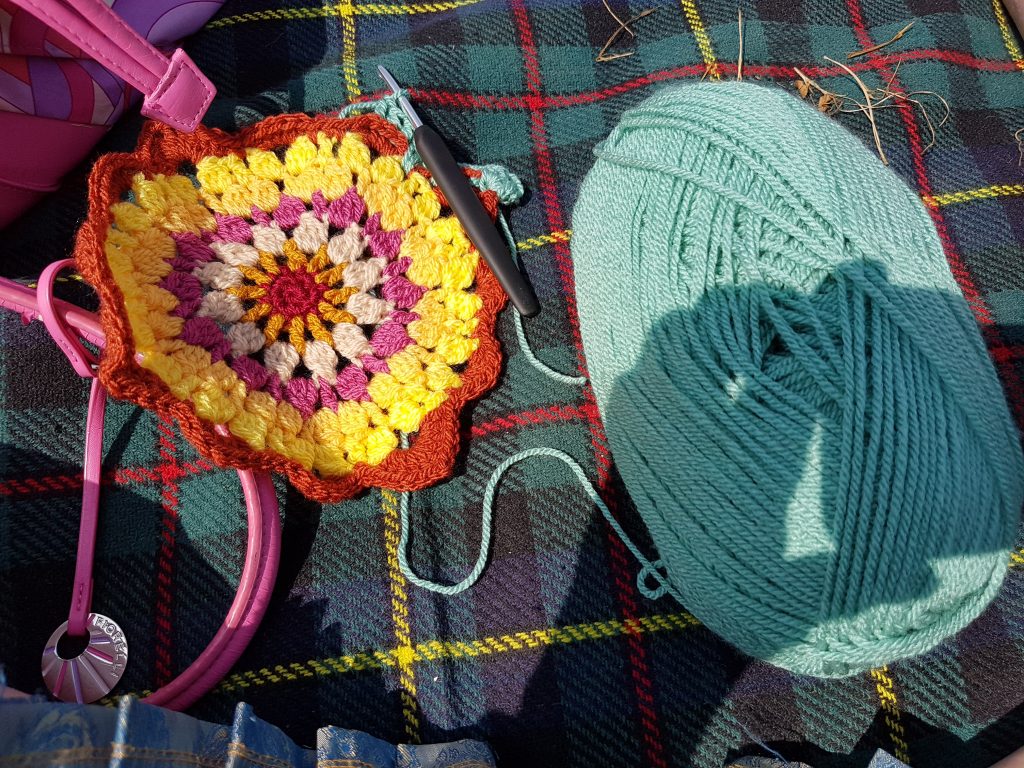
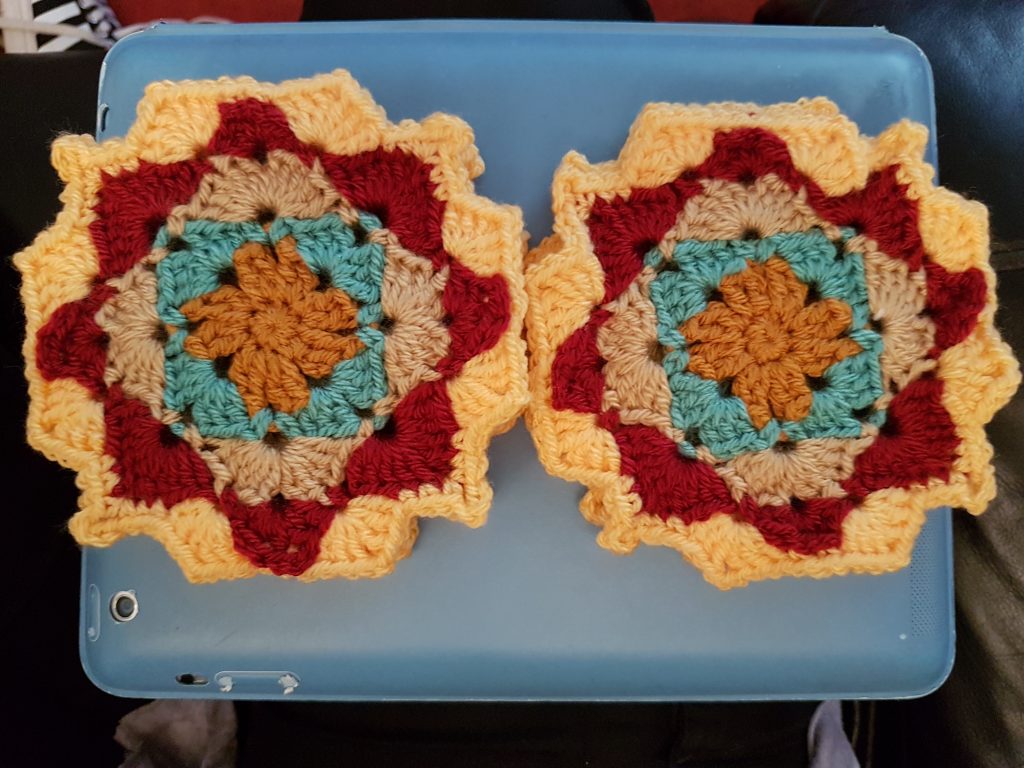
Week 2: I even started taking them out and about with me. So addicted, I took crochet with me when I took my son out to fly his drone!

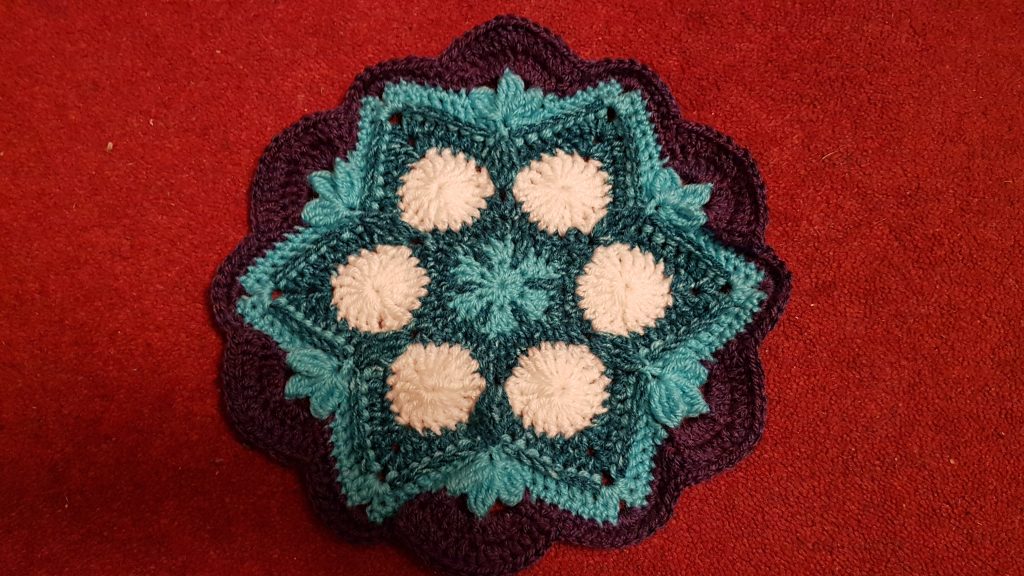
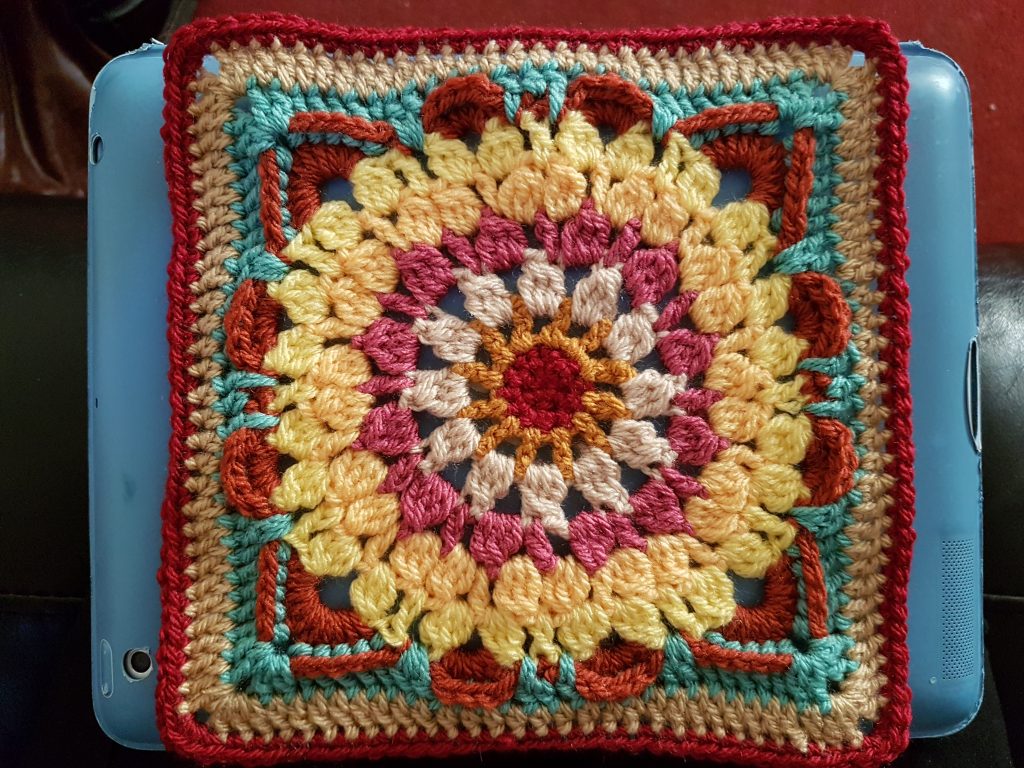
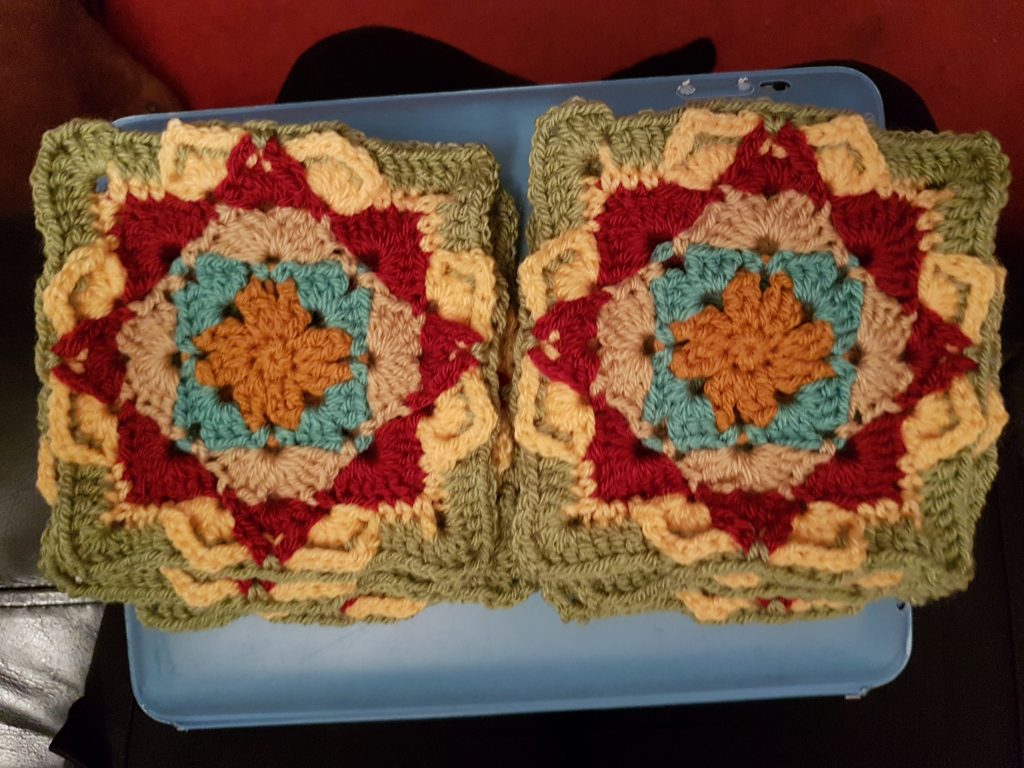
Week 3: Note the pattern is downloaded on the ipad… hence it is often in the pictures!! I love having the patterns like this, as they have lots of photos to help, and you can always zoom in to read the pattern!

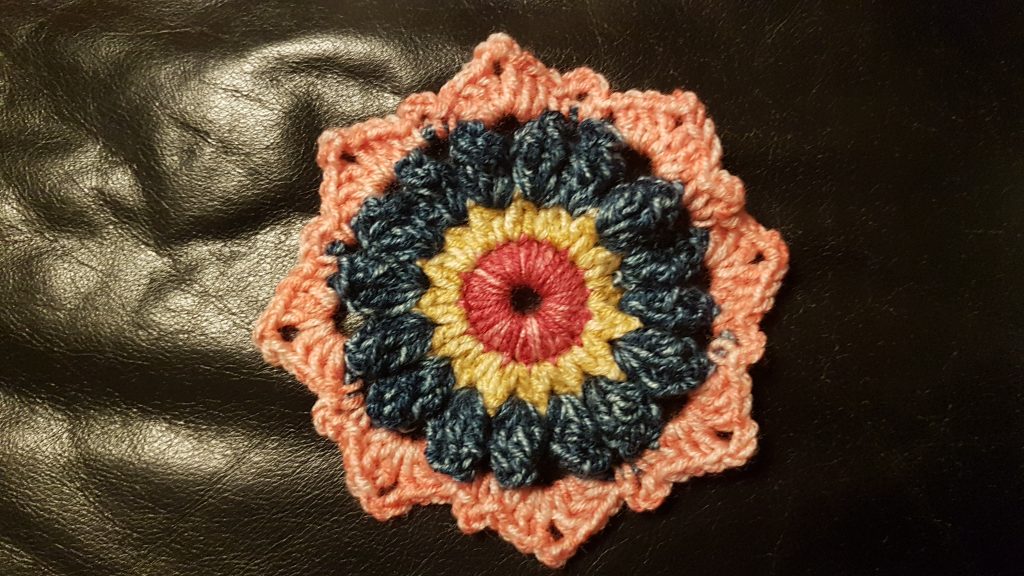
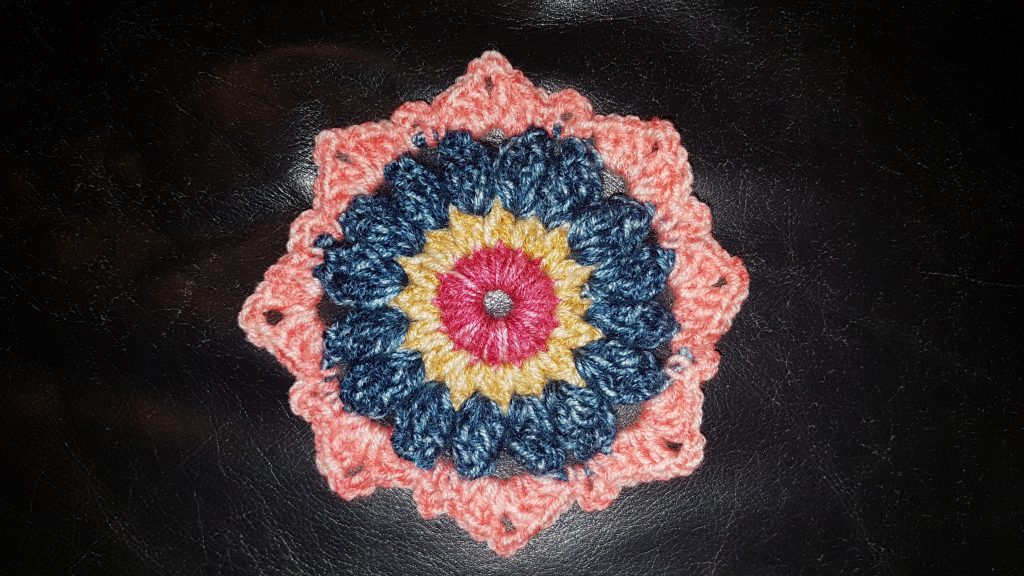
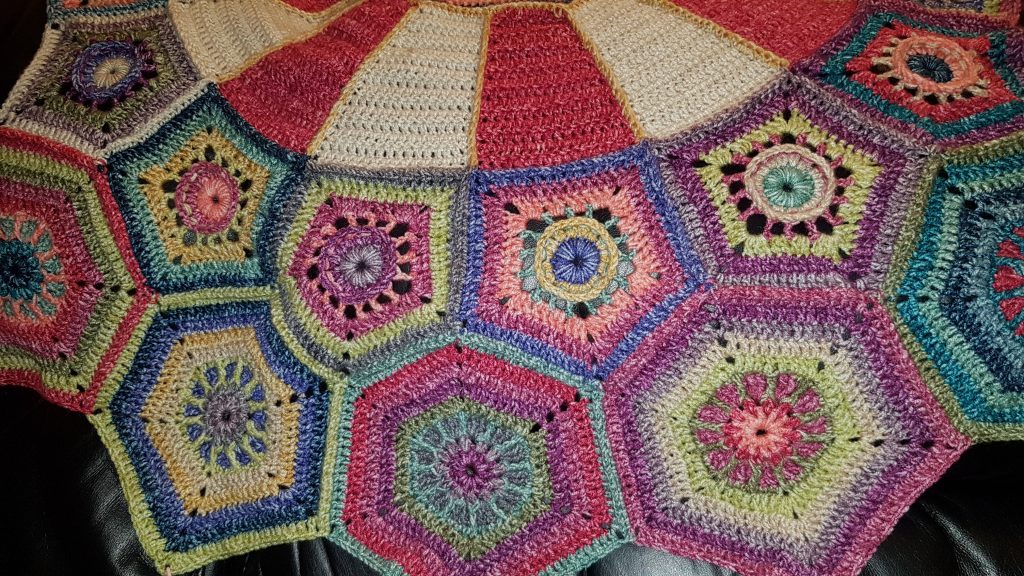
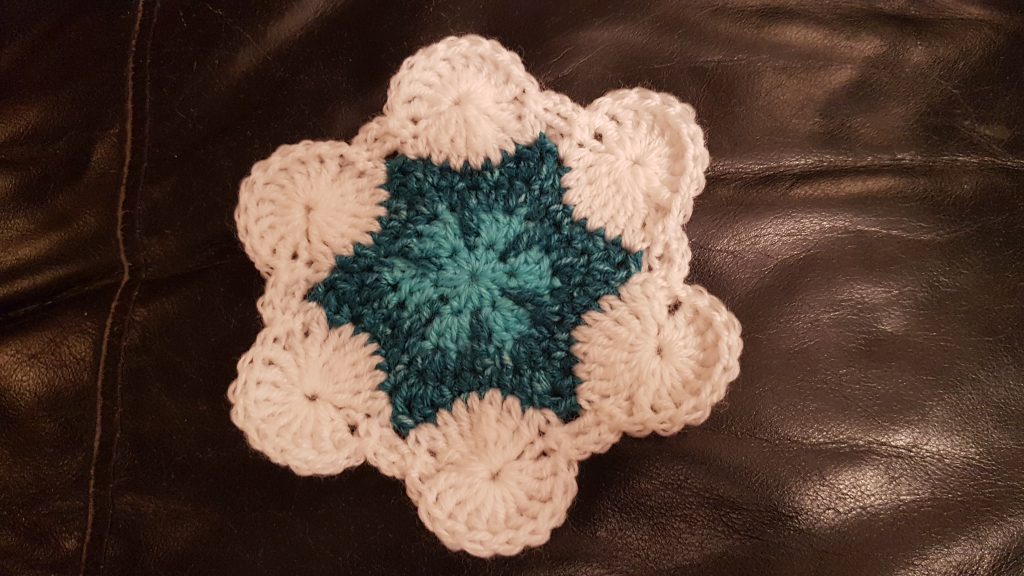
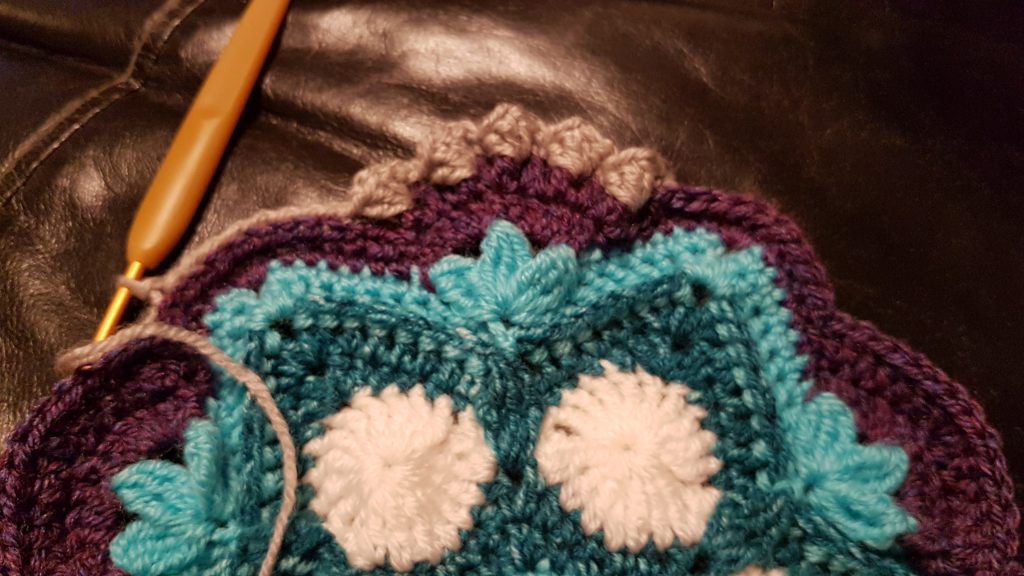
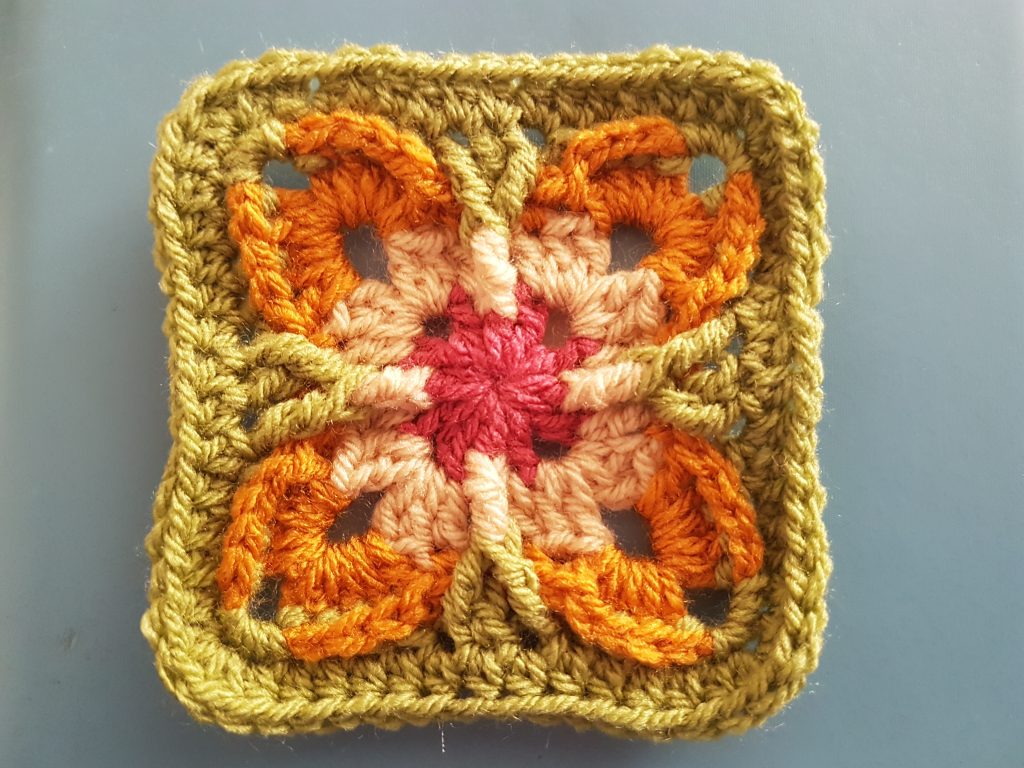
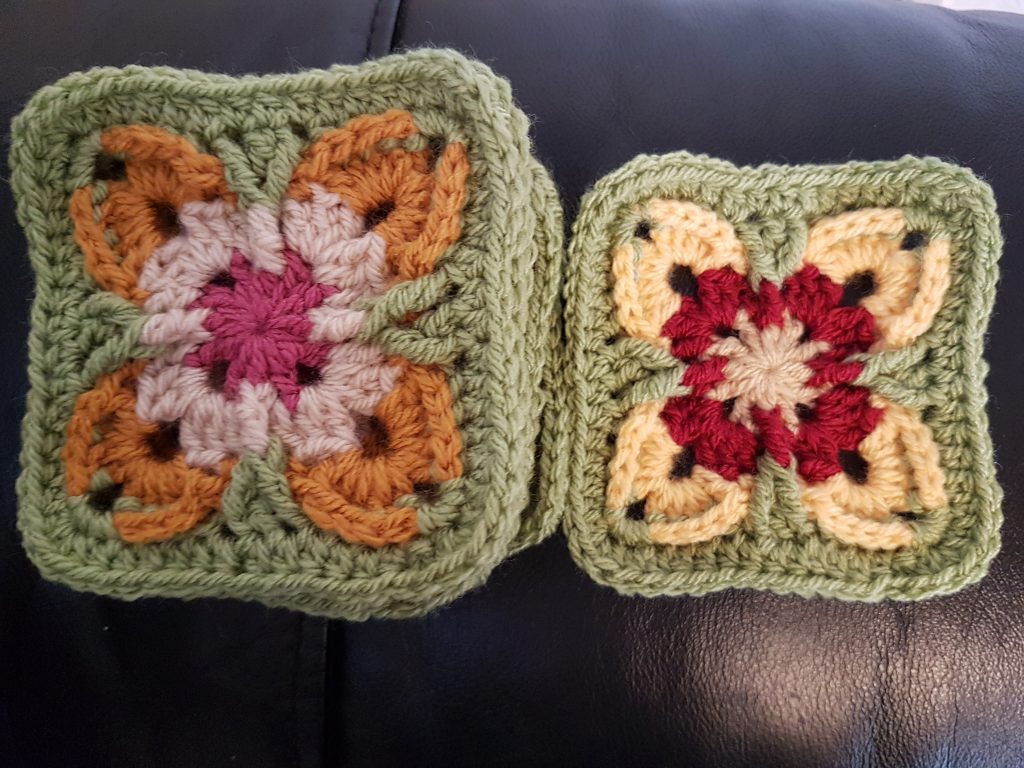
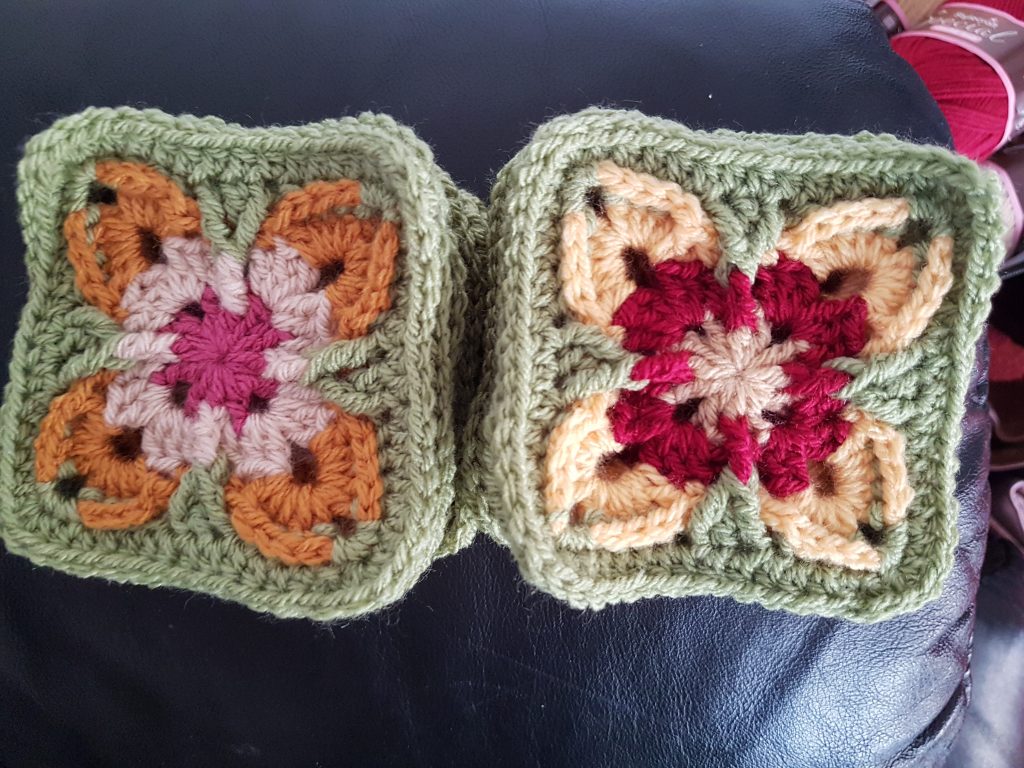
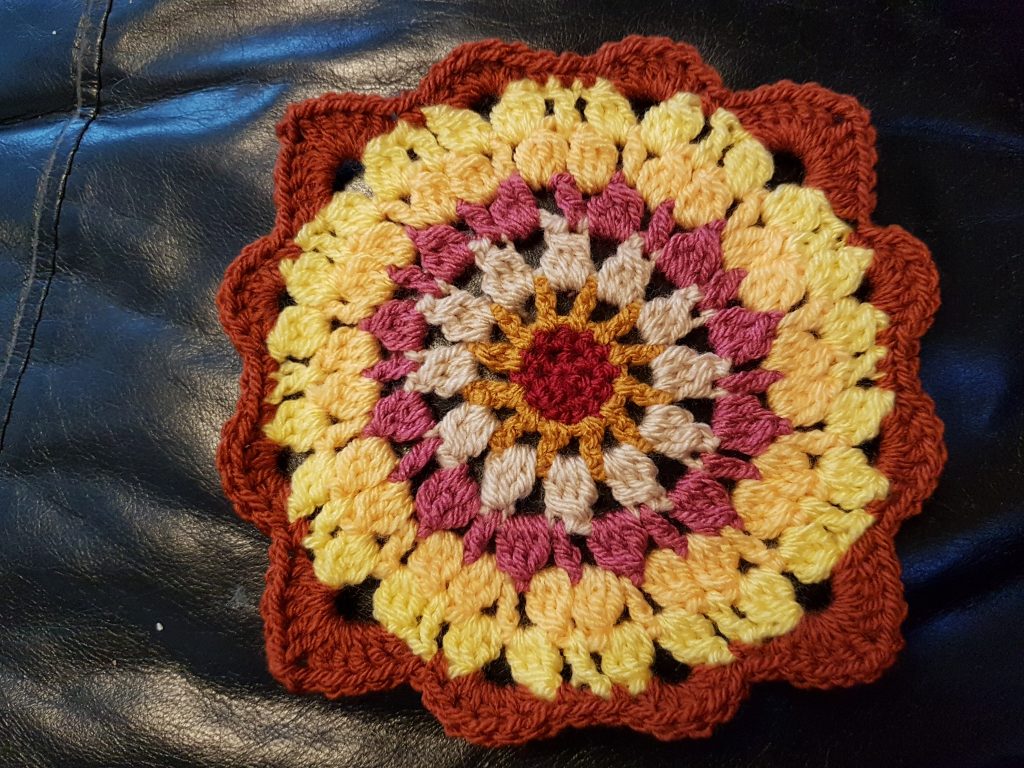
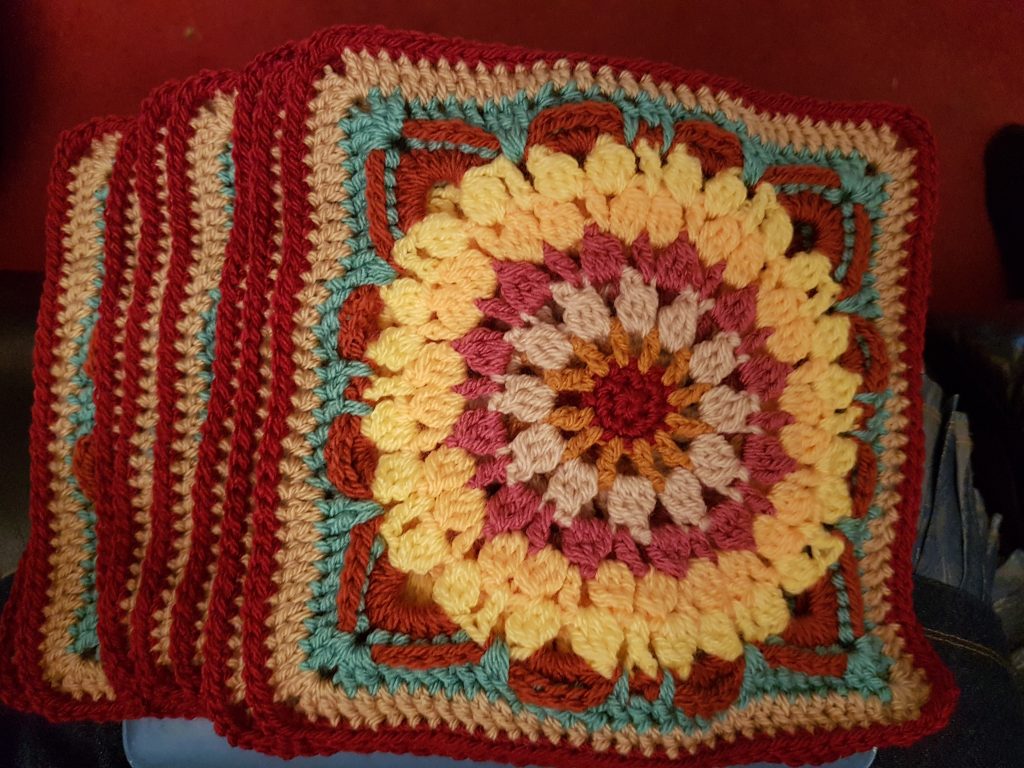
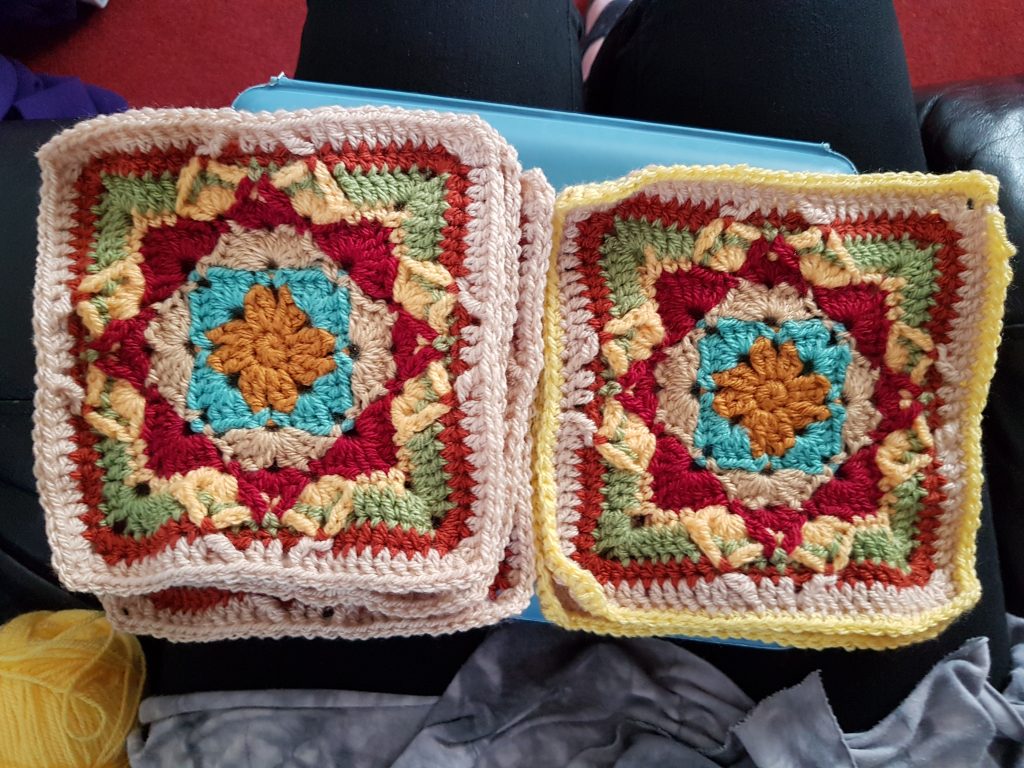
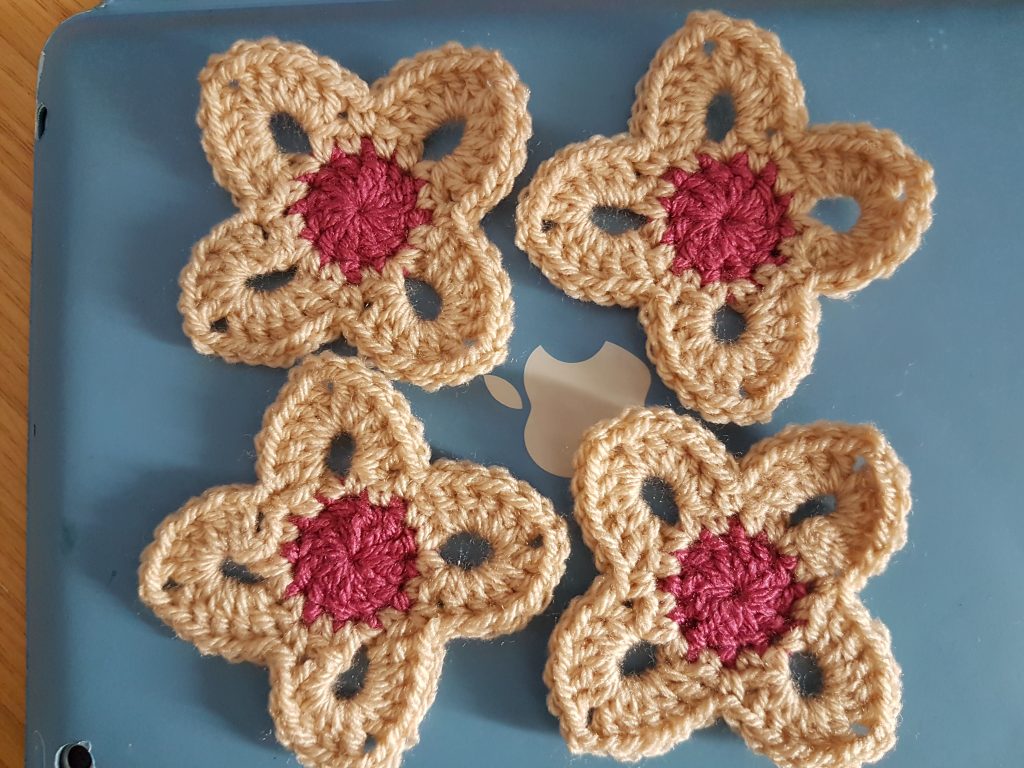
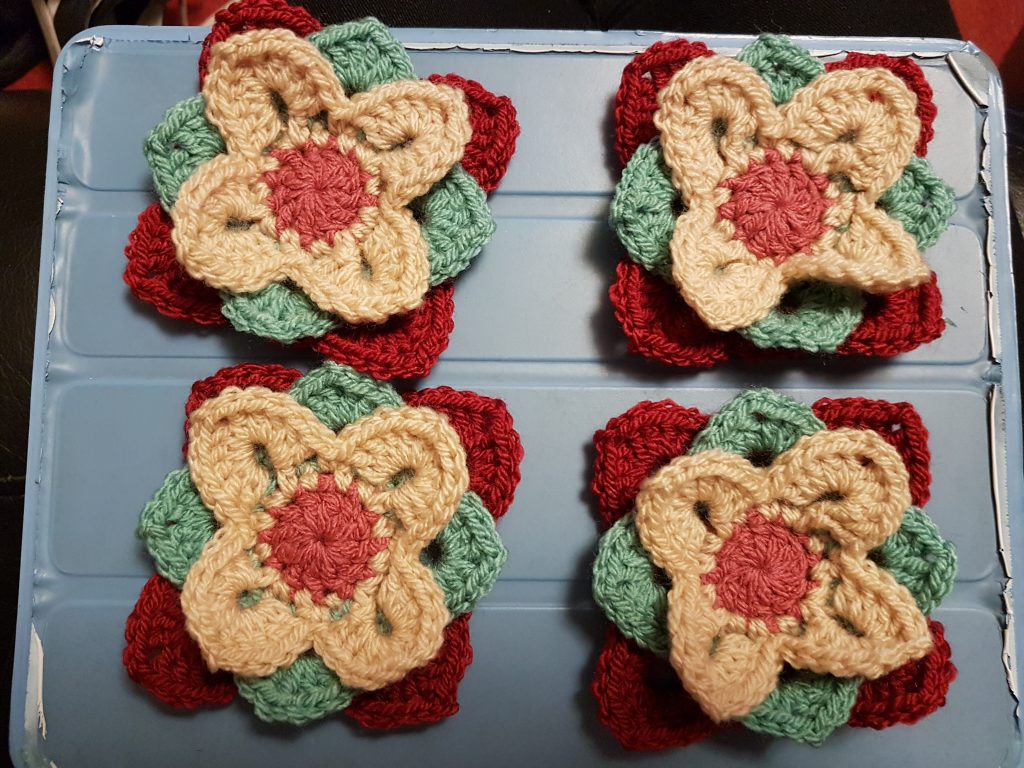
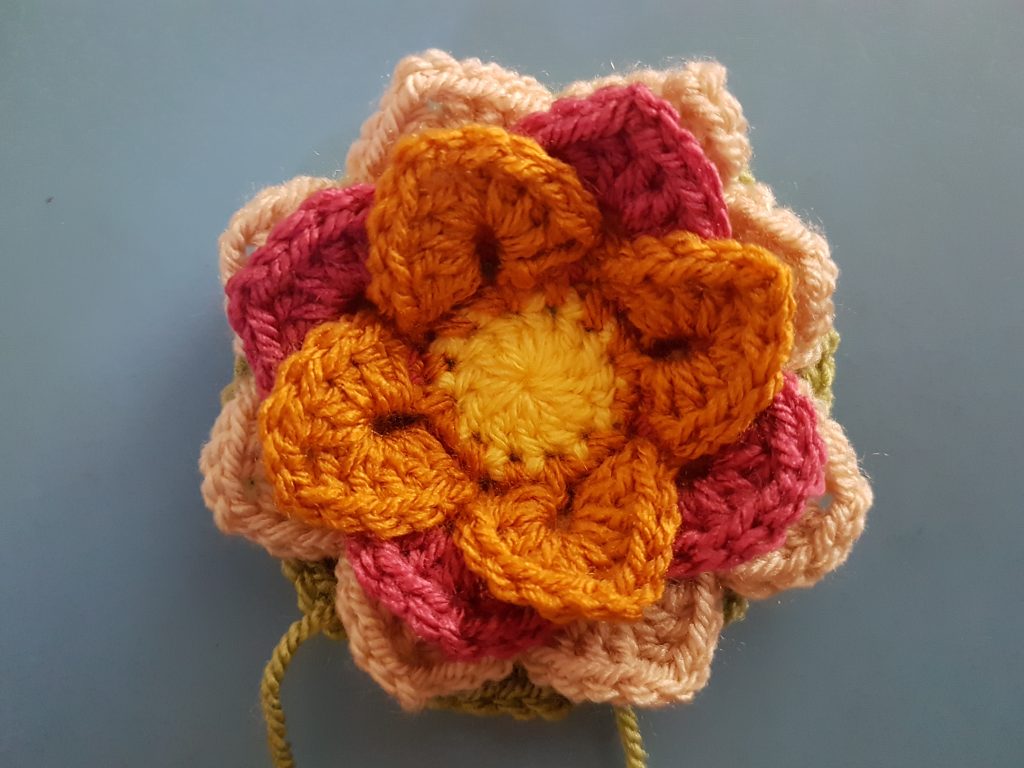
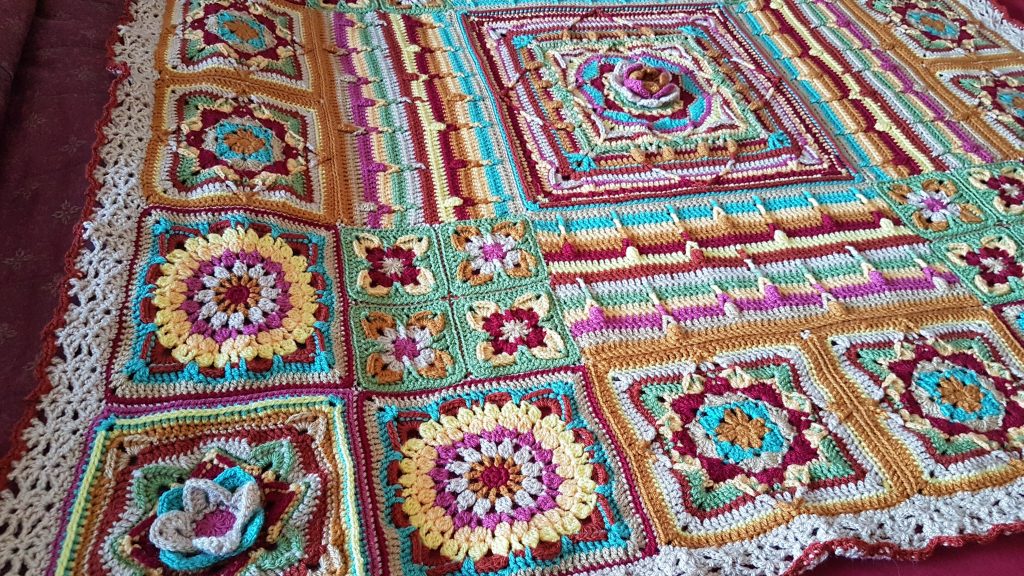
Week 4: Lovely flowers

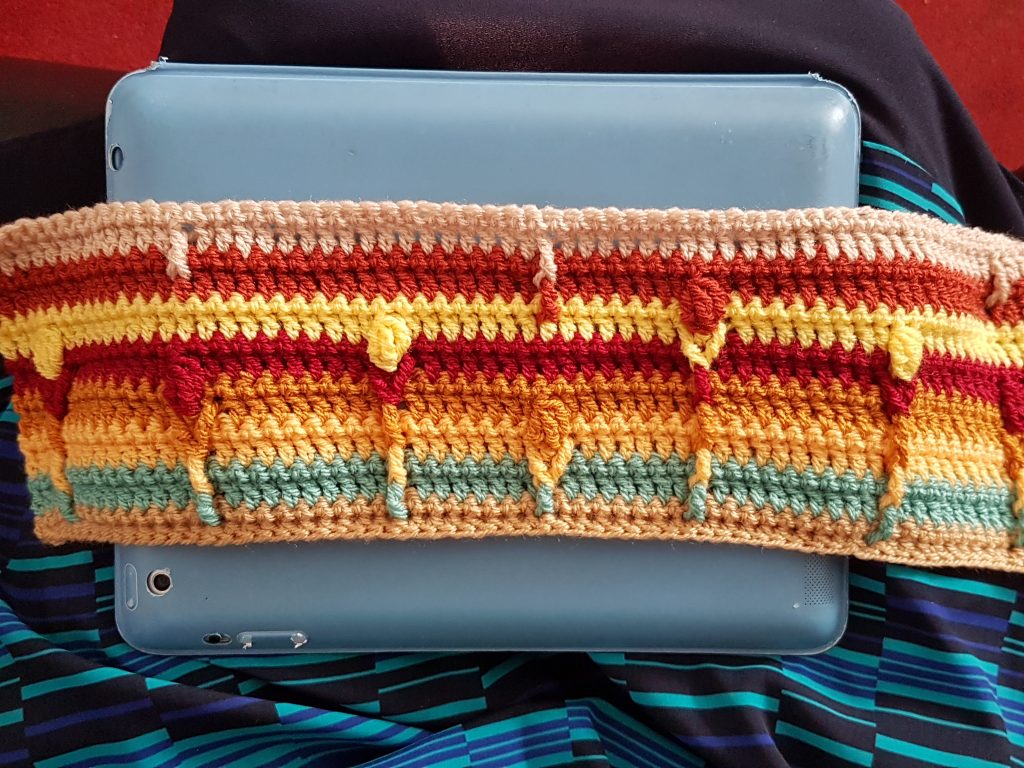
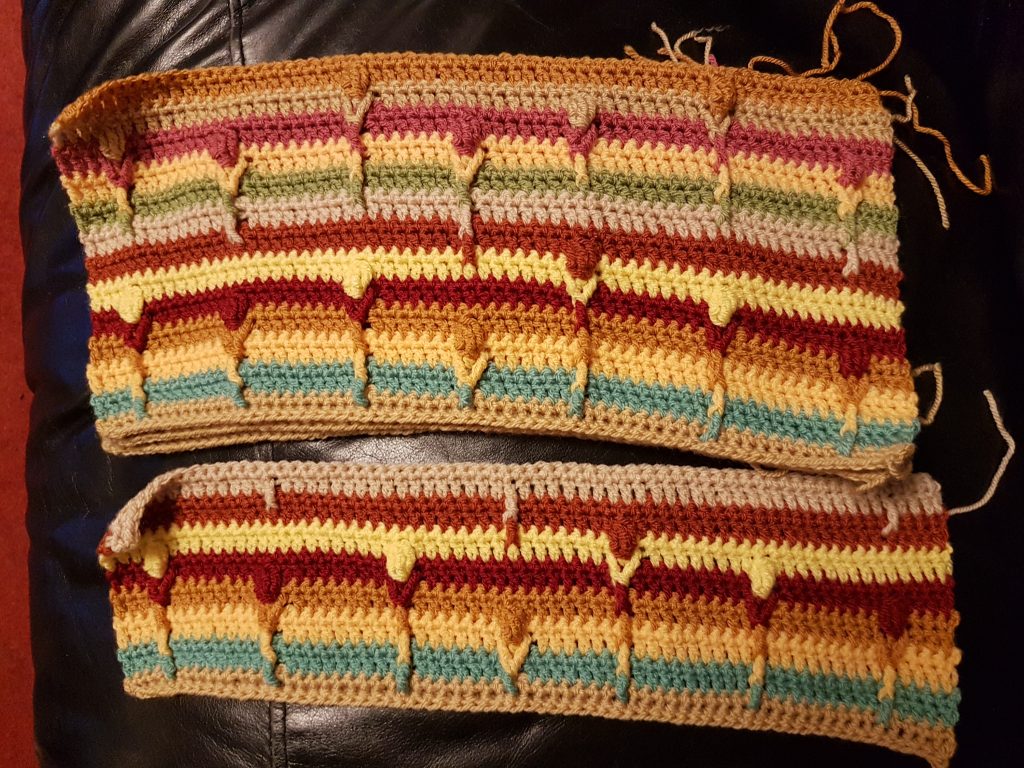
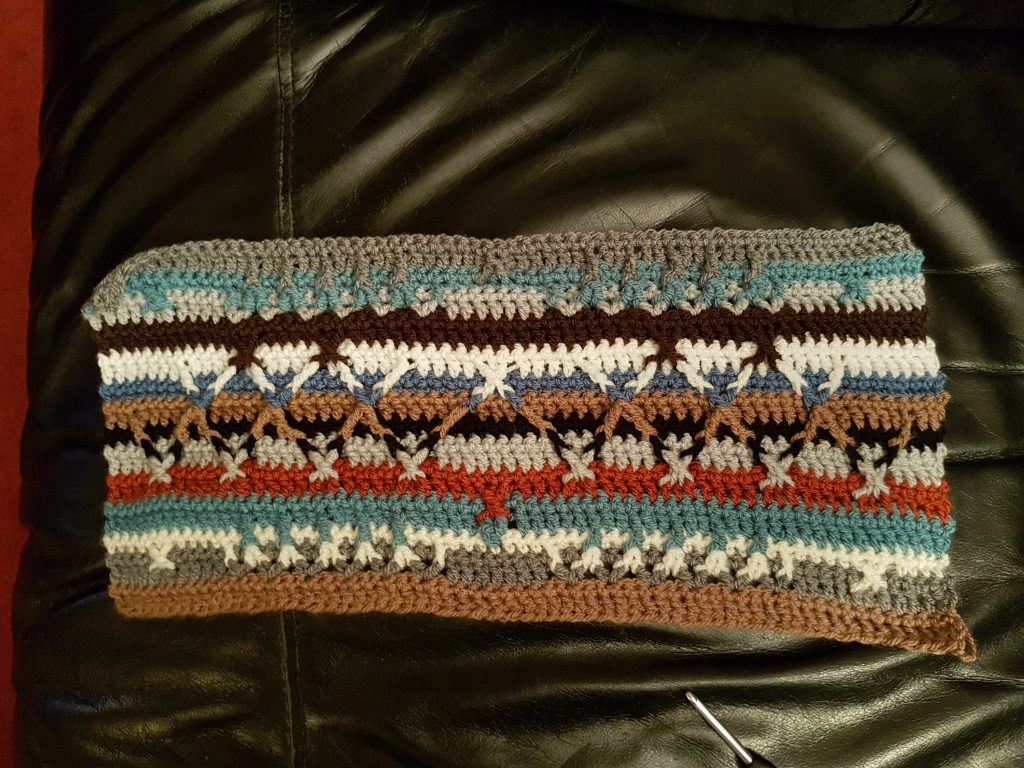
Week 5: Rectangles. These are quite difficult to start and I had to youtube how to do the foundation treble row to start each one. I would have to youtube it again, as I can’t remember!! What on earth did we do before youtube!? What I do like is how effective this is making different height flowers, but I don’t seem to have a picture of the finished rectangles on their own.

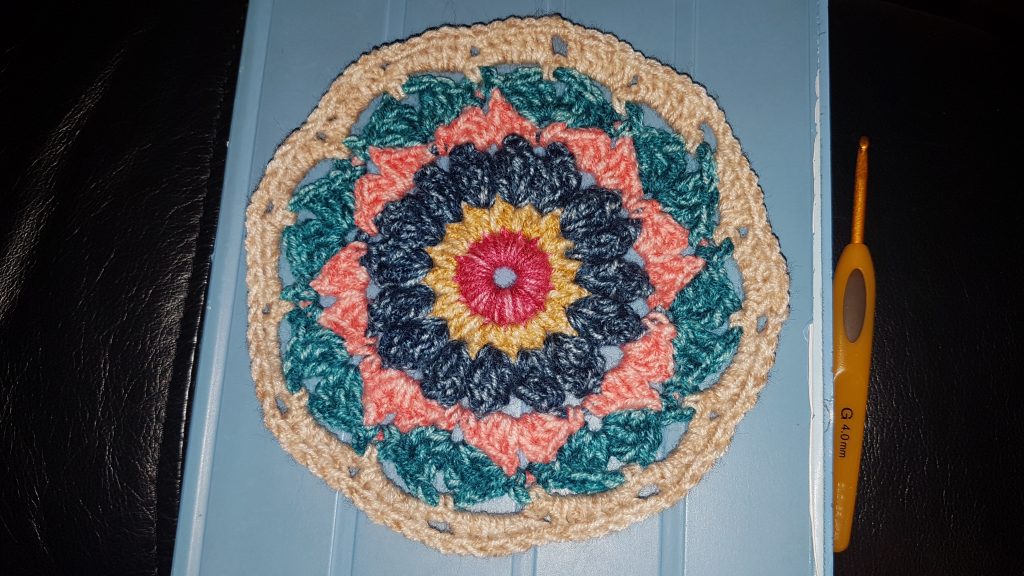
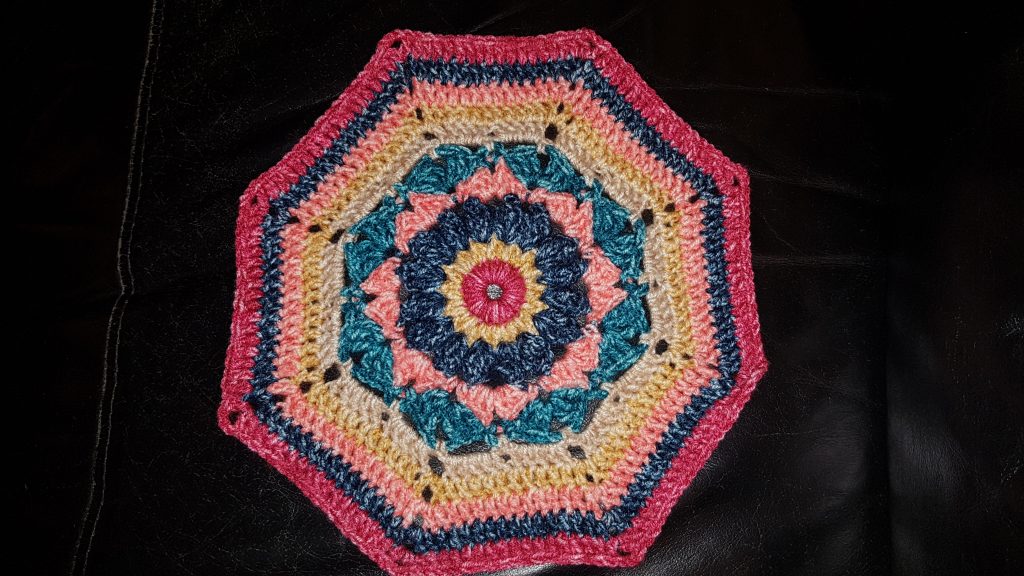
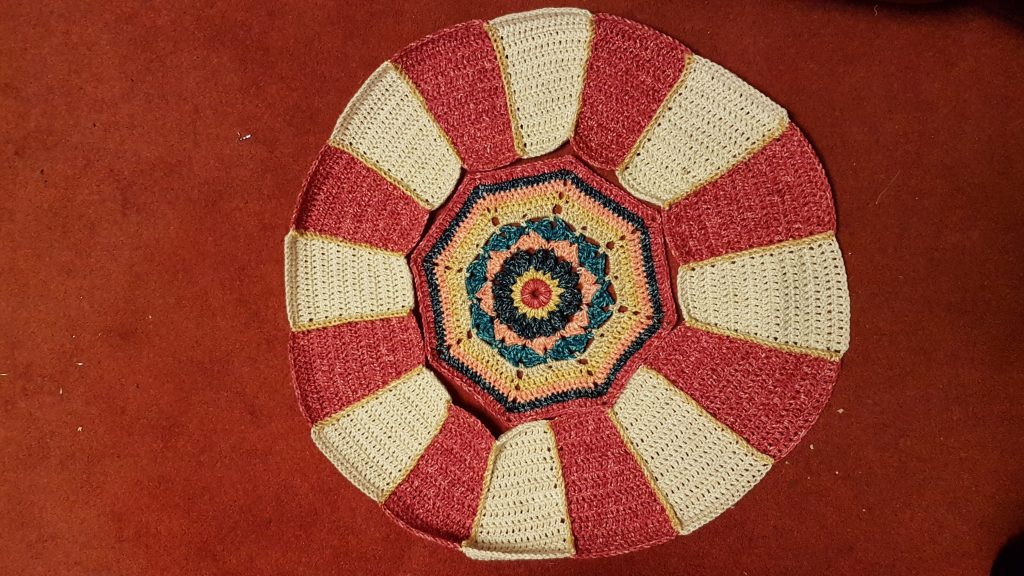
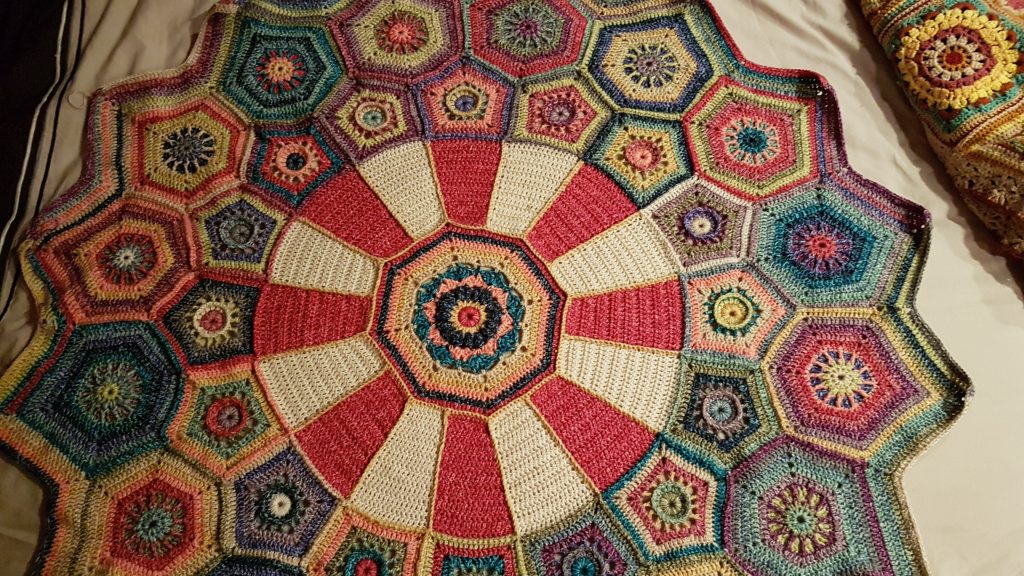
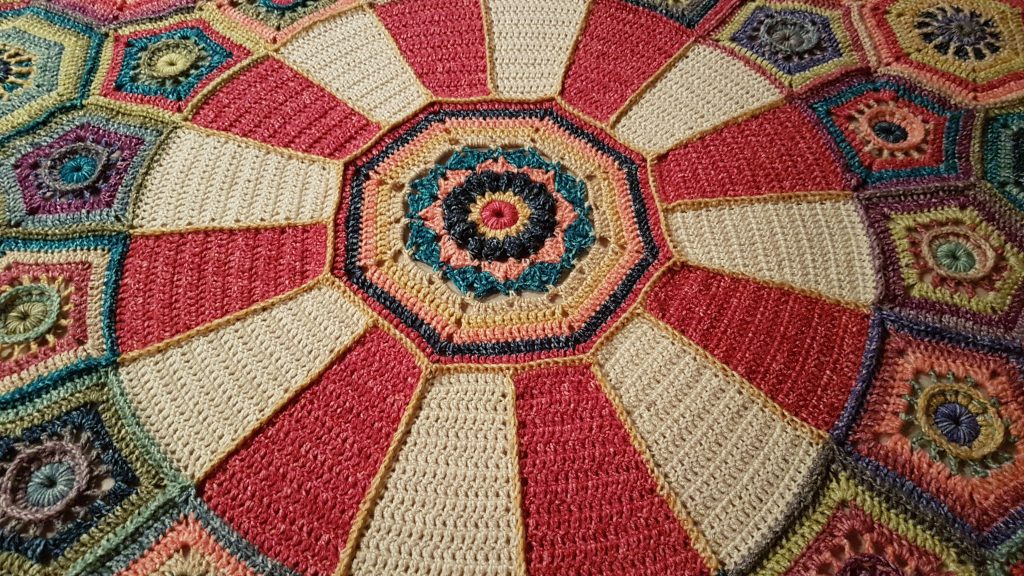
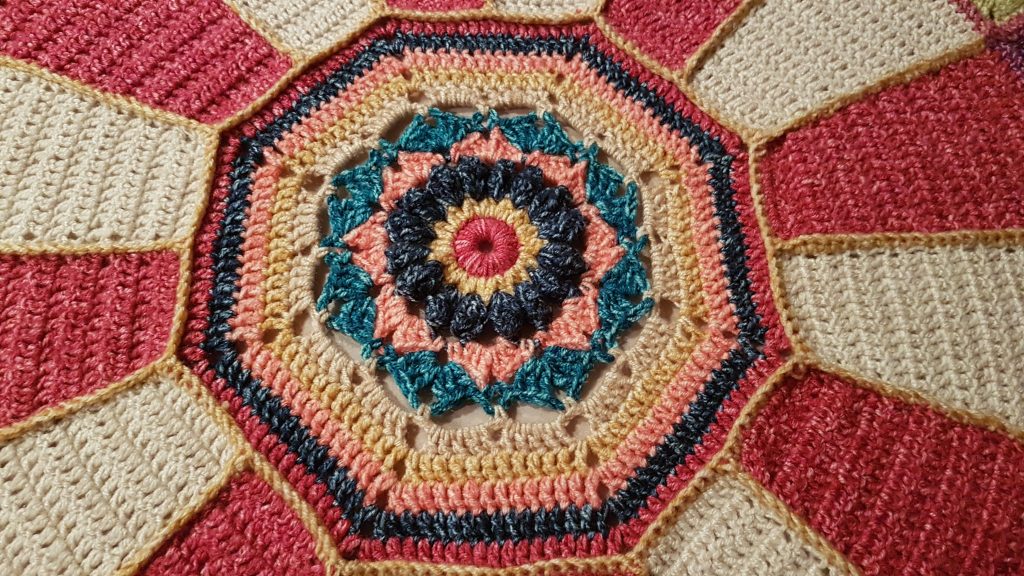
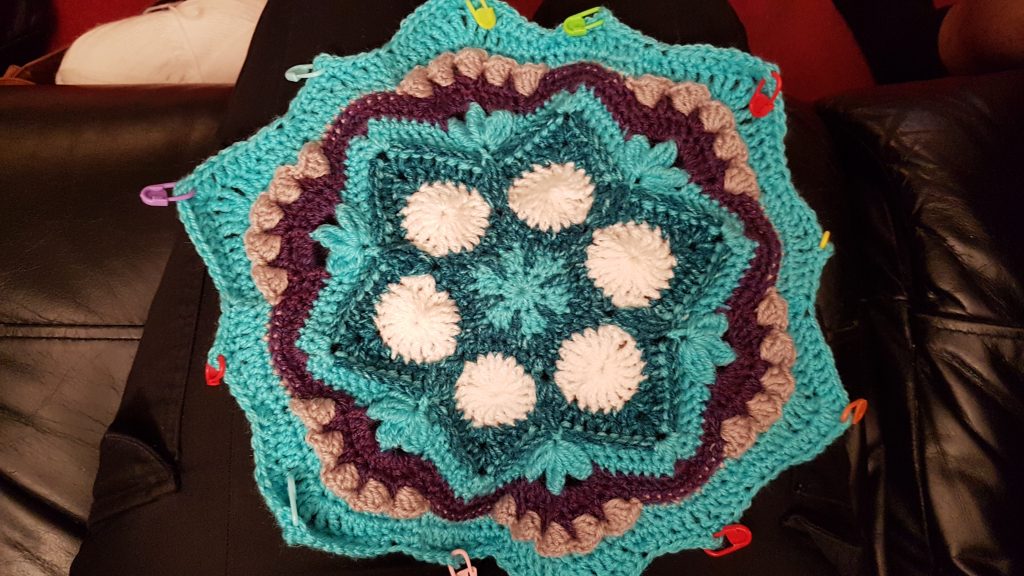
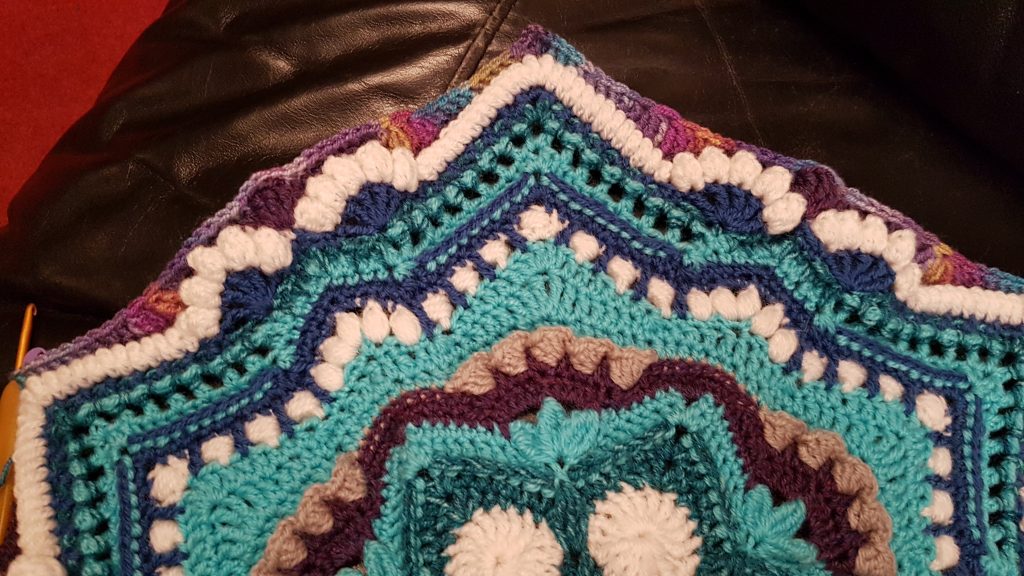
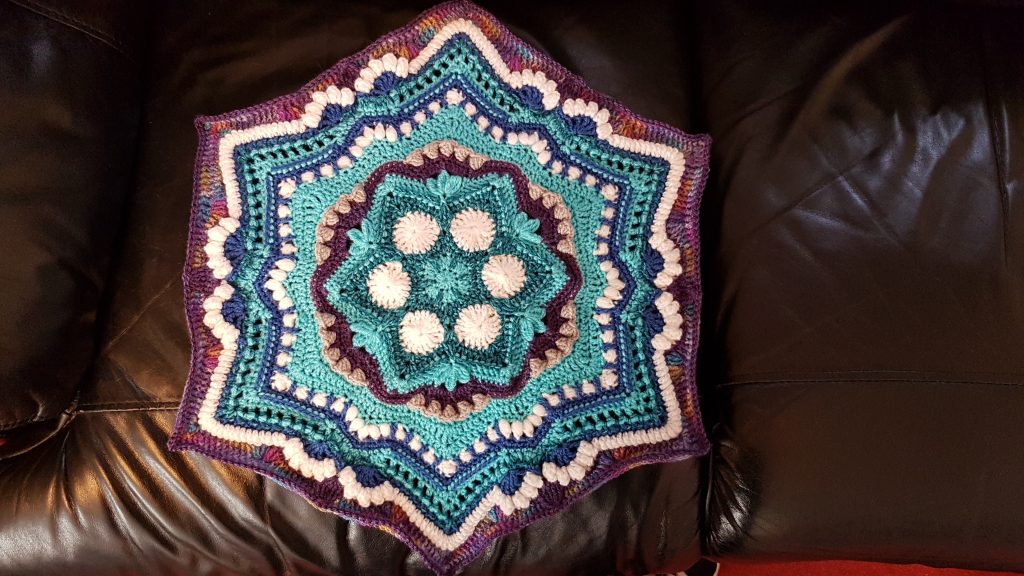
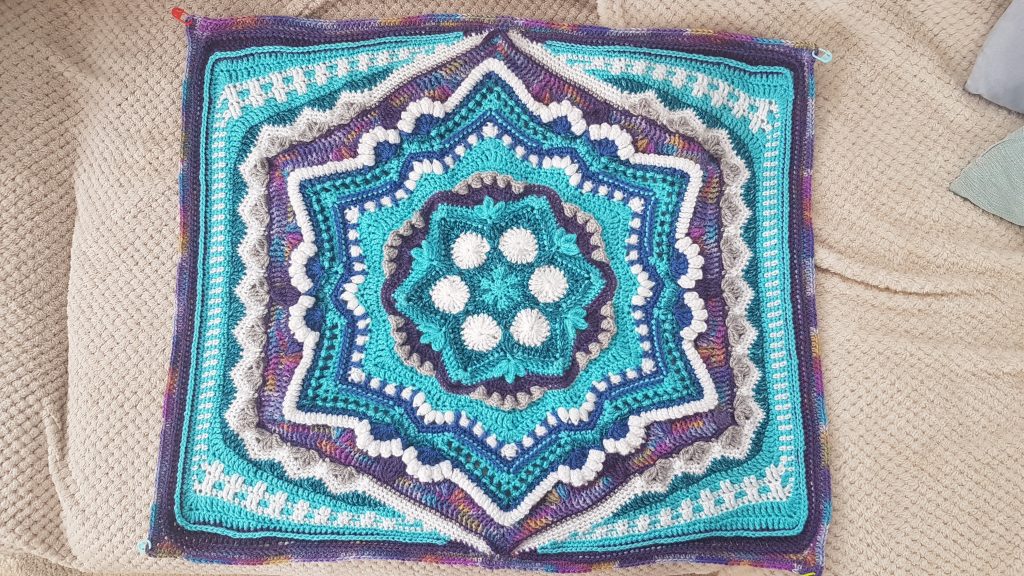
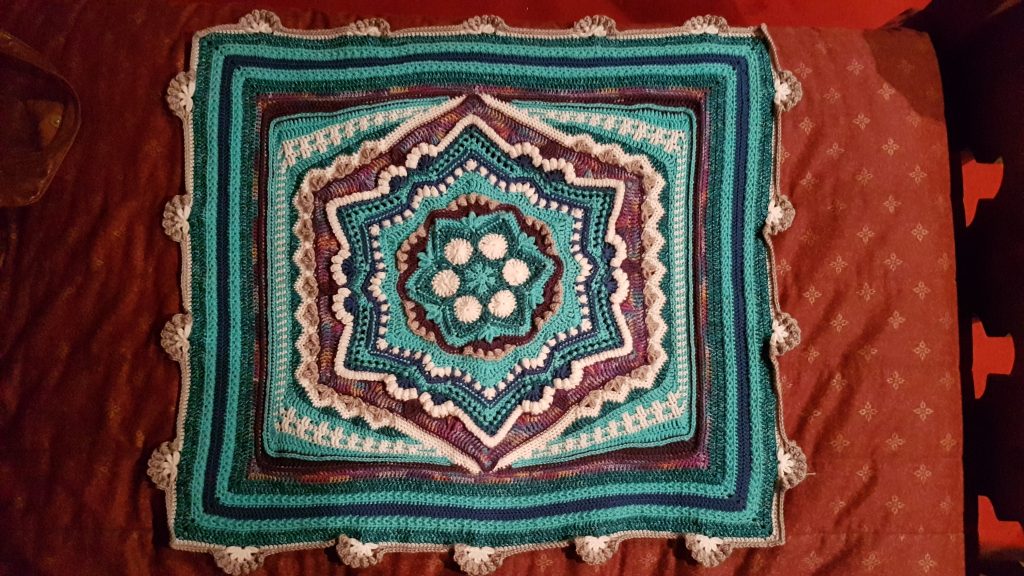
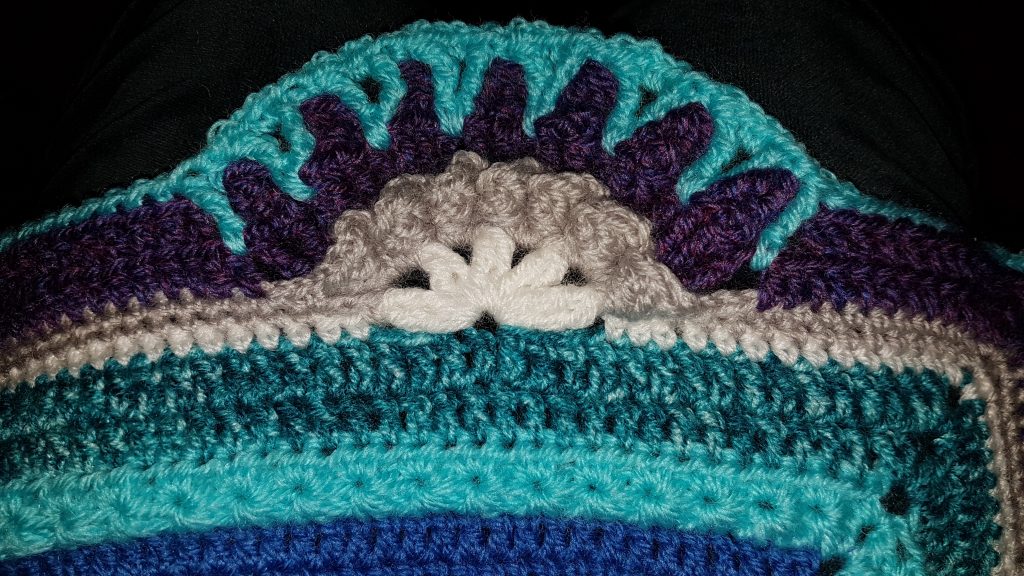
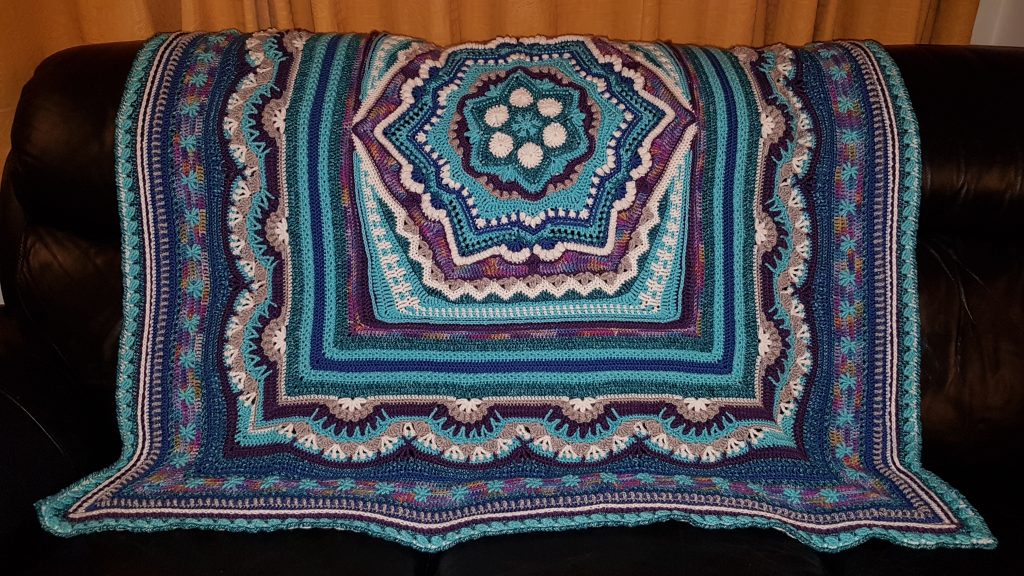
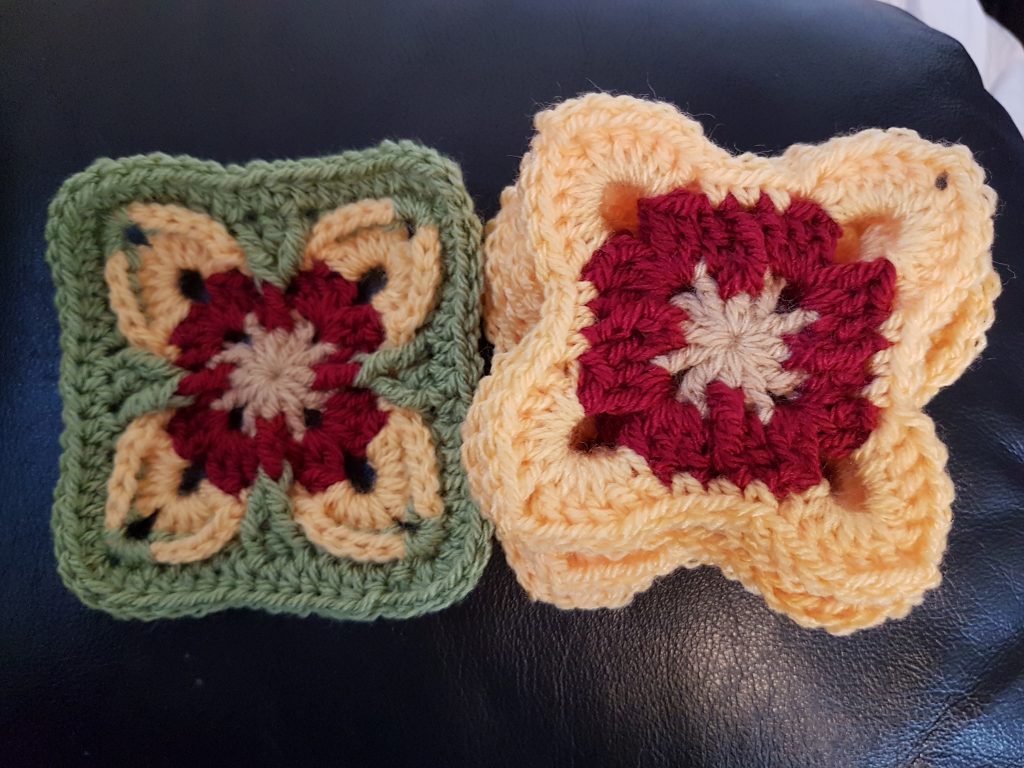
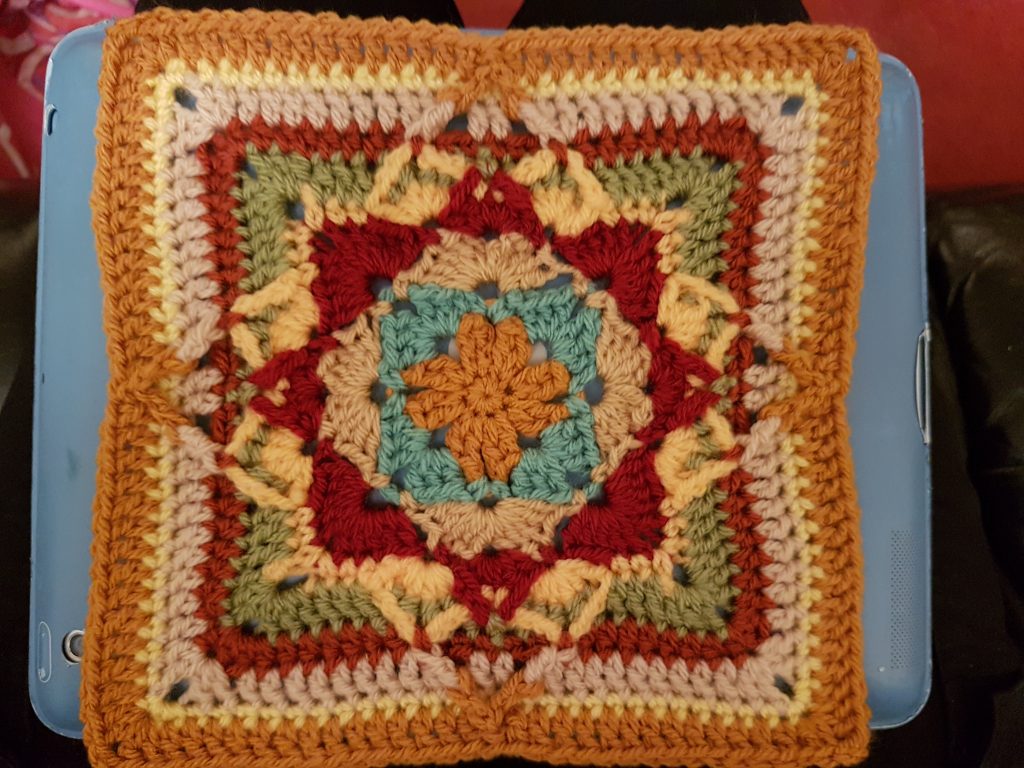
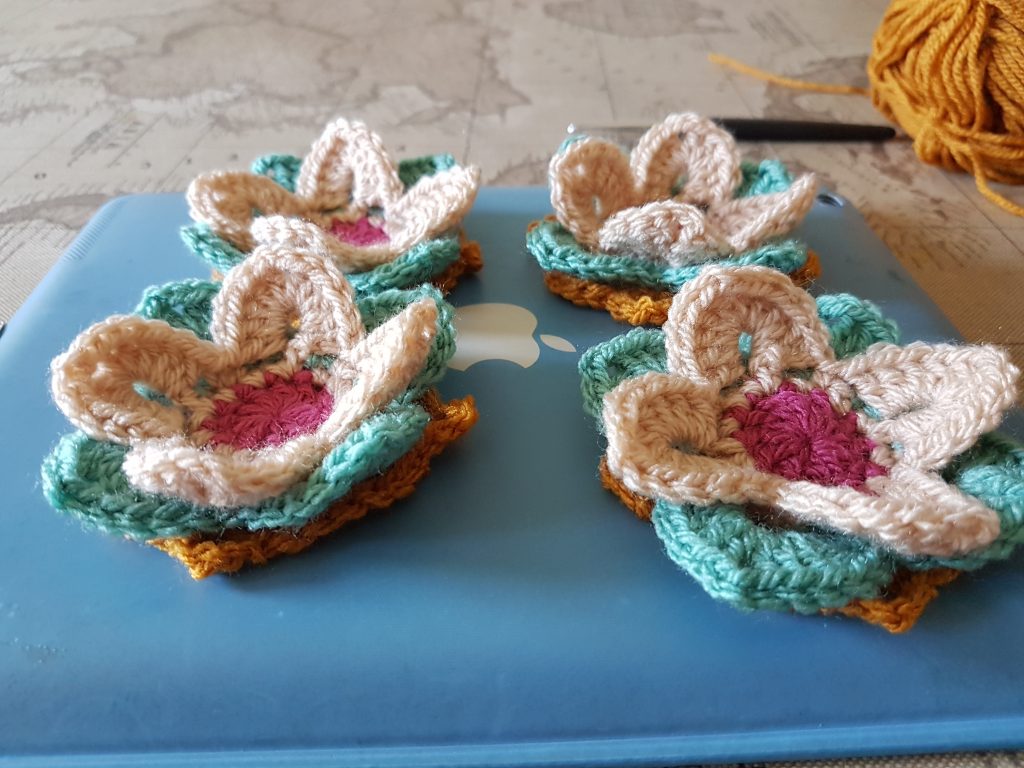
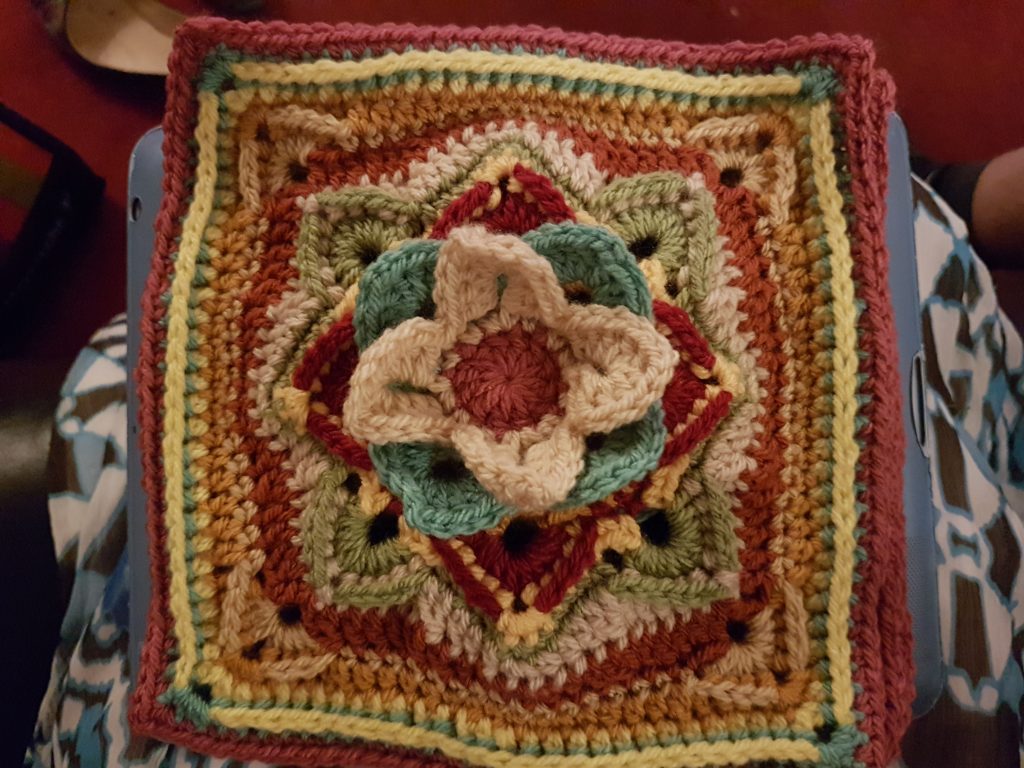
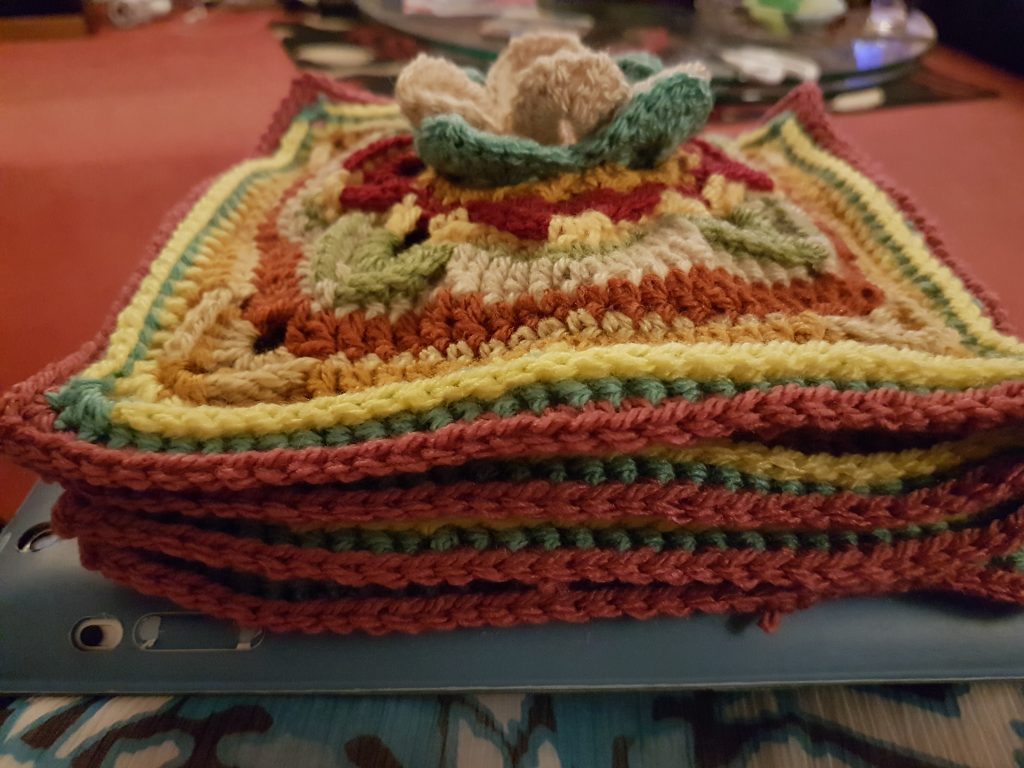
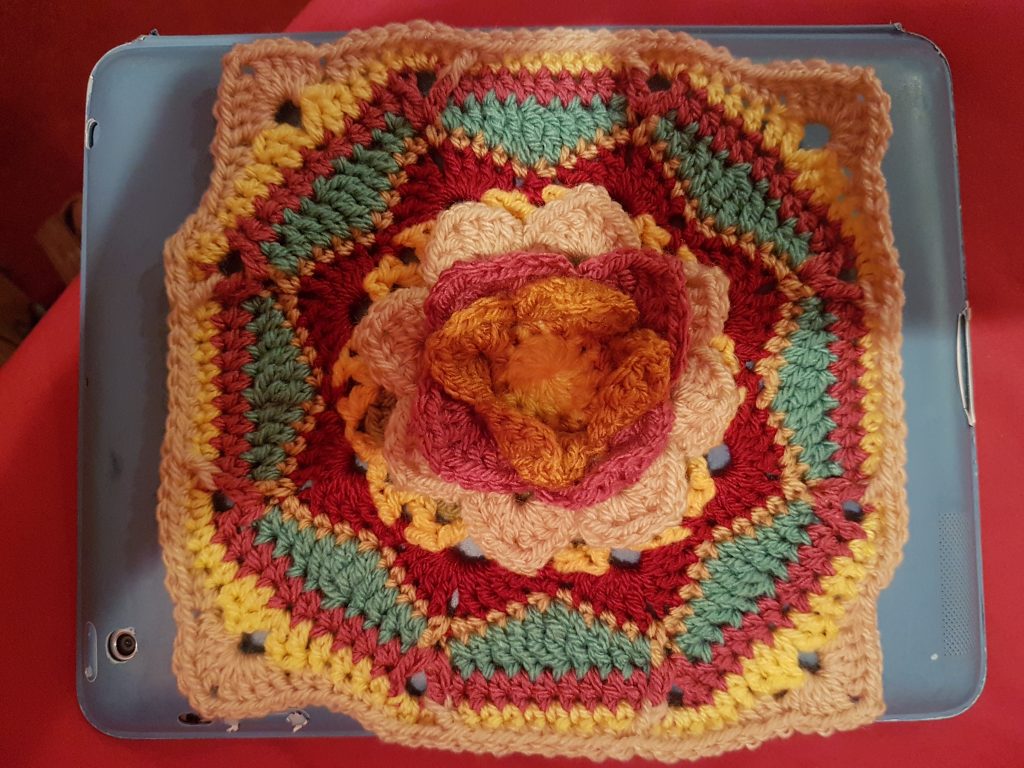
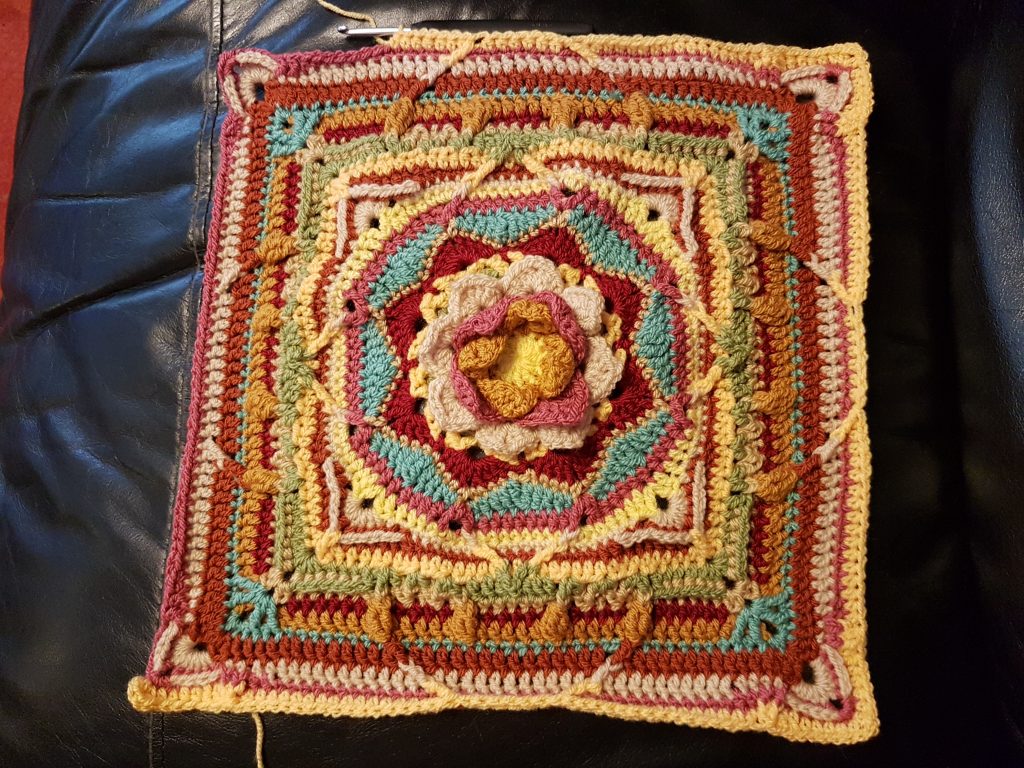
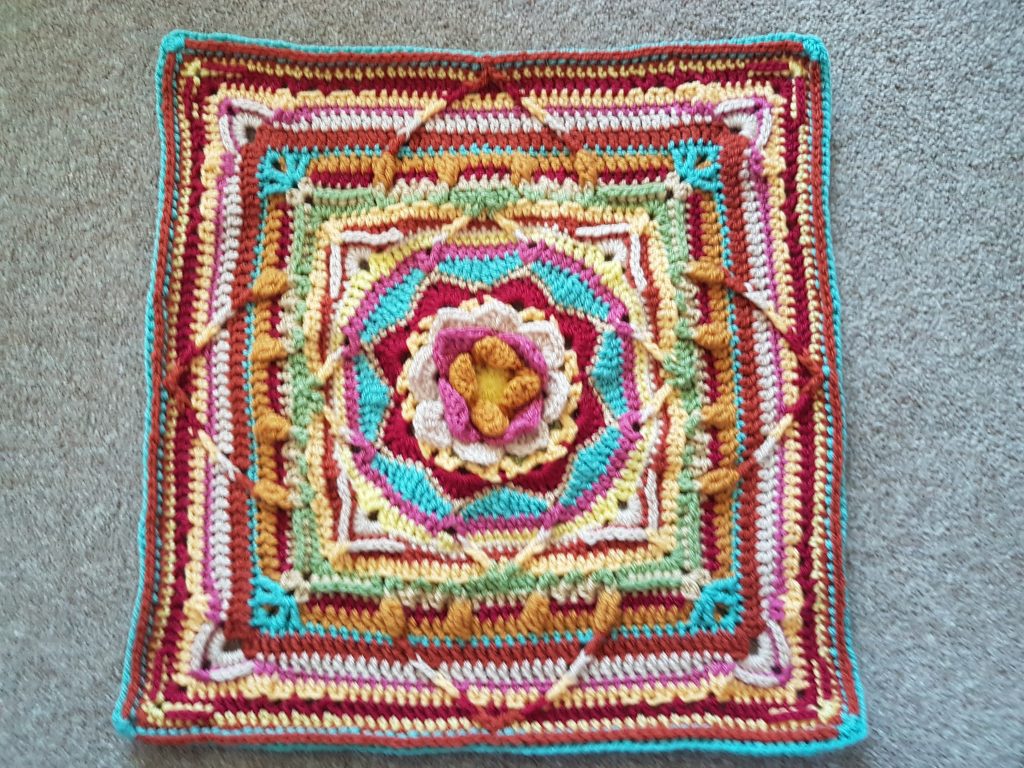
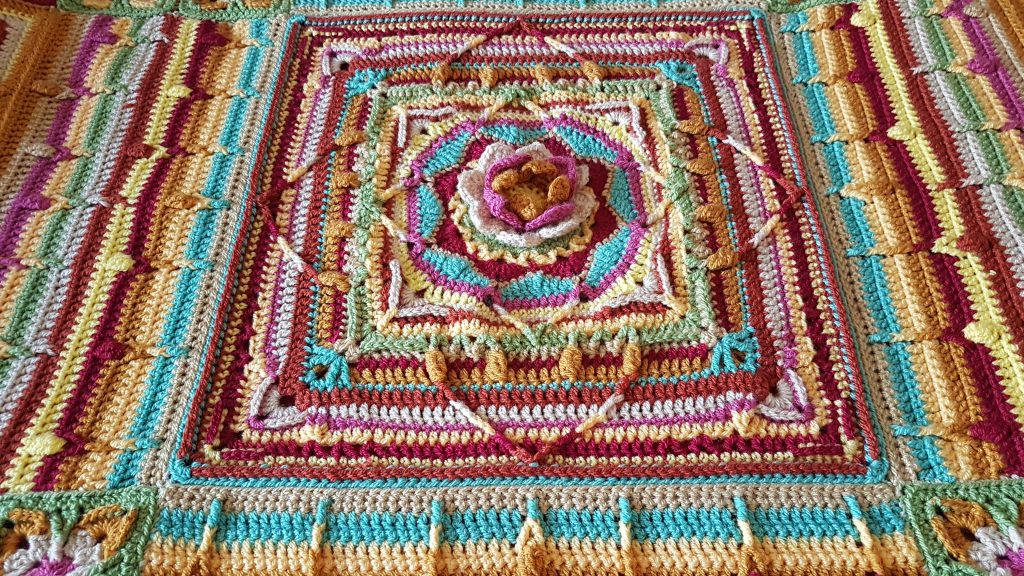
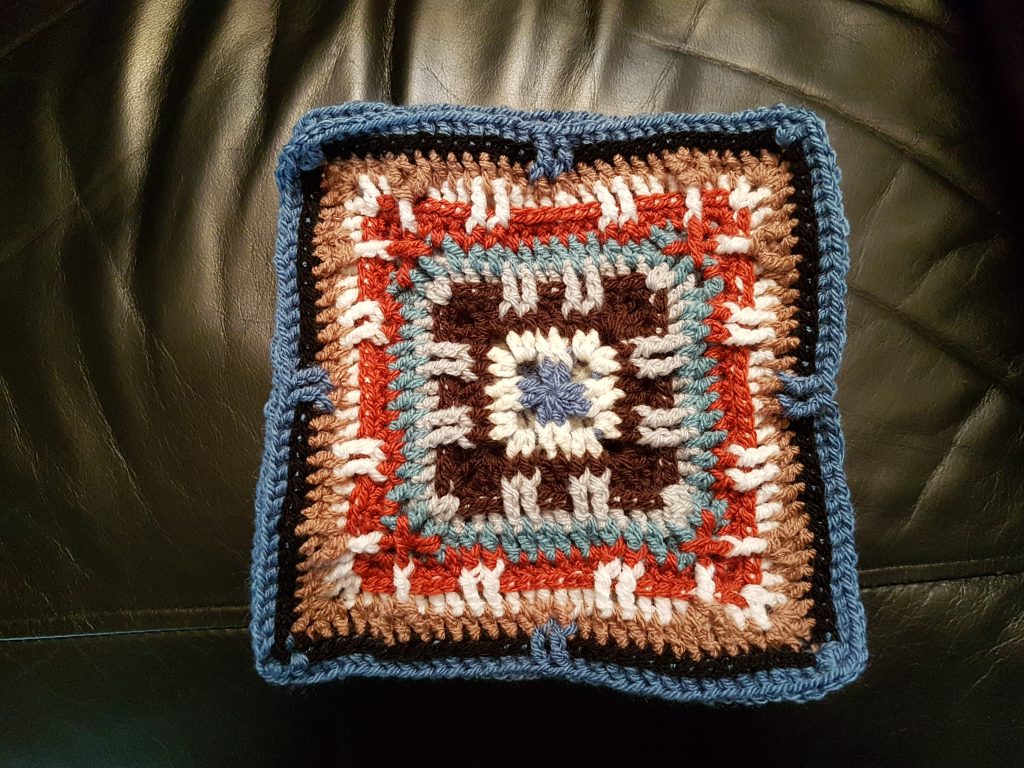
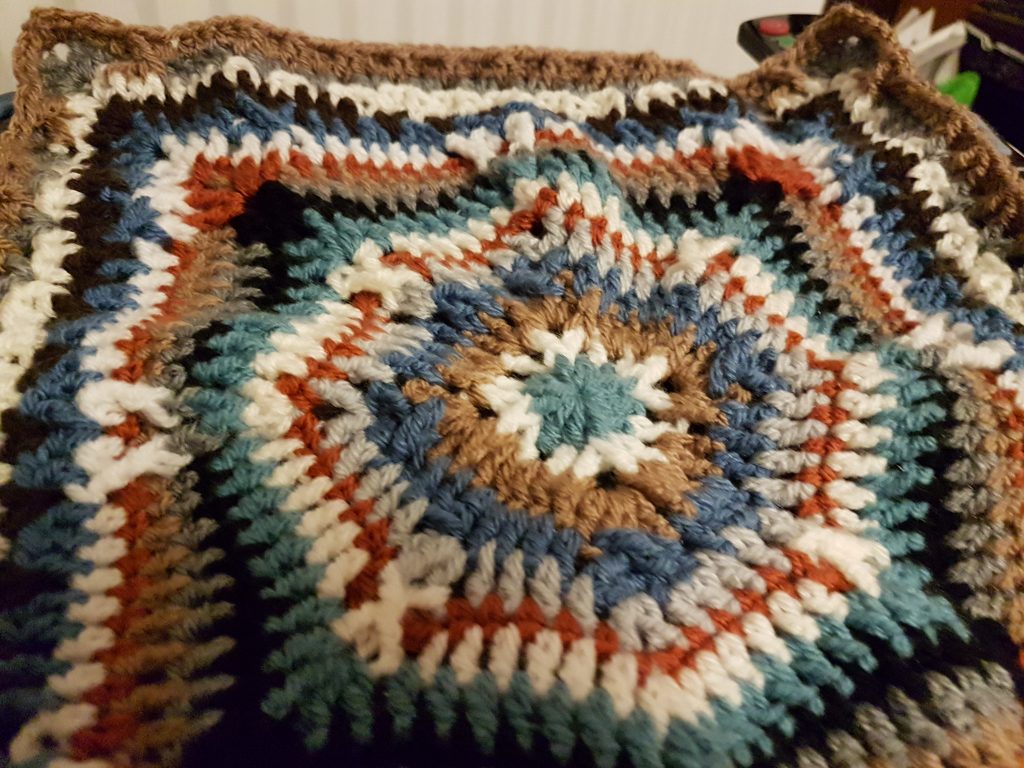
Week 6: :The middle. Another lovely 3D flower.

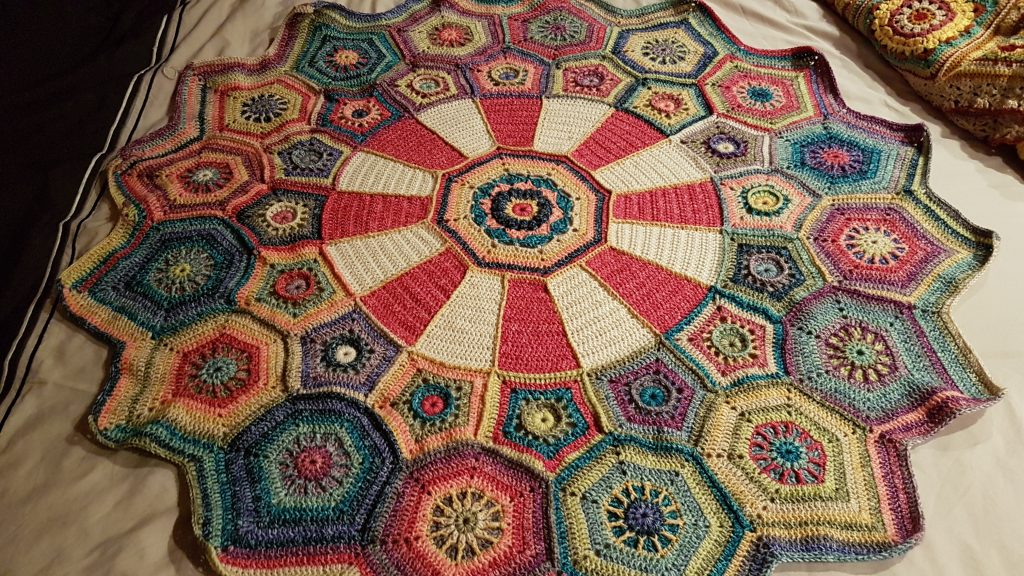
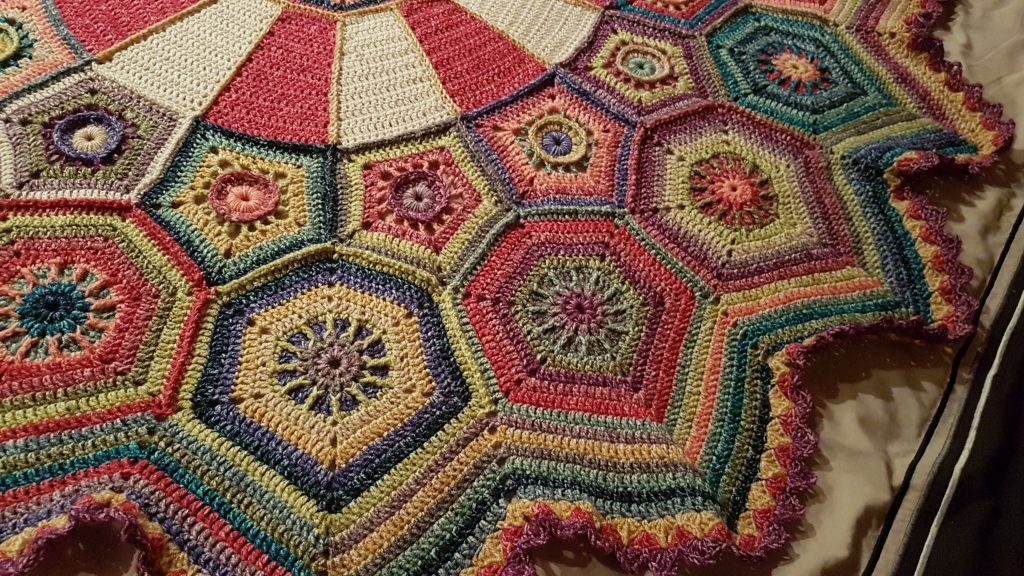
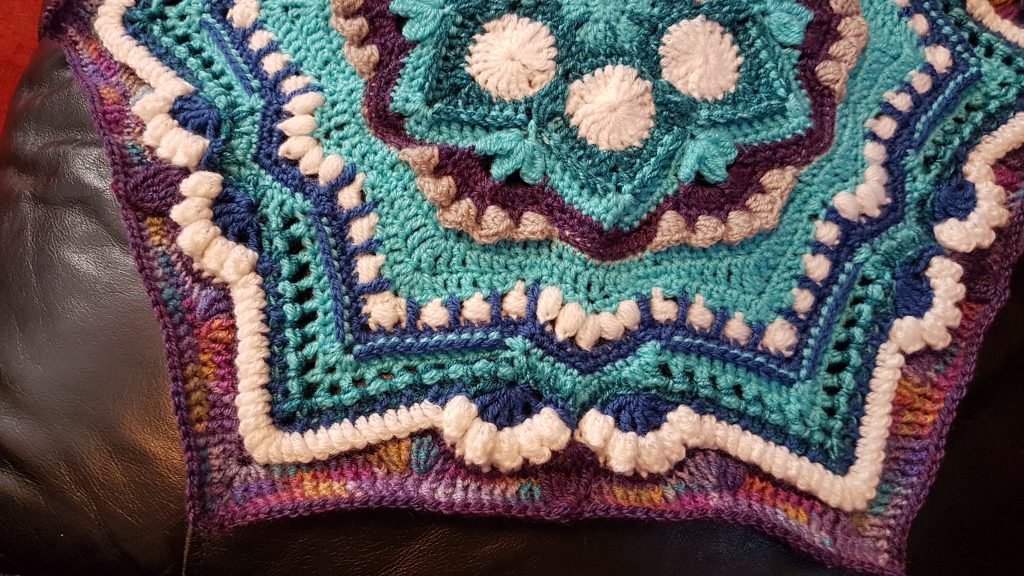
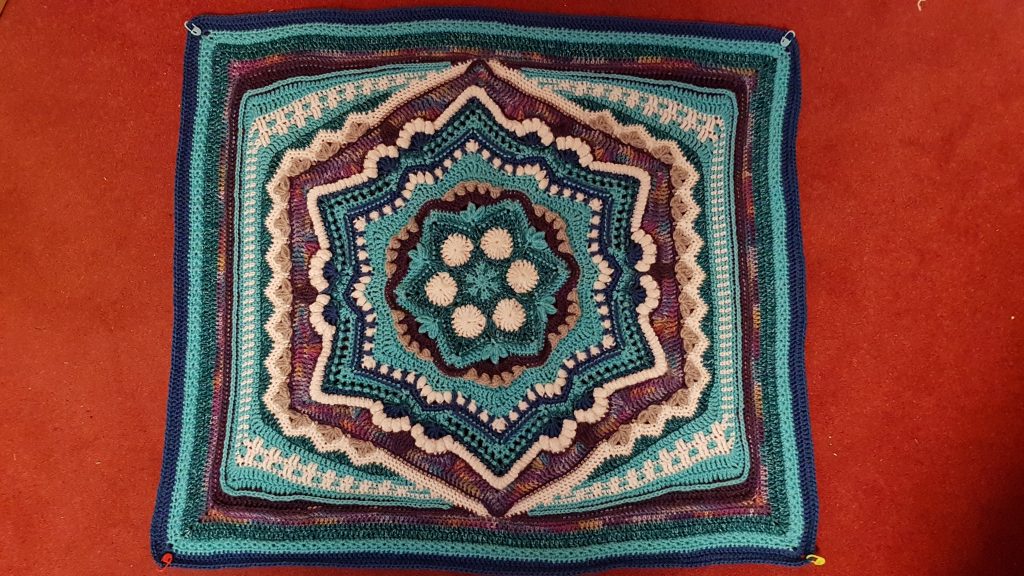
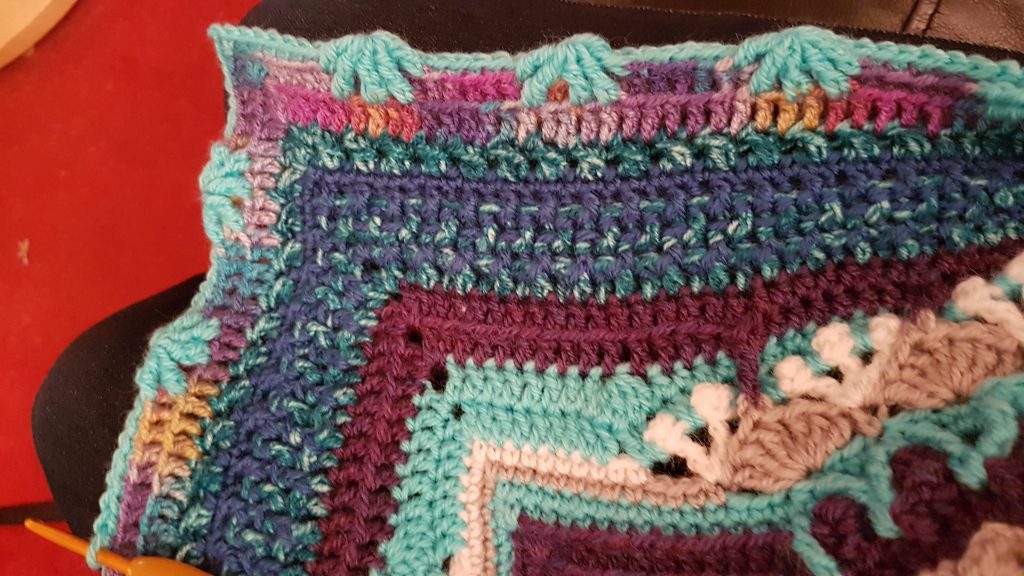
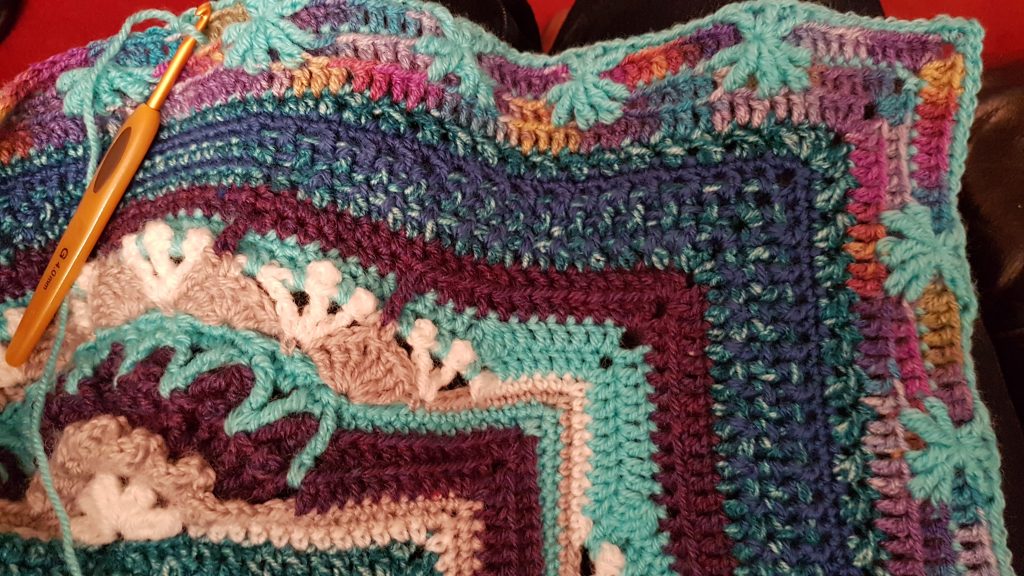
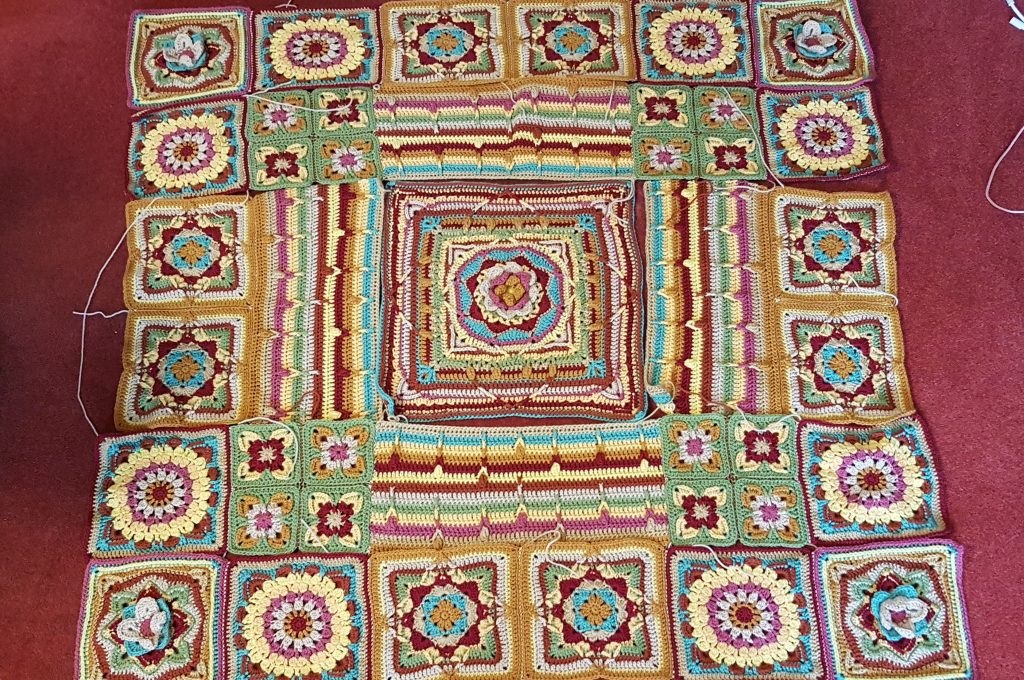
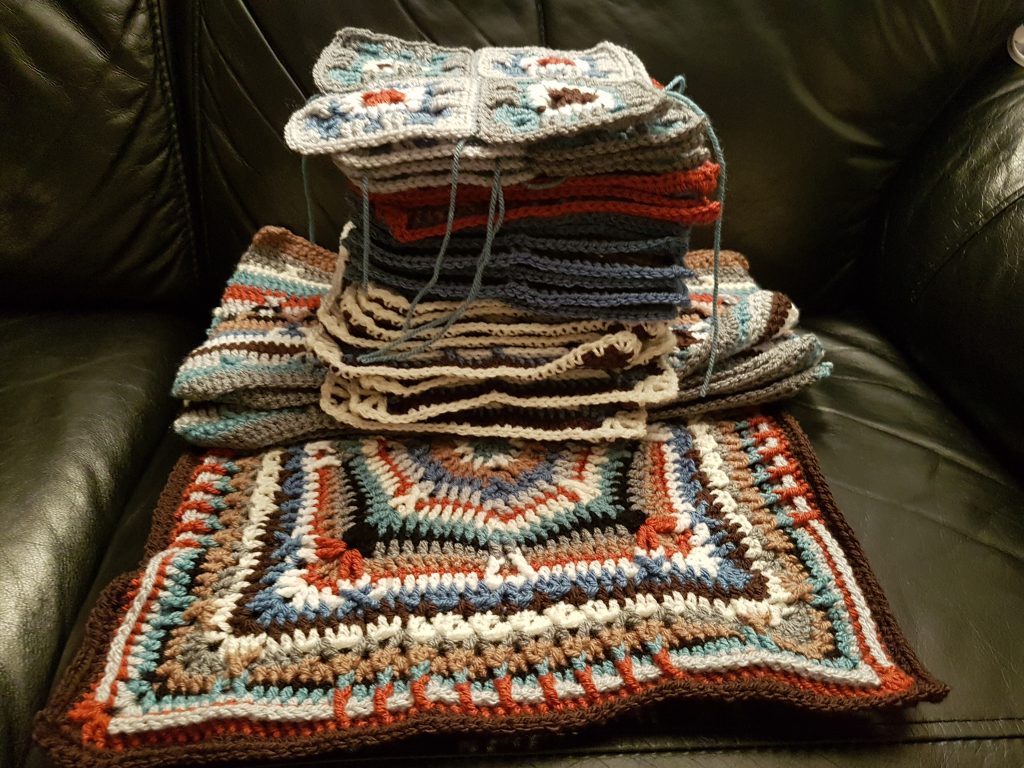
Week 7: Joining. Not a fun stage, but exciting when you see the squares all coming together. These are crocheted together, and it does take quite a long time doing, and then sewing the ends in (which is why it is so important to sew in the ends of the individual squares as you go. Imagine how long this stage would take if you hadn’t!)

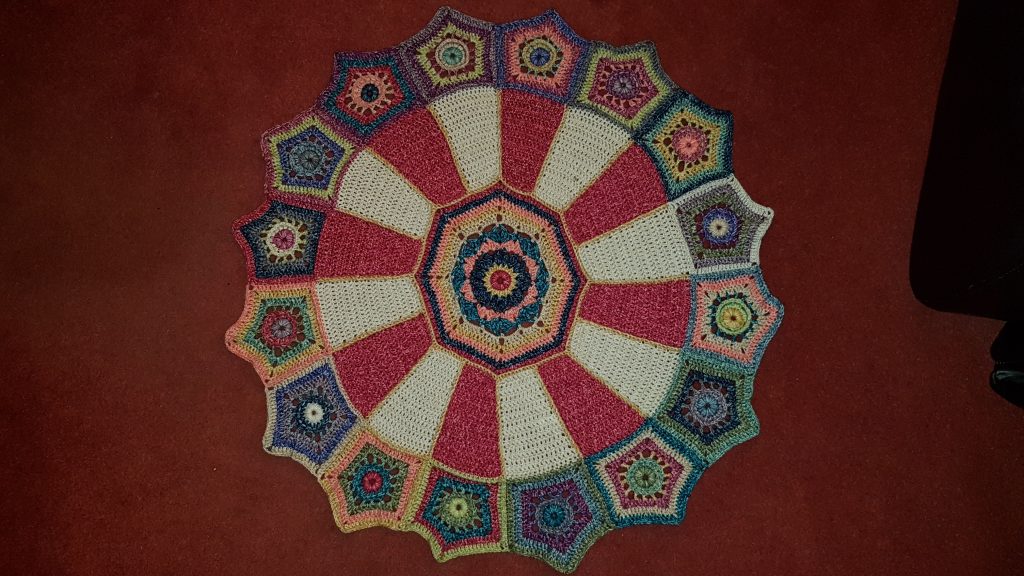
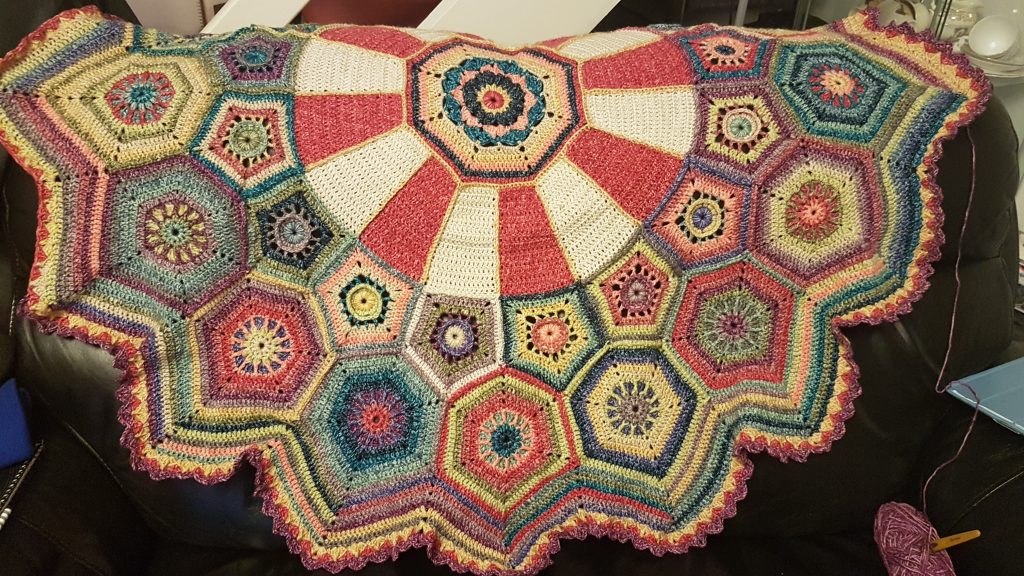
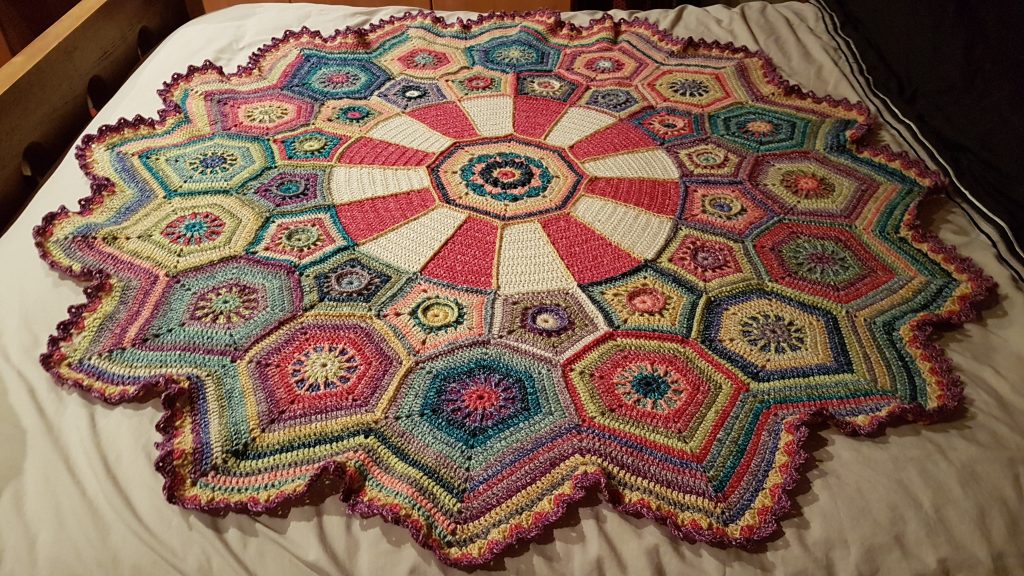
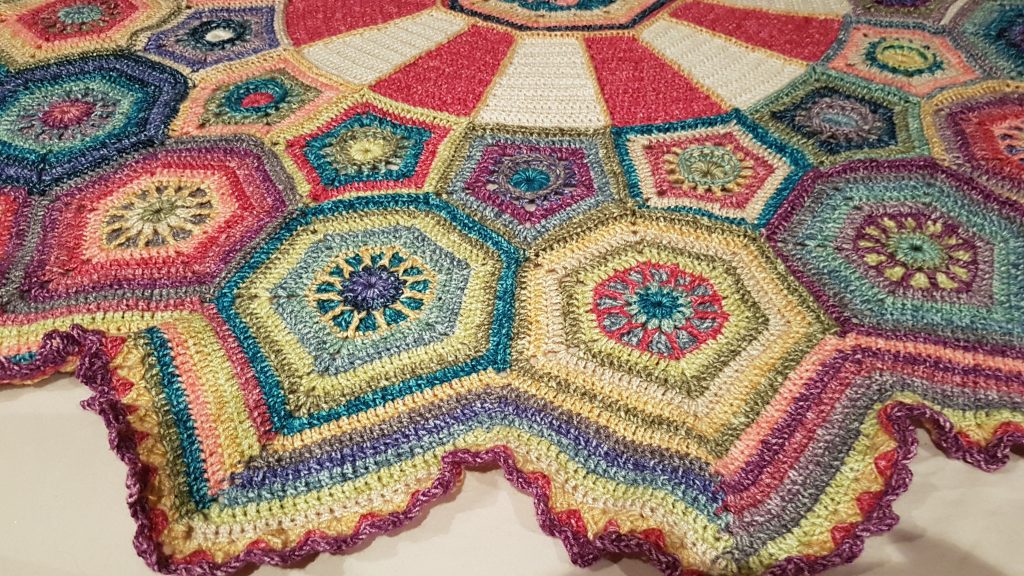
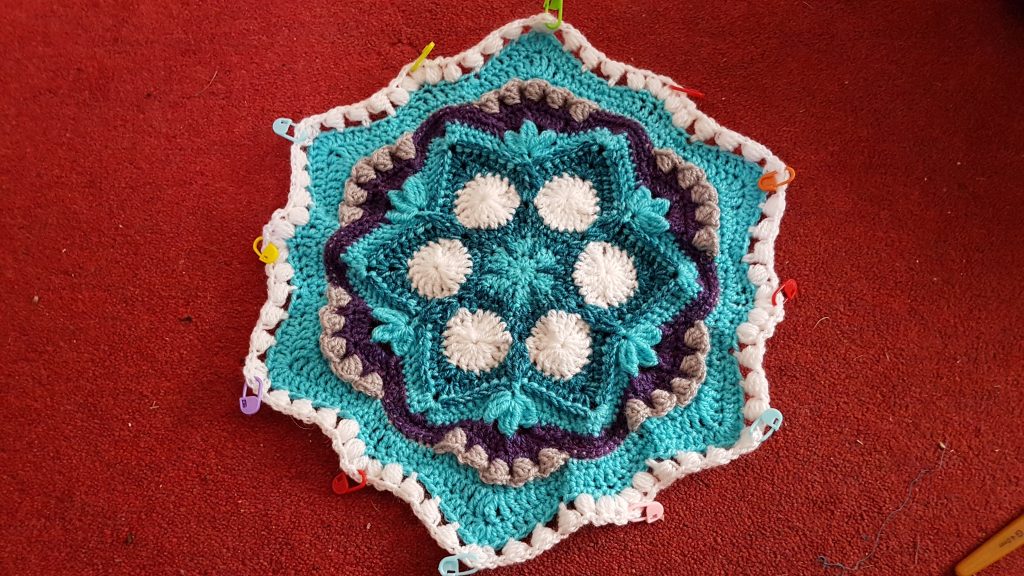
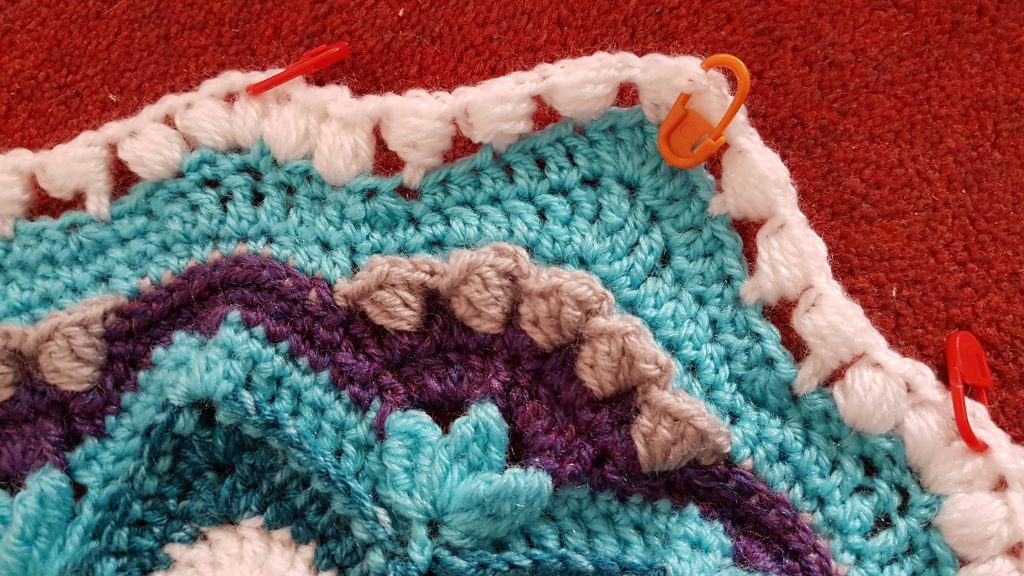
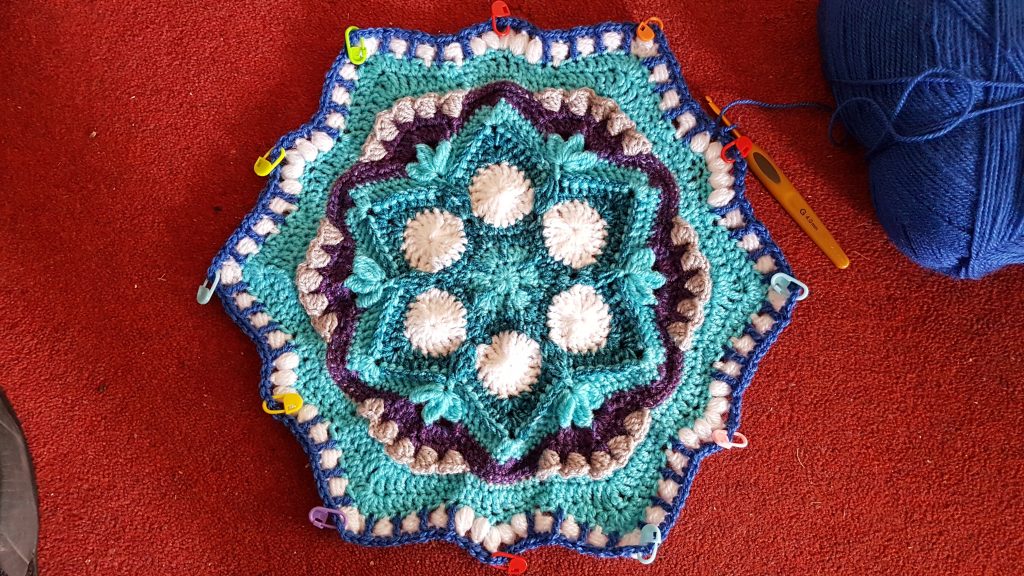
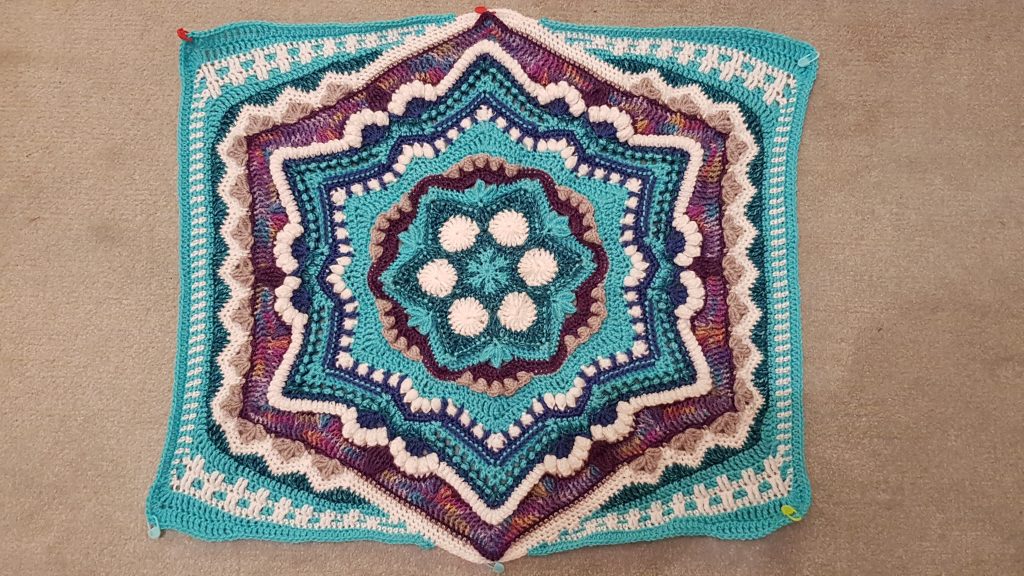
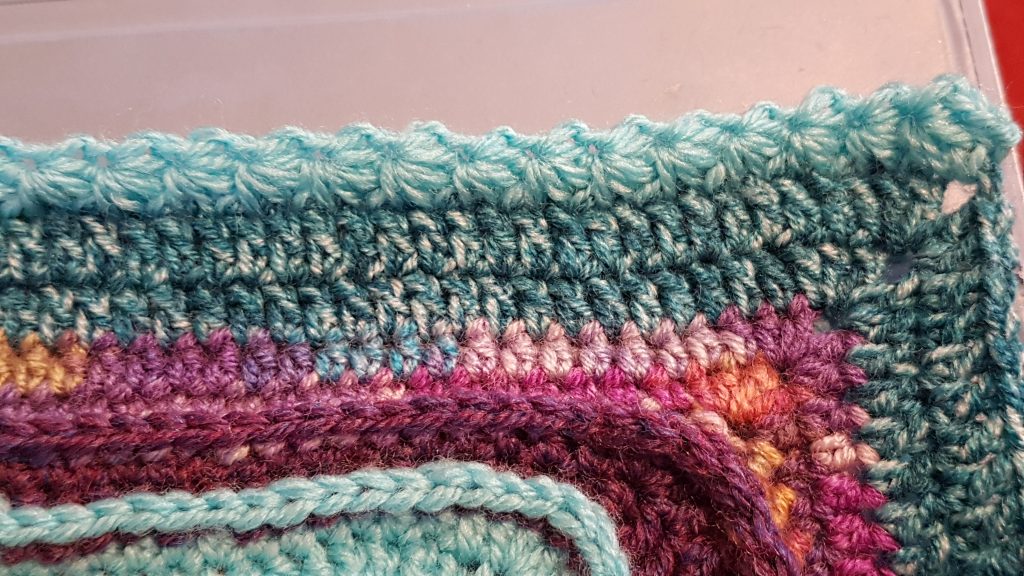
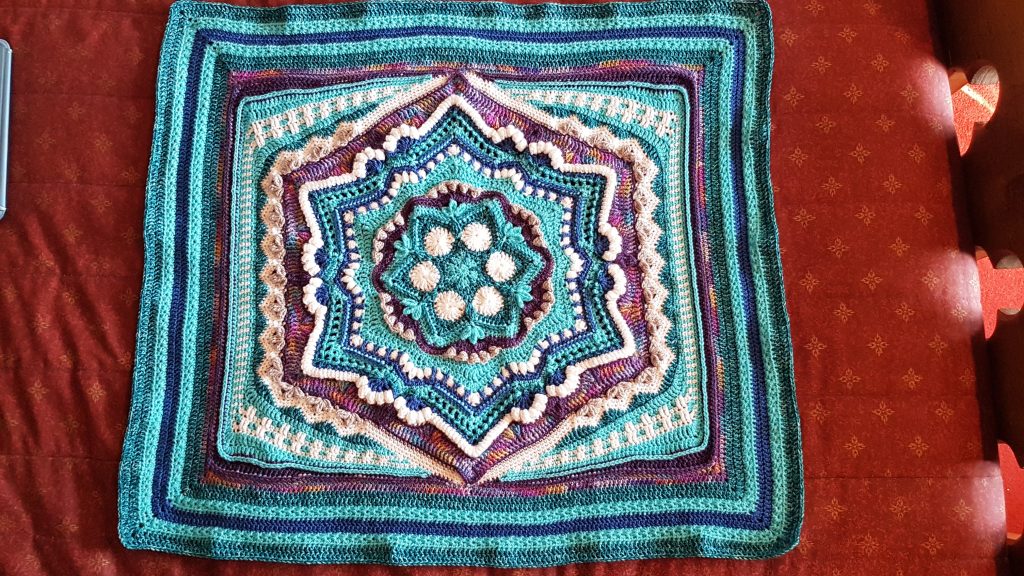
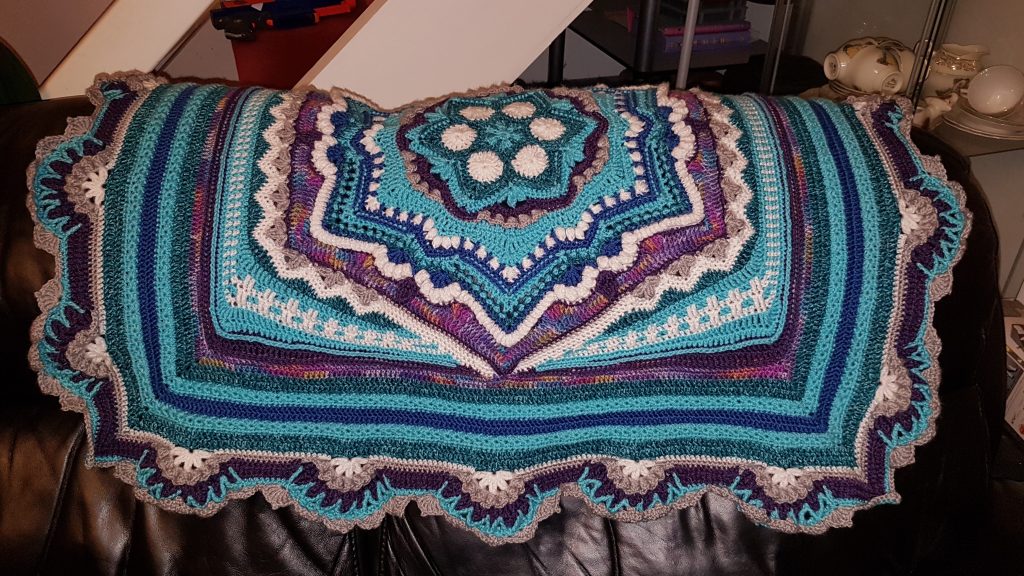
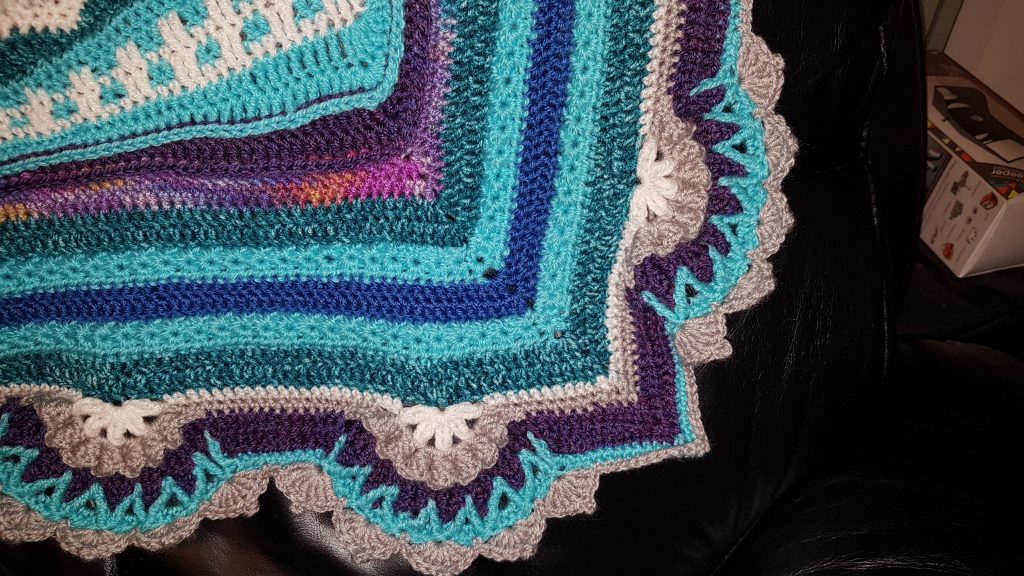
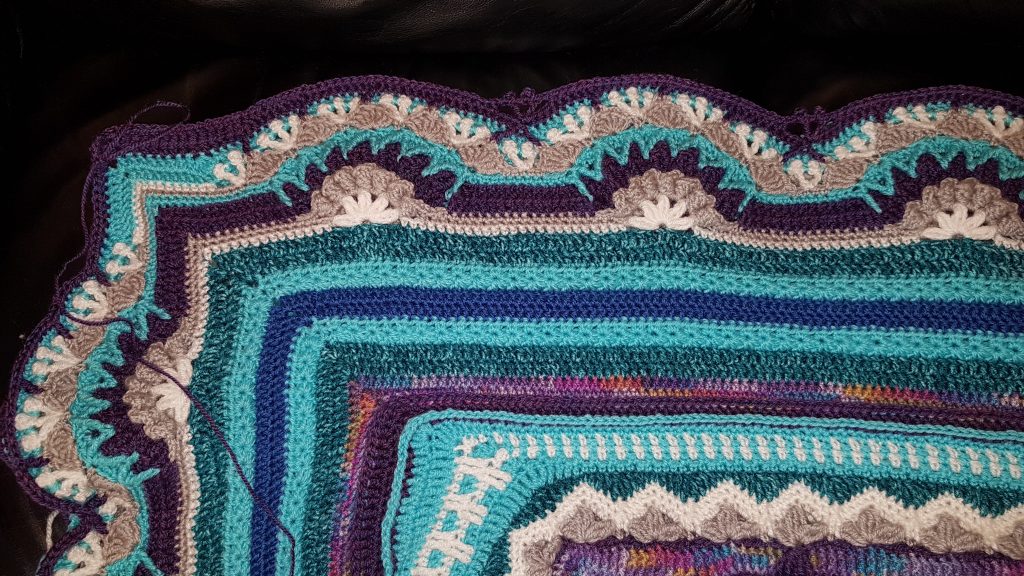
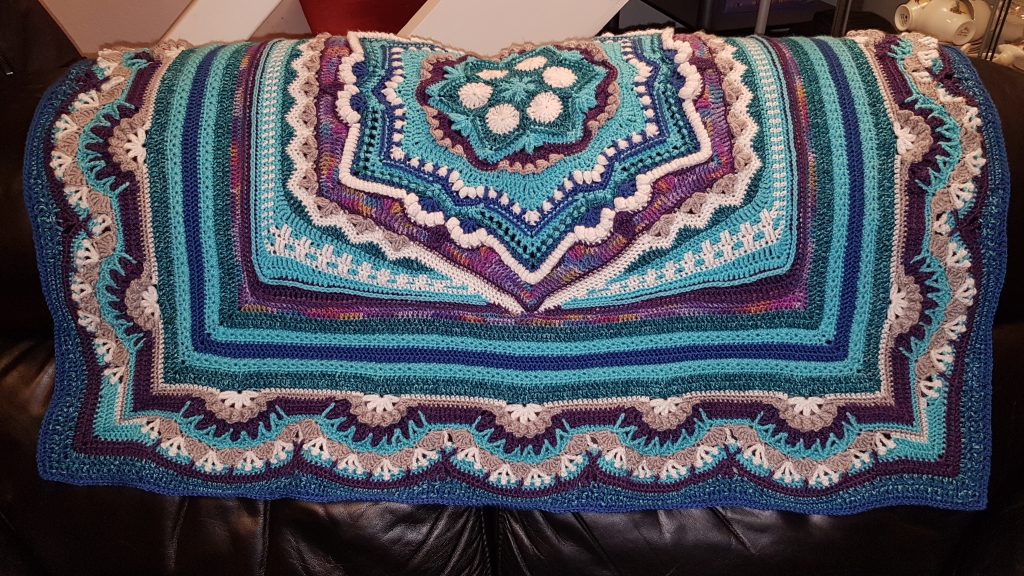
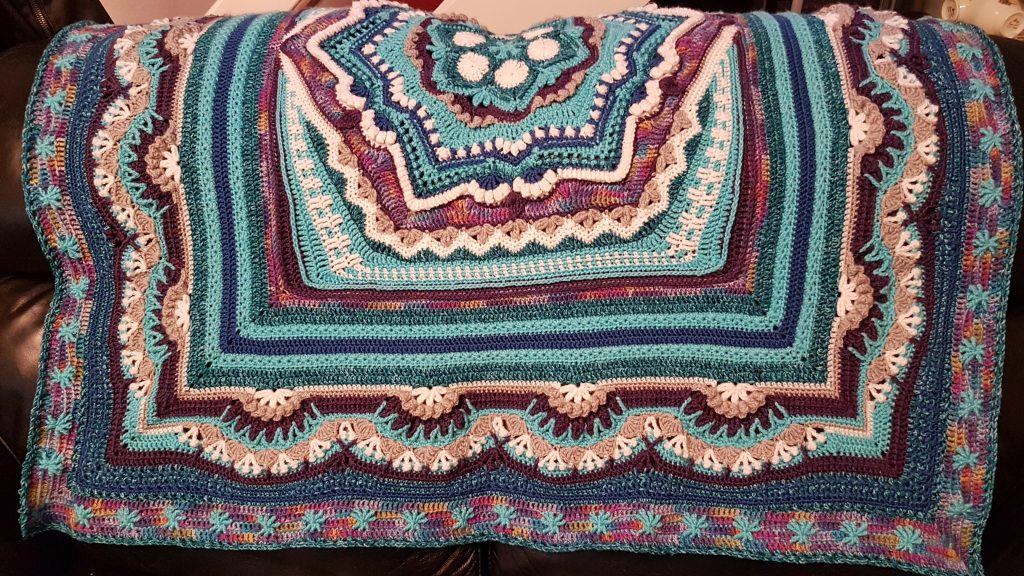
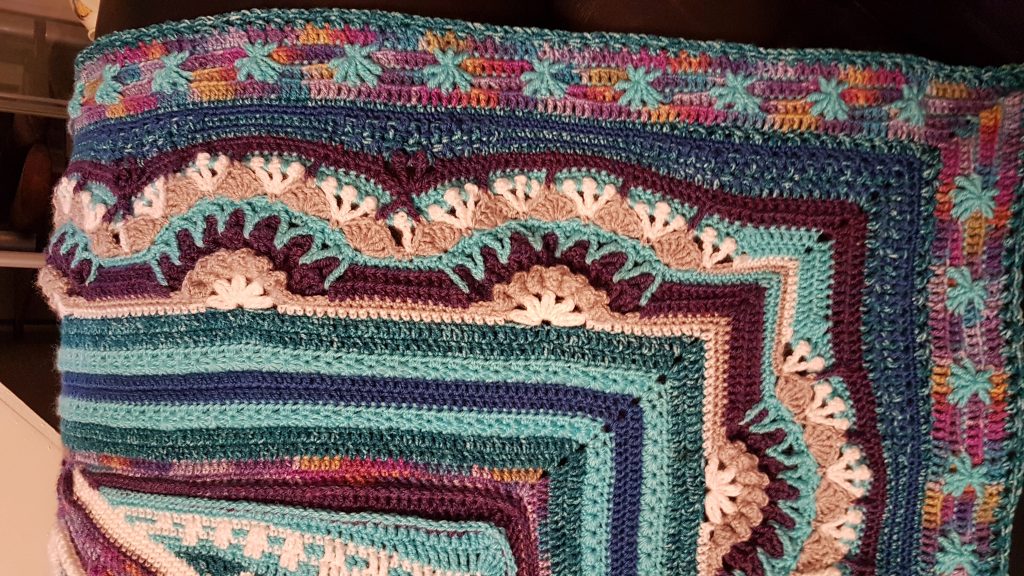
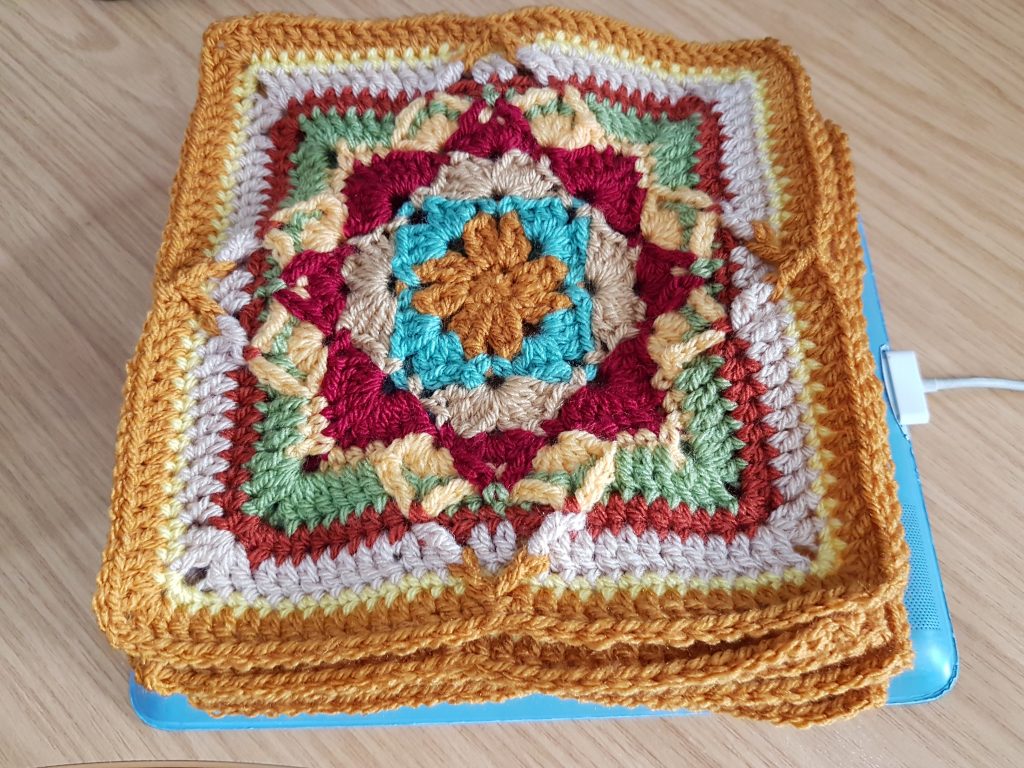
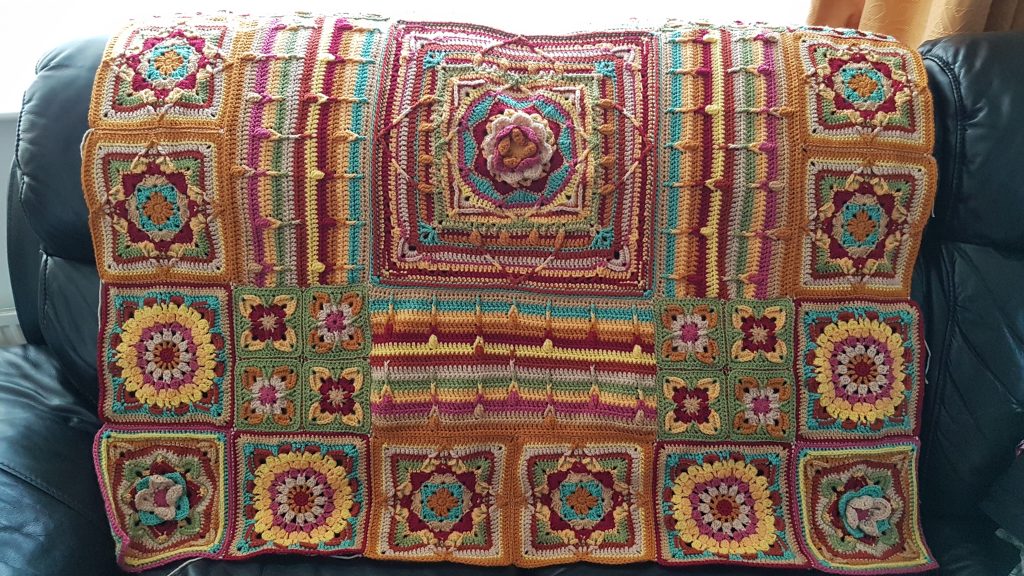
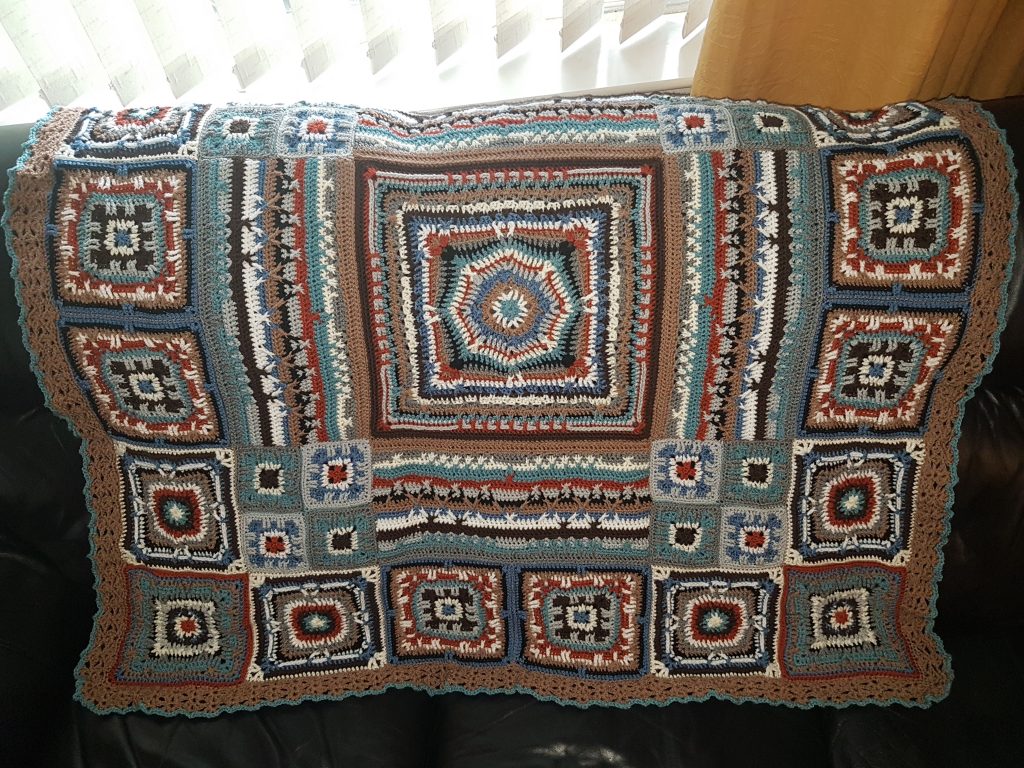
Then Week 8: Border. Each row takes an age now, as it is huge! Especially compared to the individual squares, where you make progress quite quickly! But it is well worth the effort, as the border finishes it off just right.

Now I either got seriously addicted to crochet, and couldn’t put this down, or I got much faster, or a combination of the two! Started beginning of June 2018, finished at the end of July! I had already lined up my next blanket to make too!!!

Embroidery – first attempts to design – including Manchester Bee

Having spent the money on the embroidery design software, PE Design 10, I thought I should try and use it. However, it is just as hard as I expected it to be, probably harder. I watched some tutorial videos on YouTube by OleensEmbroidery. These were helpful, but I wasn’t patient enough, so I dived in to have a go!

First attempt was used on the outfits for the Asylum back in 2017. A cog clock. Done with different times on them, and one with the cogs interlinked on the back on my jacket.

Next attempt was a Victor and the Bully emblem for a head scarf for my friend going through chemotherapy. I downloaded a picture and followed the basic instructions I had followed in the tutorials to go over the lines. Learning how to start each part of the design, different density of the fill. The thing I haven’t really got the hang of is the amount of overlap required due to the pull on the fabric. This had more impact on my Manchester Bee, which had more areas to fill in. Trying to make sure there were no gaps was quite hard, but I think I got there in the end.

Disappointingly, I haven’t used this on any item yet.. And I must watch some more of the tutorials and learn a bit more to progress with my designing.

Ross blanket

I came across this while looking for something for my mother in law for Christmas. She had just made a blanket from a kit and had expressed an interest in another, so I had picked one for her which was more straight forward rows back and forth. But I had fallen for this one! It looked so interesting, I loved the colours, and I had never done anything like this before.

Black Sheep Wools were doing this as a kit at the time, so I went along and bought it from them. The pattern is an online download by Catherine’s Crochet Corner. It was originally a CAL (another abbreviation I hadn’t known – Crochet-a-long), so released in weekly parts. But that was a while ago so all available to download now. It uses Stylecraft Special Double Knit (SSDK), which is really good value wool at £1.89 per 100g ball.

I started this in Feb 2018 and couldn’t put it down. It used stitches I had never heard of before, things like front post, back post, in double and trebles, double trebles, and standing trebles, but the instructions and pictures were so good it was easy to figure out. I loved learning the new stitches, and the lovely patterns they made, and using colour combos I would never have dreamed of. Note the ends are all sewn in as you go along… it would be an absolute nightmare to finish if you didn’t!! And crocheting the squares together is also a killer of a job, but well worth it. My son has claimed this for his own, and we even decorated his bedroom in colours to match this blanket!

In The Hoop (ITH) Embroidery – Bunting

When I first got the embroidery machine I obviously joined a Facebook group to see what people do on their machines. I kept seeing reference to ITH without having a clue what it meant! I eventually found out! People make all sorts of things ‘ITH’, but I found some bunting designs that I liked.

These involve hooping some stabiliser and following step by step instructions, to attach each part of the fabric design in turn, some of it on the back (so spray glue was required). A little time consuming, and there are some small faffy pieces of fabric to attach in some of them, but I think pretty impressive.