
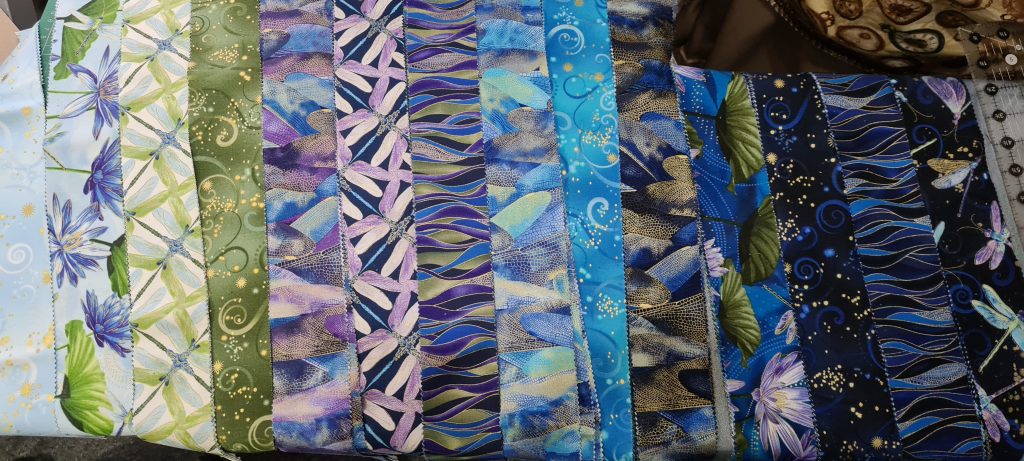
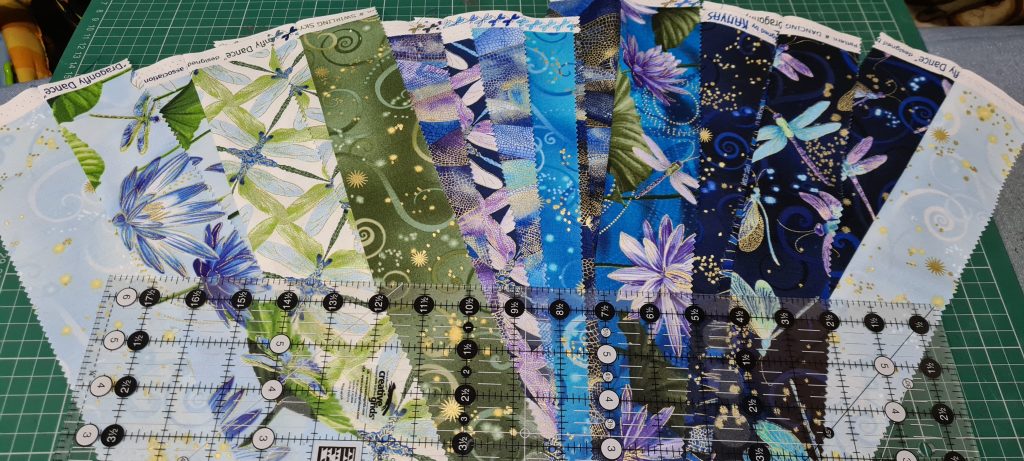
I started planning this when I had finished my previous patchwork quilt. I have bought the jelly roll at the same time, and love the colours, but wasn’t sure the best way to use them. I googled jelly roll quilts and came across a zig zag patchwork image that I found quite striking, and decided to go with this!
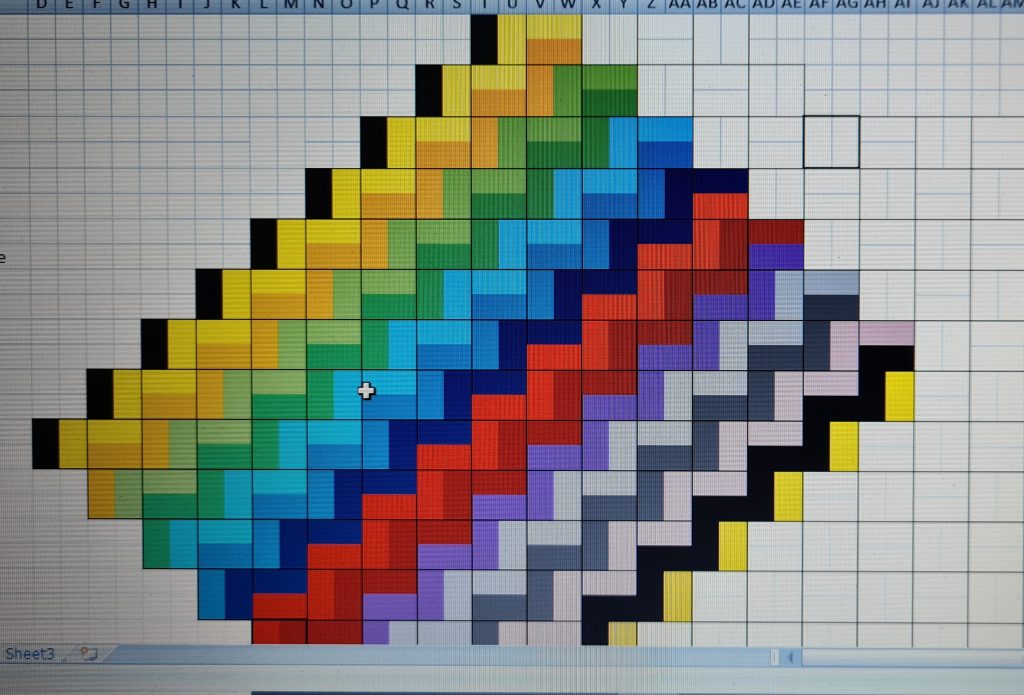
I easily established that the zig zag effect is created by squares with 2 strips in. These would be horizontal with colours 1 & 2, and then vertical with colours 2 & 3 etc. I needed to work out what I could make with the limited strip combinations I had. This pack had 14 different fabrics, 12 had 3 strips of each, and 2 just 2 strips. I realised I could use 2 strips of each to create the zig zag (i.e. fabric 1&2, then 2&3, 3&4,… 14&1). I could get 9 x 4.5″ squares out of each ‘pair’ of strips. Me being me, I used a spreadsheet to help me see how this would work out. I also decided I wanted the zig zag up / down the quilt, not diagonally – which made it a little harder to do! This would leave me with 1 strip each left of 12 of the fabrics – I will come back to them – they won’t be wasted!
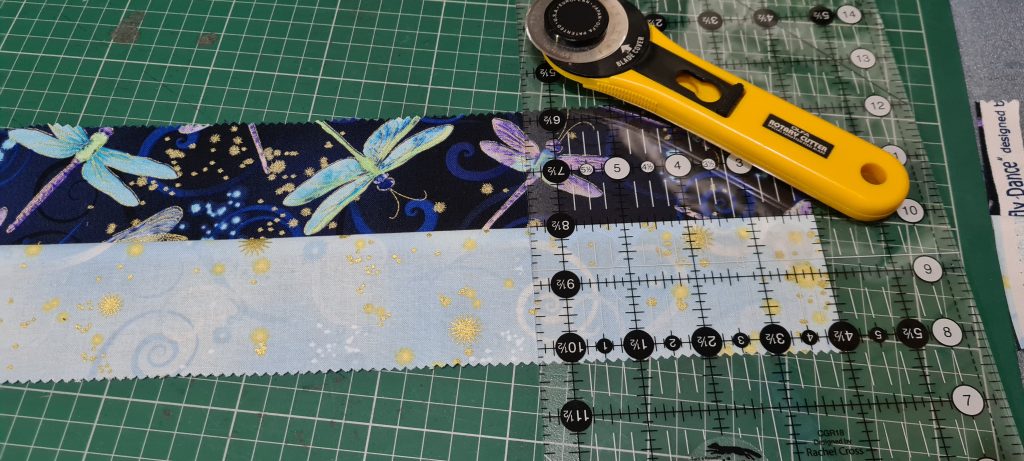
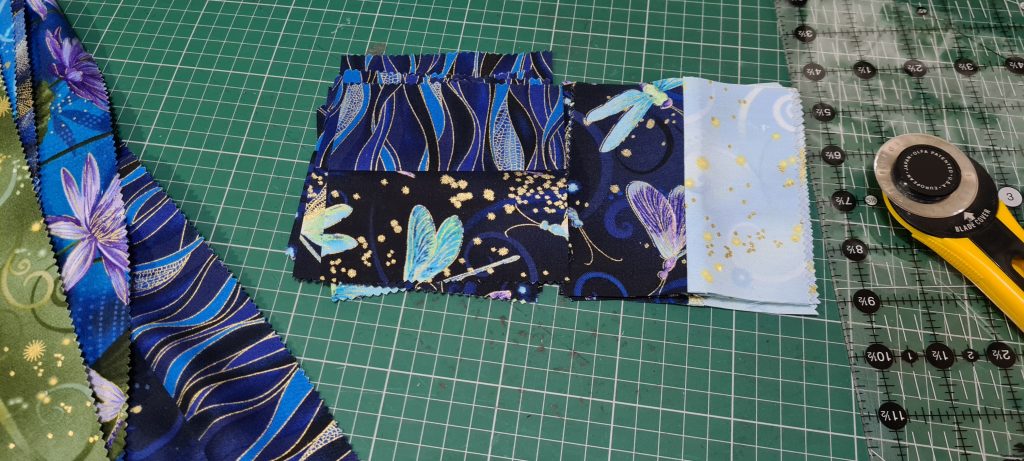
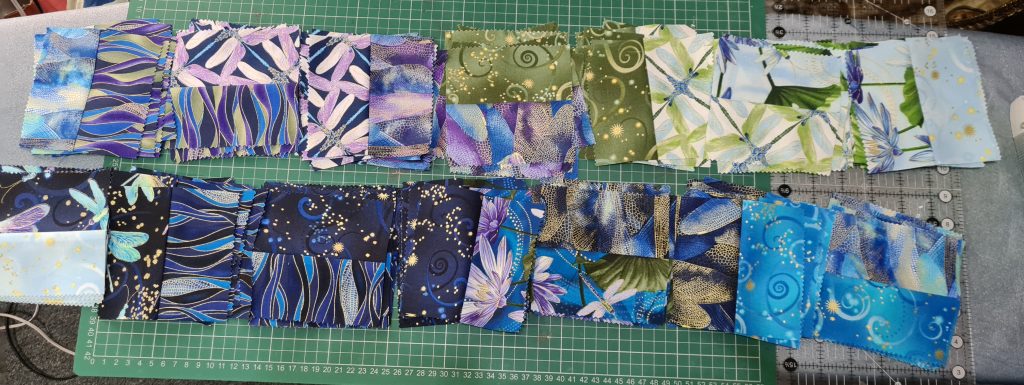
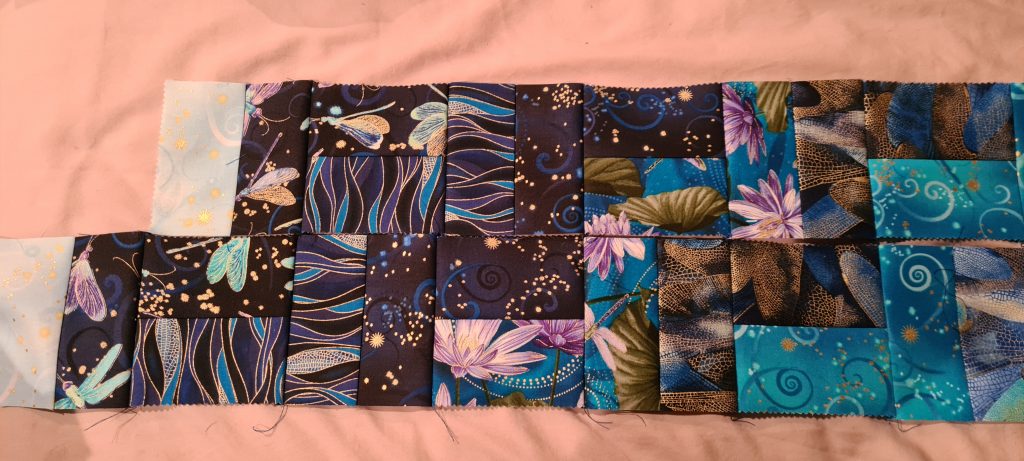
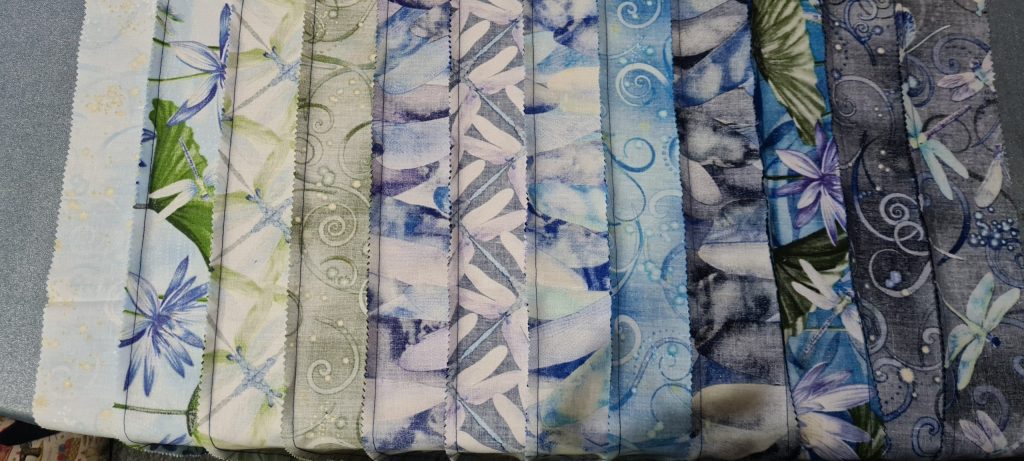
I started by arranging the strips in order from light to dark for my zig zags, then sewing them together into strips of 2. These were then cut into 4.5″ squares.
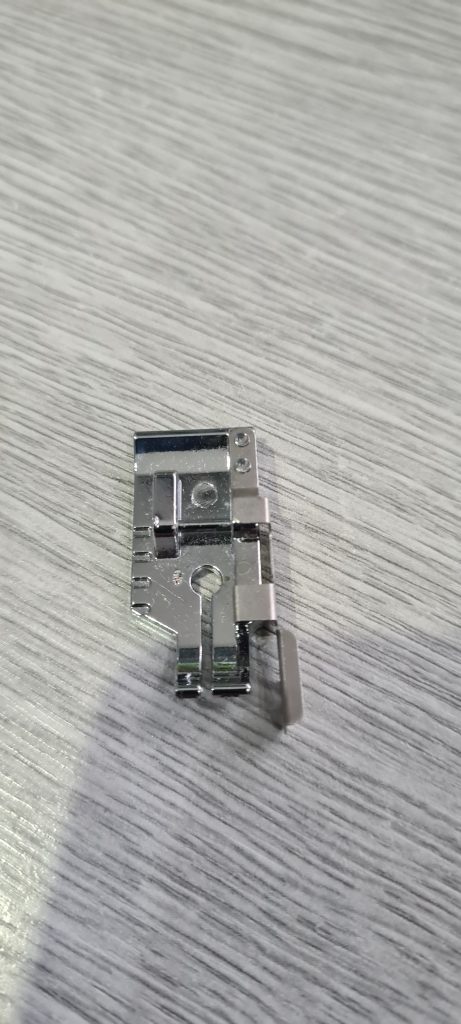
1/4″ patchwork foot 
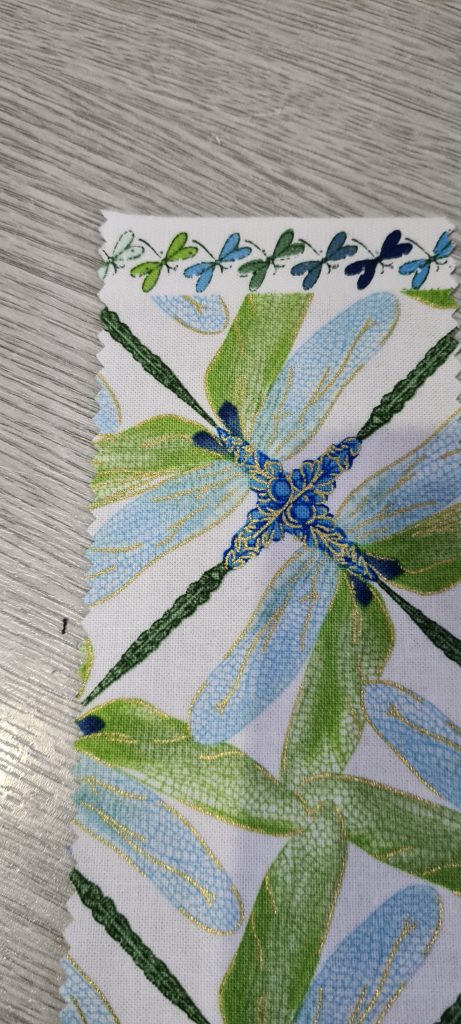
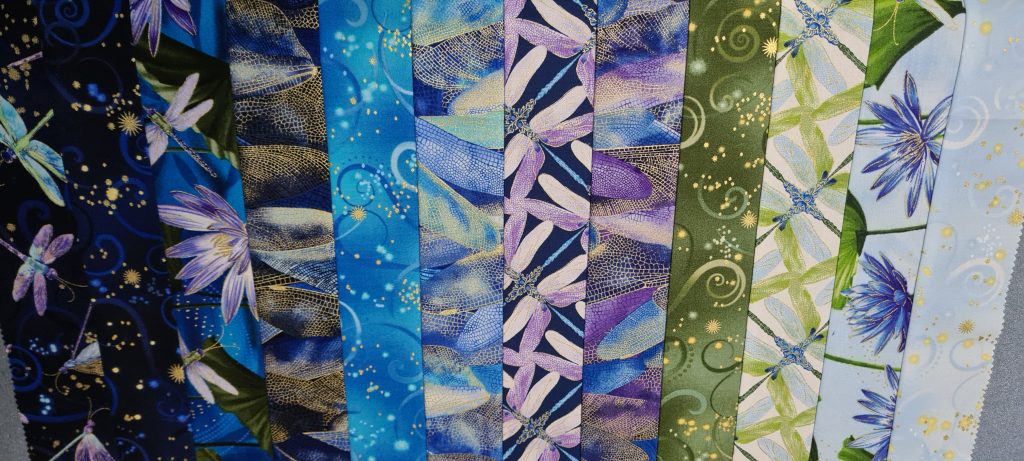
this fabric is so gorgeous – look at the colour pattern in the selvedge! 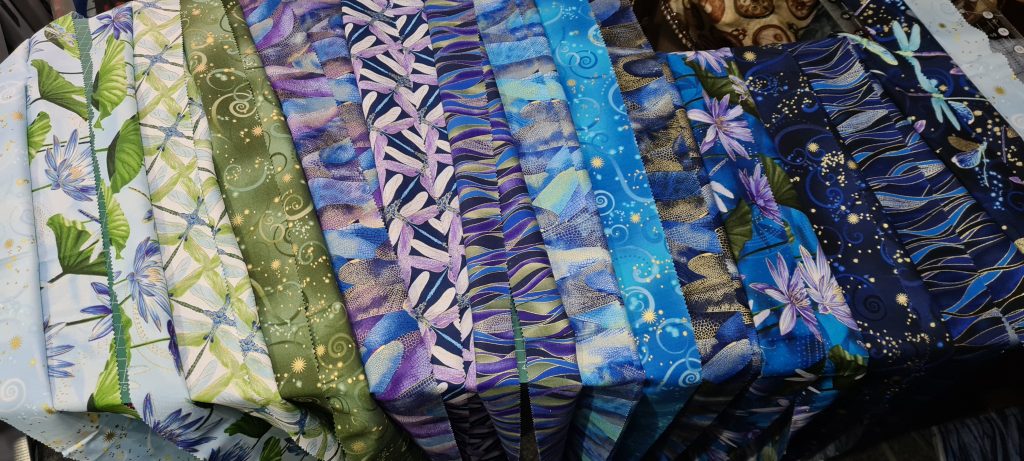
14 strips of 2 
ironed 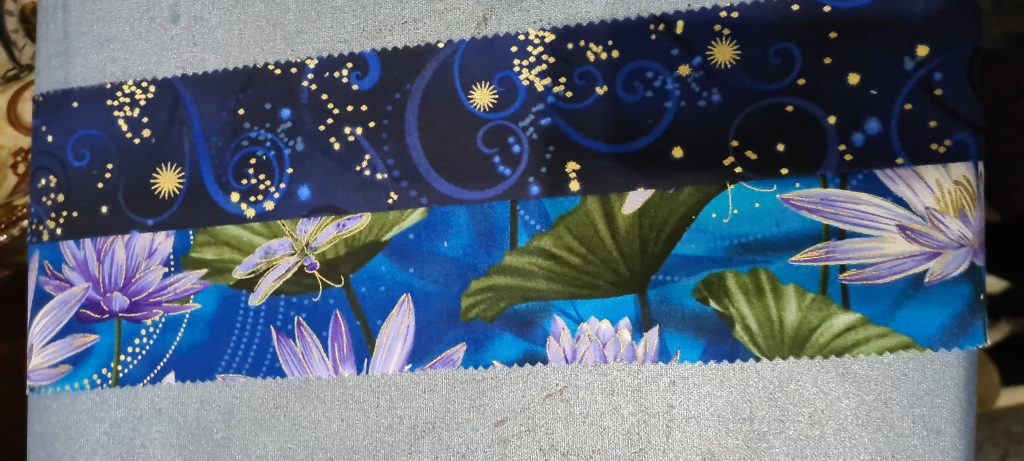
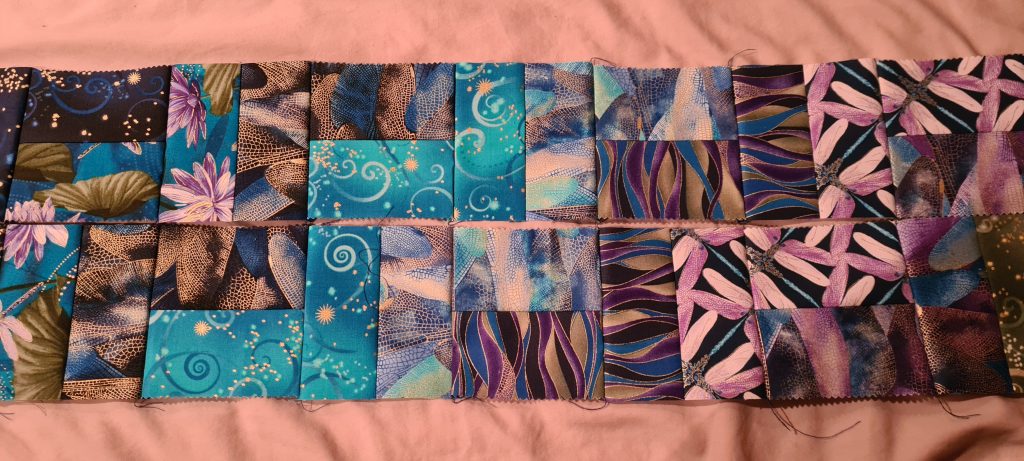
ready for cutting into 4.5″ squares
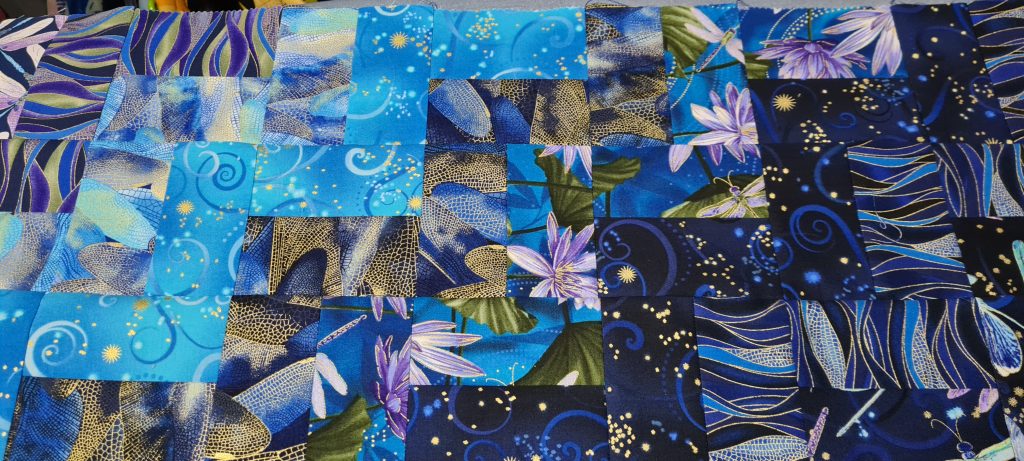
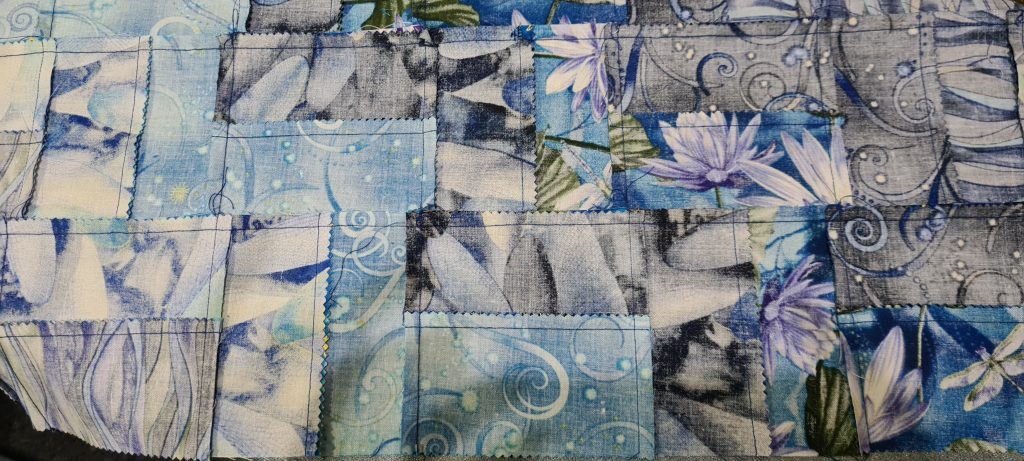
And then piles of squares:
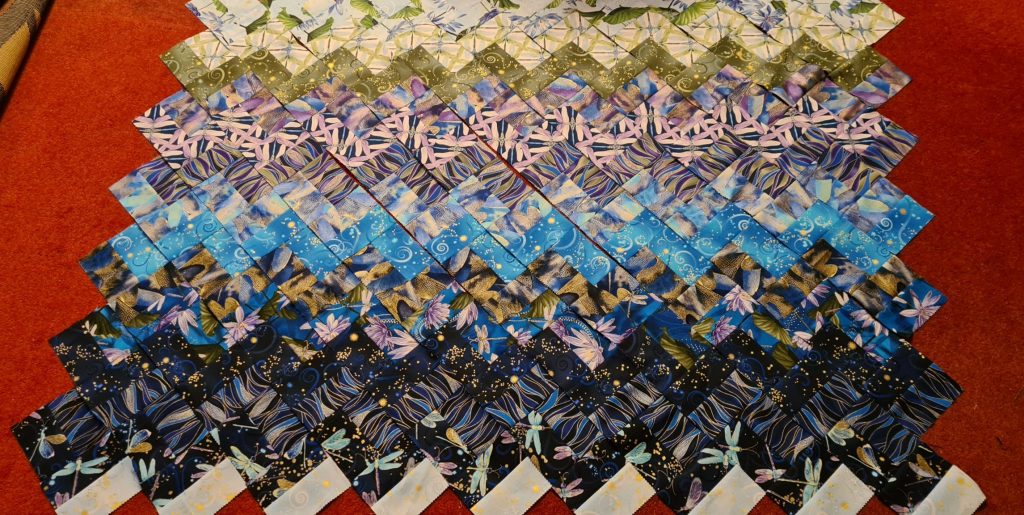
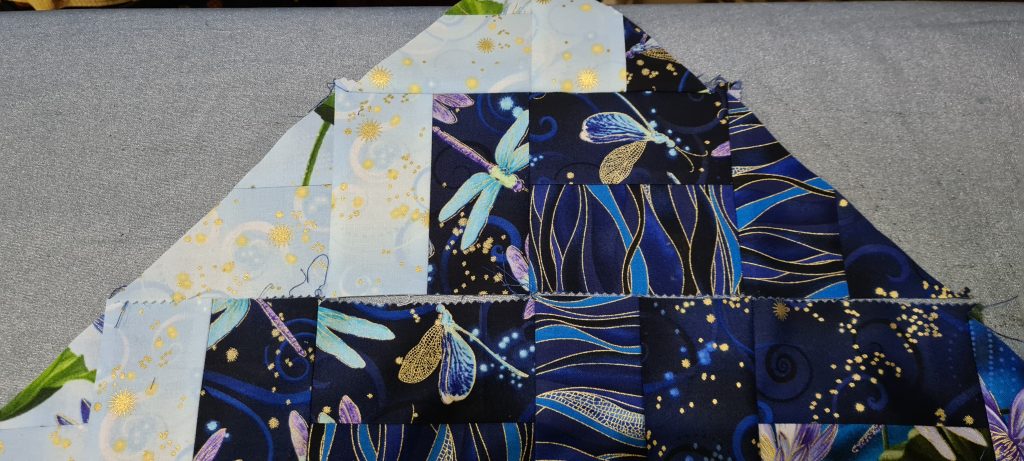
I then needed to arrange them in the rows to stitch them, which is not going to look anything like a zig zag yet, and to make sure I get each row correct so when they are lined up, we get the zig zag:
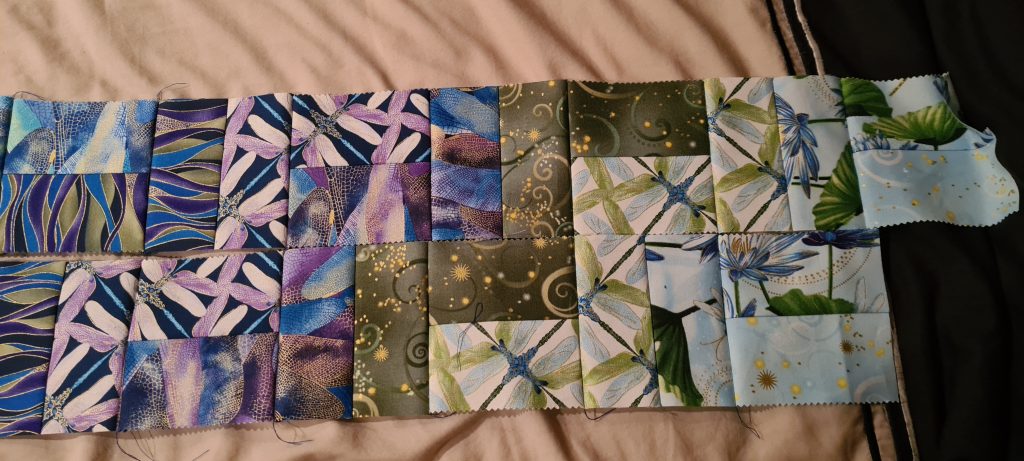
Basically the two middle rows are the same and offset one square. Referring back to the original spreadsheet diagram, they get shorter above and below that. I named my squares A to N. It turned out that you need an A-B in the top part, and a C-N in the bottom, an A-D in the top and E-N in the bottom etc. So once you get going sewing the squares together is relatively easy!!! (If a little time consuming!)
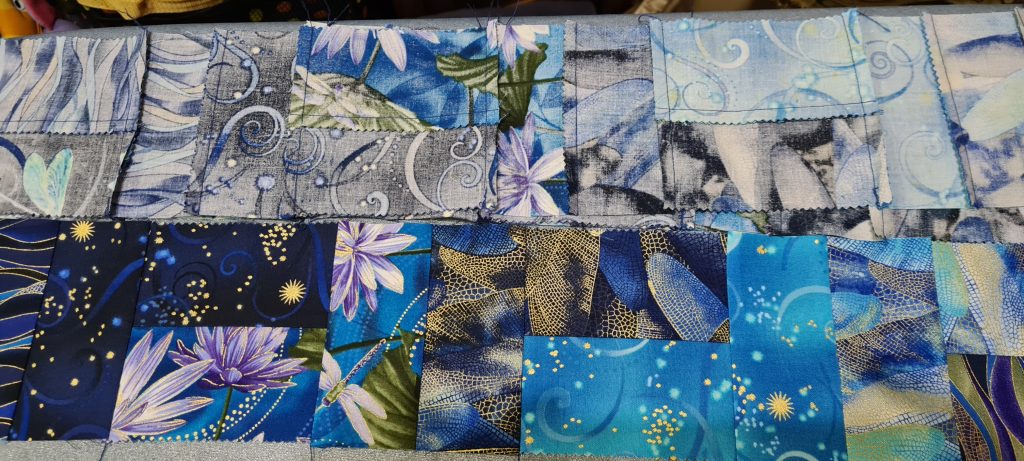
As usual all seams are ironed either all to the left or all to the right, to ensure seams aren’t bulky when the rows are sewn together. Just checking this looked right:
I then needed to decide what to do about the edges, and the triangles.. I REALLY didn’t want to just trim them off and waste them, so I trimmed them off one long and one short edge, and sewed the triangle part to the other side of the appropriate strip.
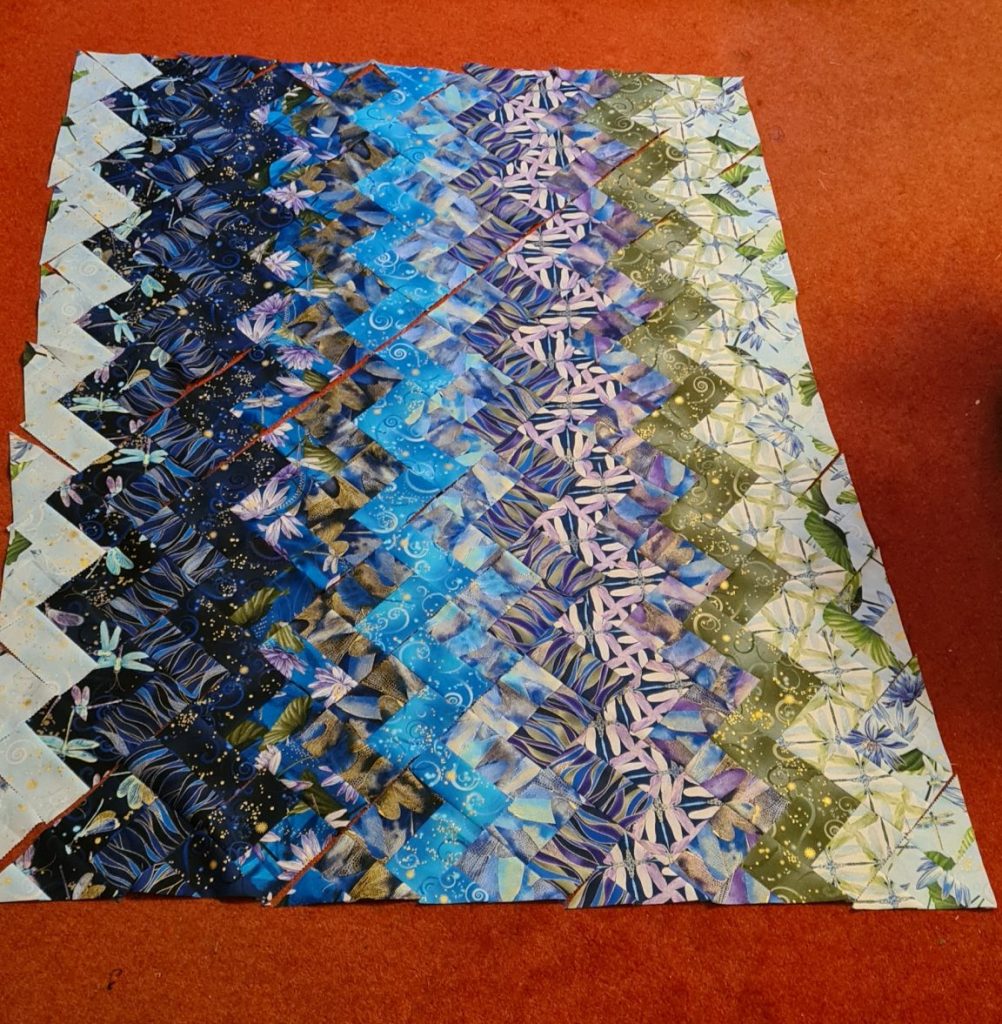
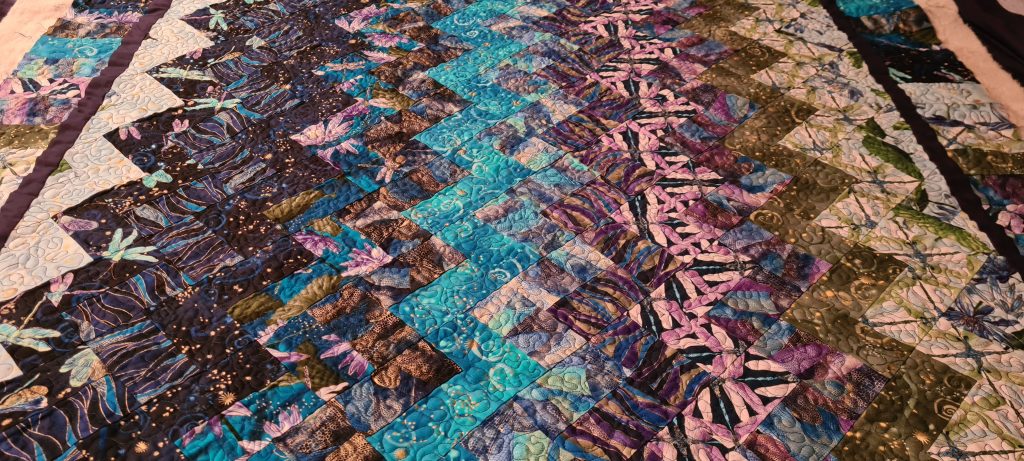
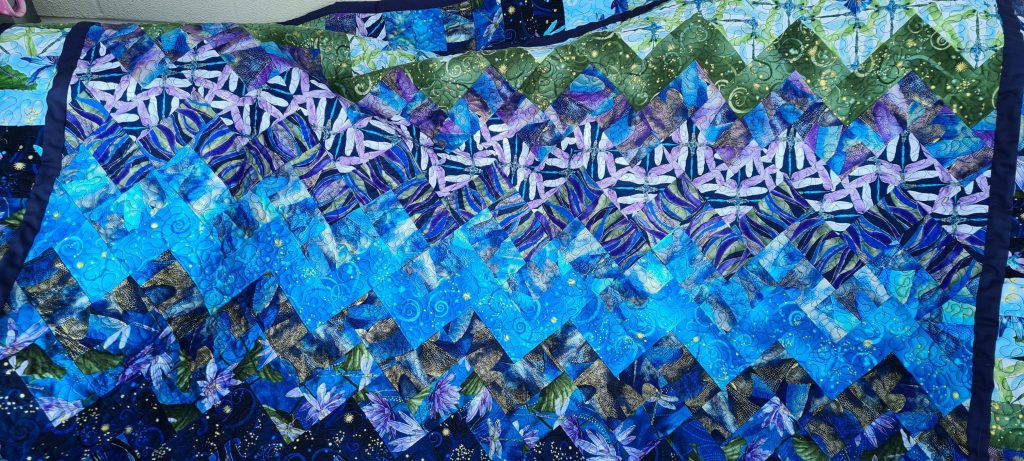
A few hours later!! This is what you get!

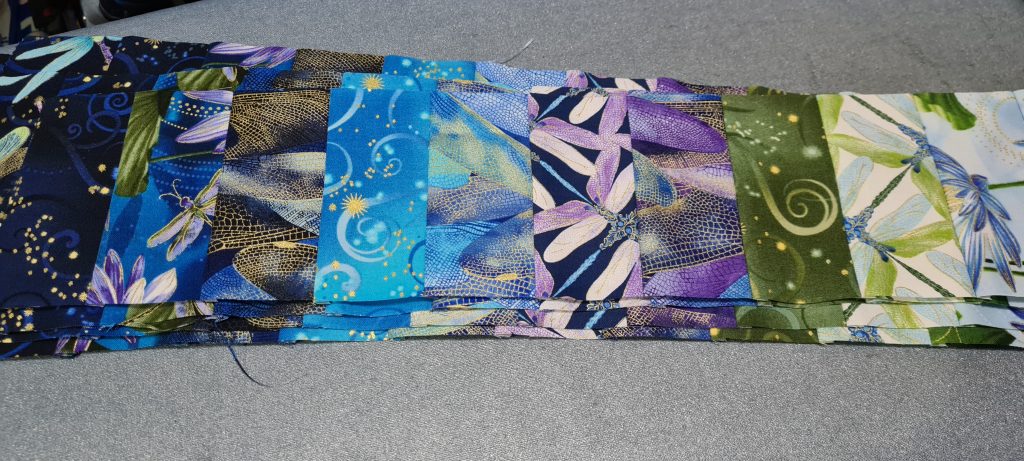
Now remember those remaining 12 strips… They are now all sewn together in the same colour order, and cut into 4.5″ strips.
I sashed the zig zag patchwork with a 1″ strip of plain blue fabric (from the sheet backing) and then arranged these 4.5″ strip sections around the outside. I don’t have a photo of this stage. It was a bit ‘faffy’ cutting the small sashing section, but if I had made it too big, I wouldn’t have had enough of these strips to go around the outside! I did have to unpick some of strips from these to get them to fit correctly around the outside.
THE QUILT SANDWICH STAGE
So I have the patchwork done. That was probably about 8-9 hours work, and the bit I actually enjoy! This time I am going to try and quilt a bit more, rather than just in the ditch strips to keep the wadding in place. I watched a few YouTube videos on how to free motion quilt and how to create the quilt sandwich a bit better so it doesn’t move at all. I very carefully rolled out my layers on the dining room table (not big enough!), smoothed them out, and then rolled each layer up individually. I opted to use spray glue to fix the wadding to the backing, so carefully unroll the wadding on top of the backing, spray gluing a bit at a time and smoothing it out. Because the table wasn’t really big enough, it would have been difficult to do the same with the patchwork layer, so I just rolled that back out carefully, smoothing lots, and pinning lots! And then rolled it back up!
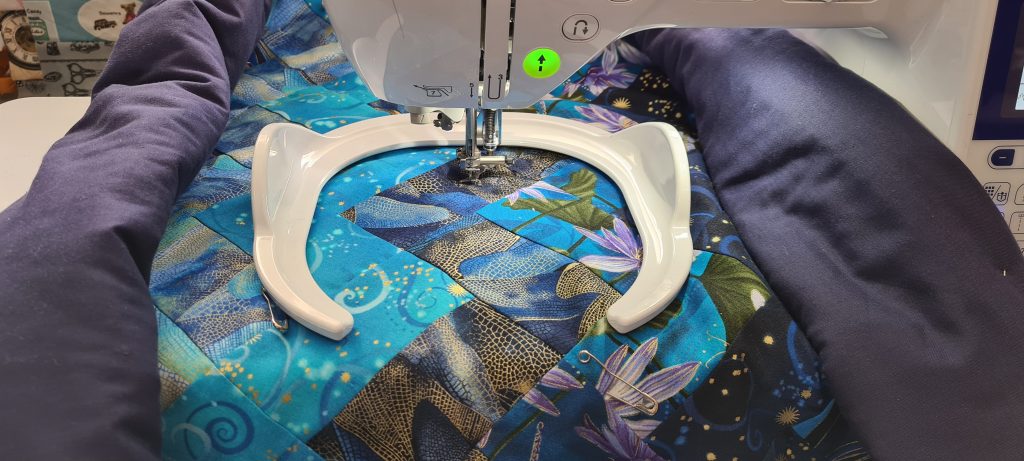
The dreaded QUILTING STAGE!!
Using free motion foot, with feed dogs down, and adding the quilting table to the machine. Done by each zig zag from the middle down then up… random looping
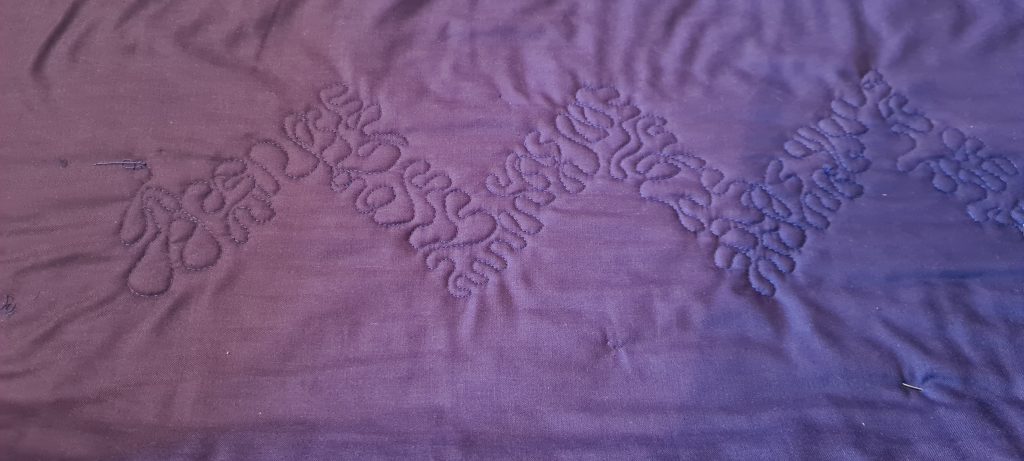
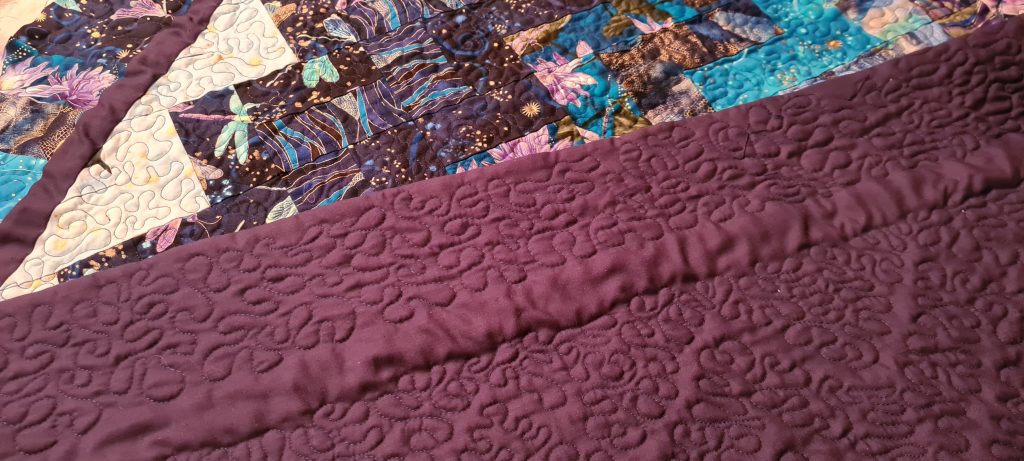
can’t see he quilting very well on the front on this strip, so here’s the back!
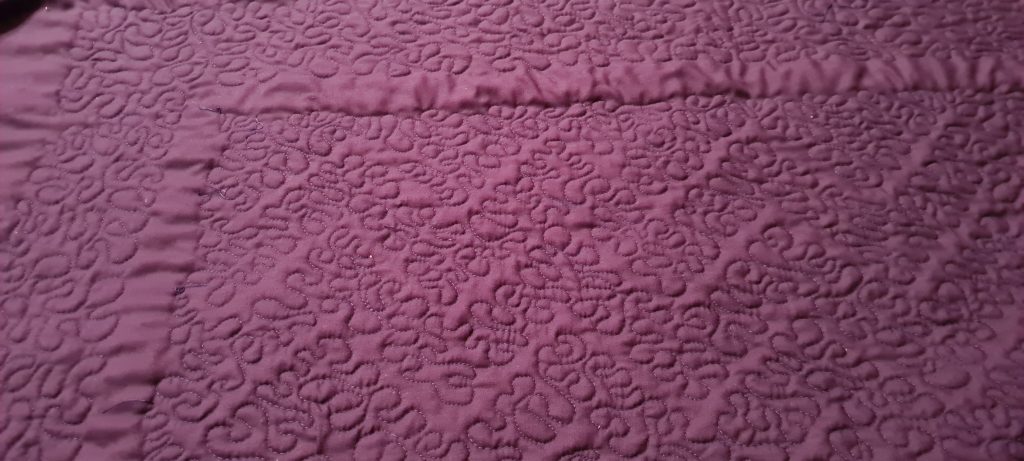
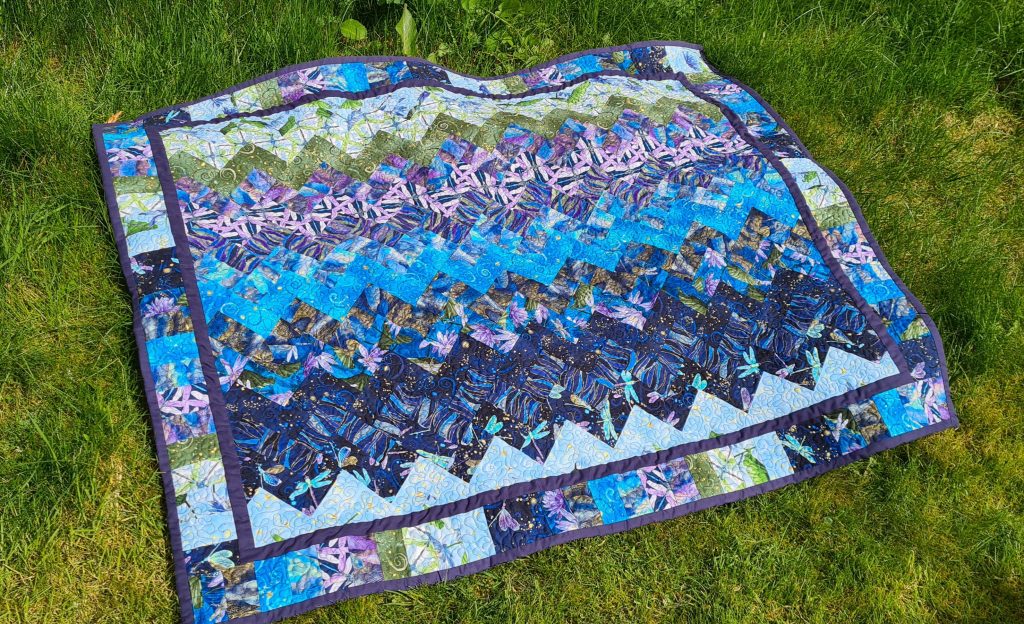
The quilting took a LONG time. I did a few hours on either Sat/Sun over 3 weekends! I took quite a few in progress photos, but here it is at the end.
Nearly there now. Next stage, to trim the wadding and backing, and to add the binding. Binding was cut from the same sheet used for the backing, 2.5″ strips joined together (diagonally), ironed in half with 1/4″ fold over for the back. It was sewn to the front by machine, and hand-stitched to the back (another 2 hours work!).
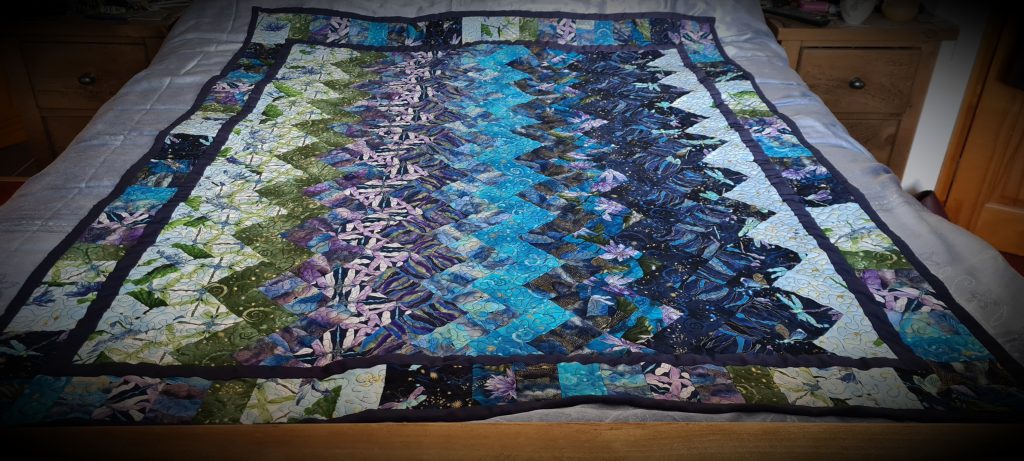
And there we go. Finally done. I guesstimate about 20 hours work, more than half on the quilting part. And this is still practice before I do the ‘big one’, as this is much smaller than the 3D patchwork already made, but not quilted! I am quite happy with it though!

more pics
Note, started 20th Feb, finally finished 5th April.


 Users Today : 90
 This Month : 1418
 This Year : 11890
 Total Users : 186118
Recent Comments