
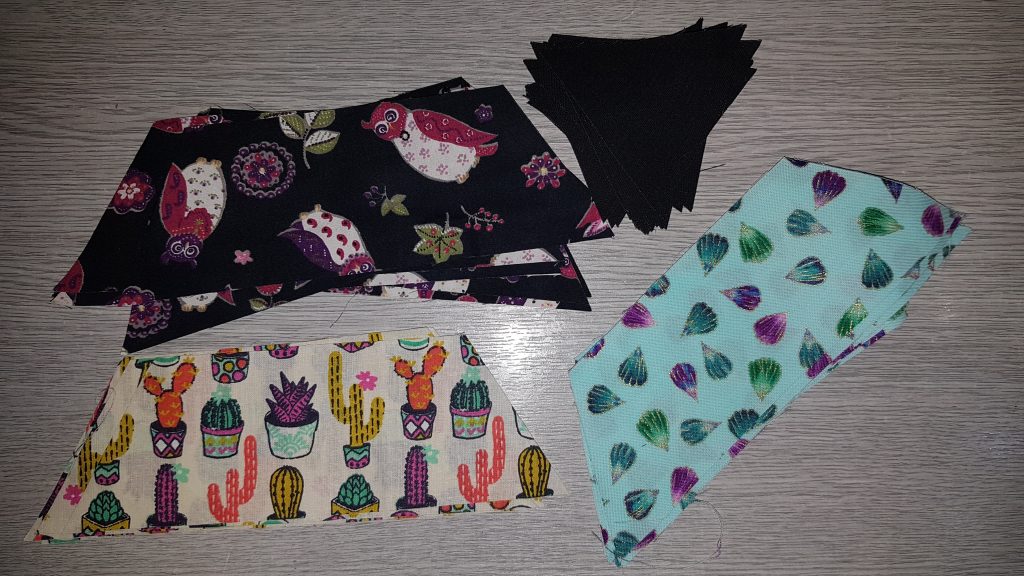
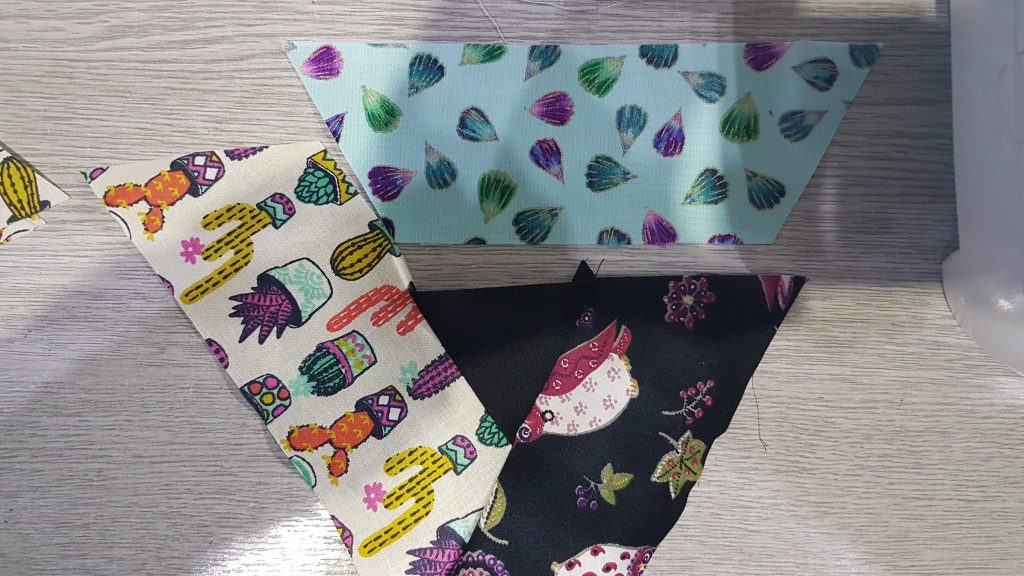
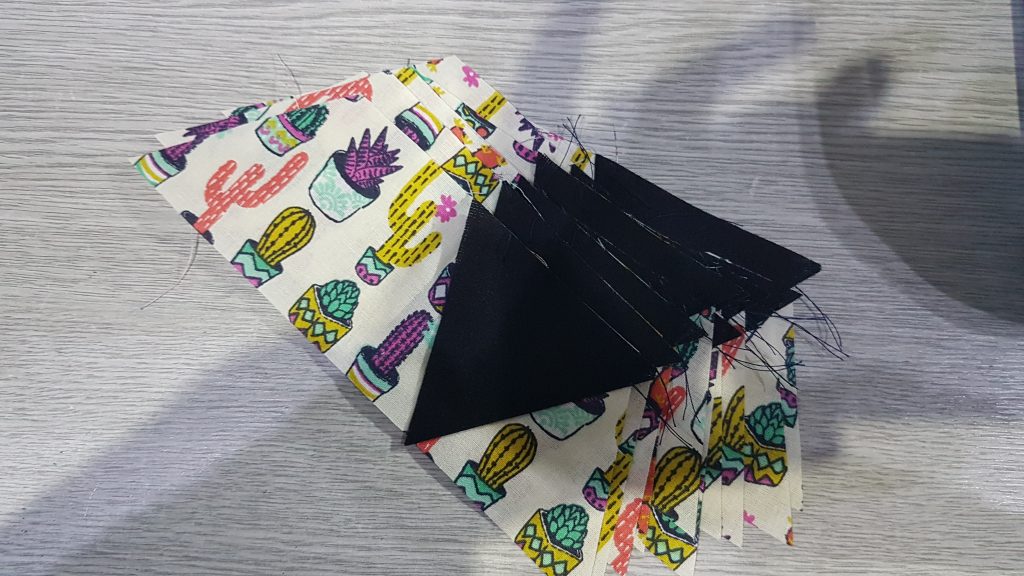
Construction of a block. This is an ‘A’ block for my pattern. It will point to the right, with the light colour at the bottom. I start with a pile of the 3 fabric trapeziums (in light, medium and dark), and triangles.
First align the triangle, right sides together to the right of the ‘light’ trapezium. The point will stick out 1/4″. Sew 1/4″ seam from about 1/3 from the middle – i.e. NOT the full edge of the triangle.
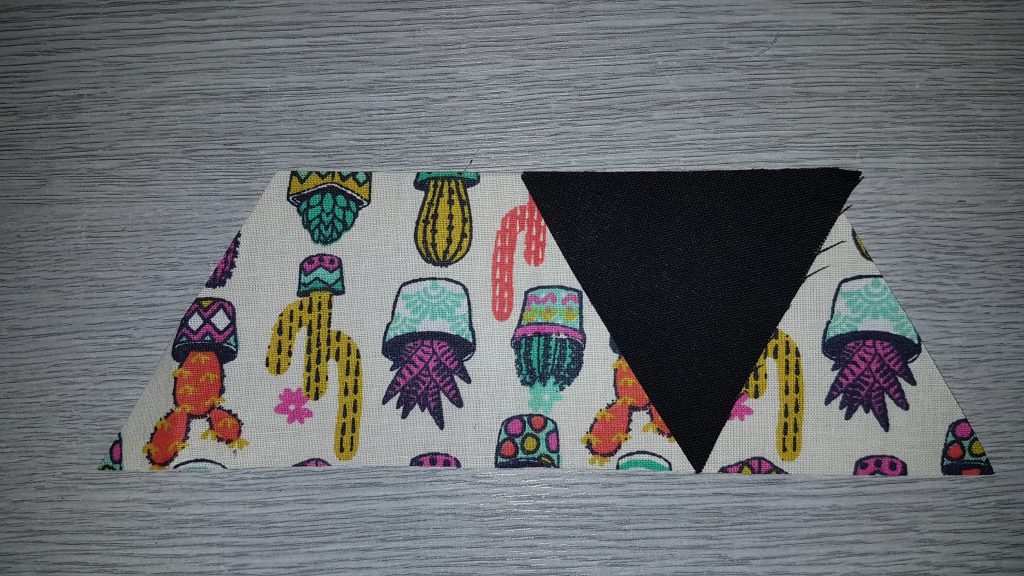
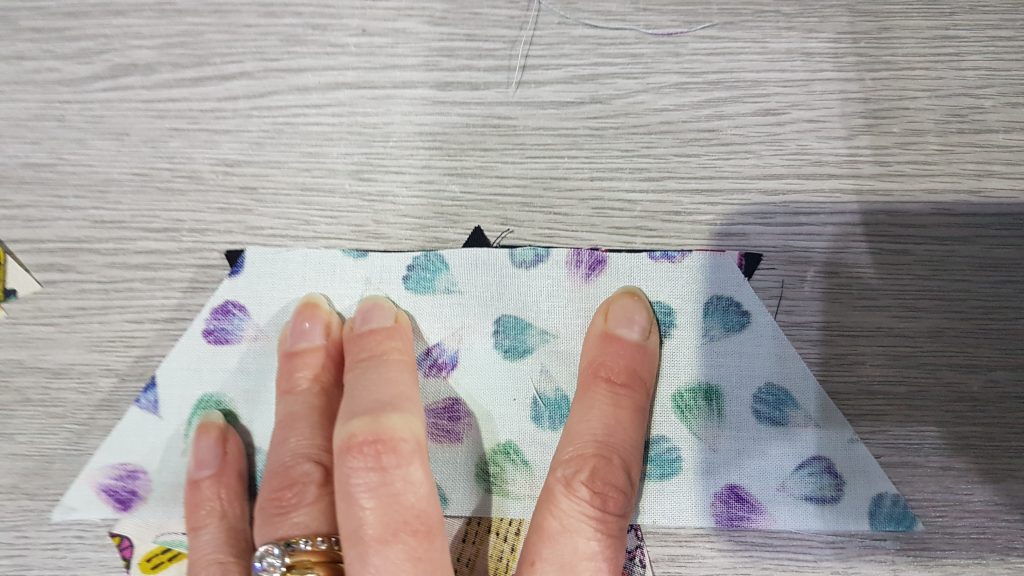
Finger press the seam open. Align the ‘dark’ trapezium to the edge:
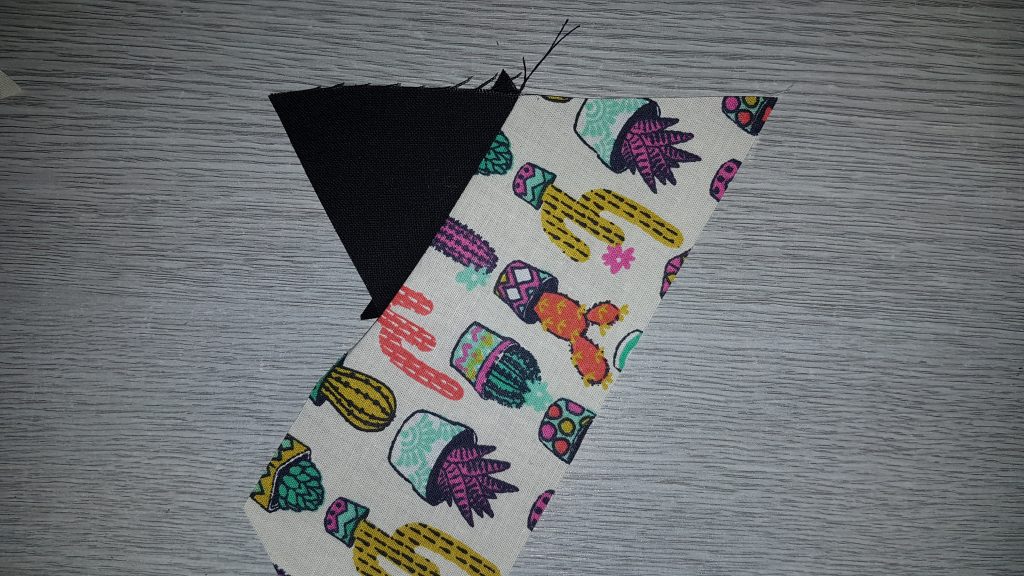
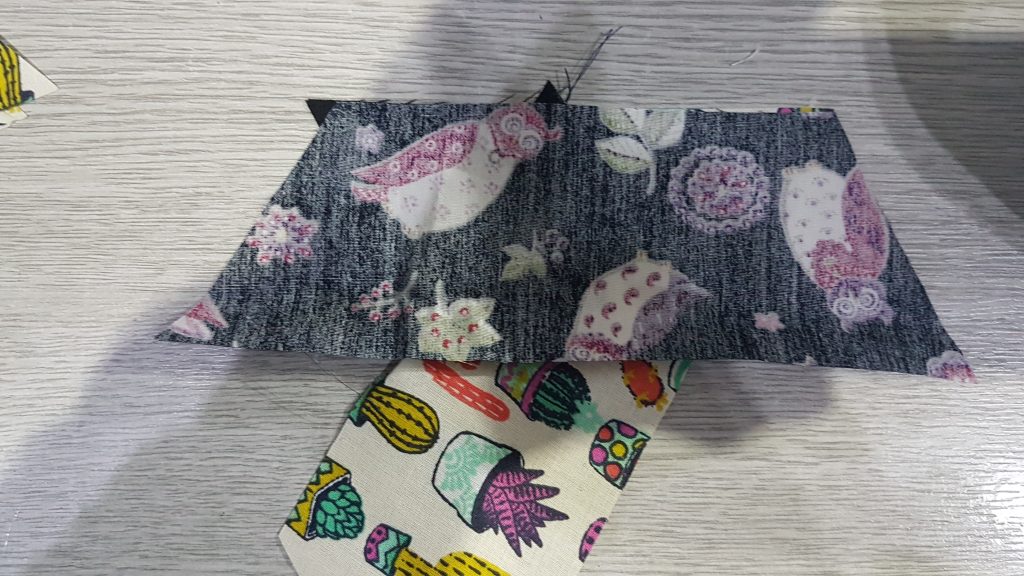
Finger press this seam open, then align the ‘medium’ trapezium to the edge:
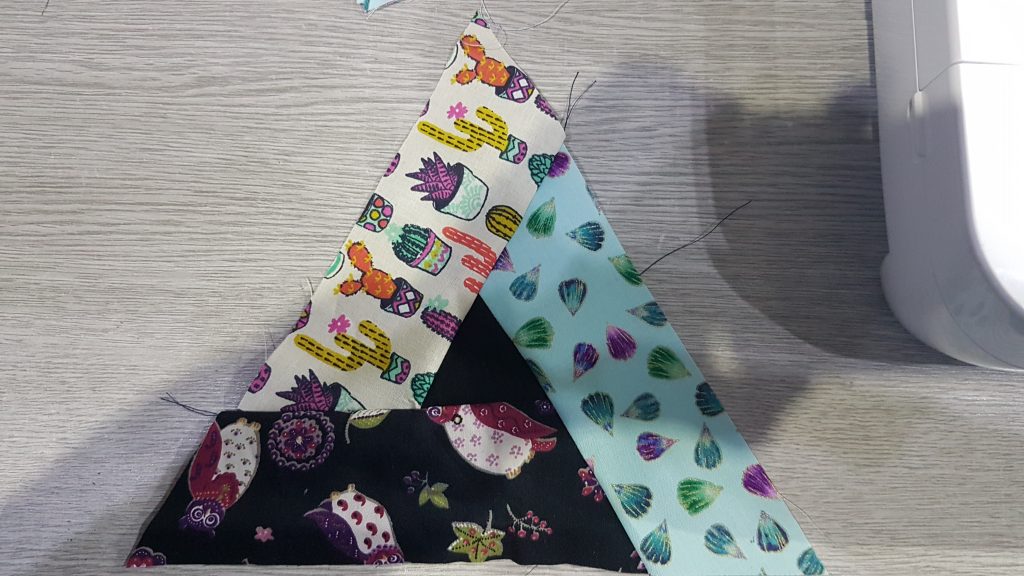
The trickiest bit, then, is to sew the medium fabric to the original light one, and complete the seam along the triangle. As usual I forgot to take a photo of that part.
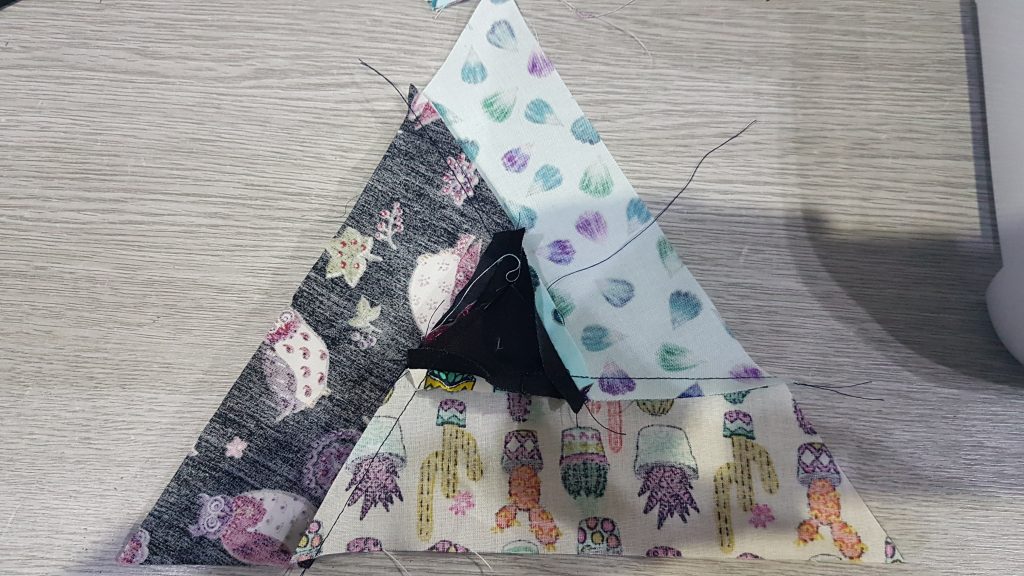
Iron all the seams open (photos here not ironed yet):
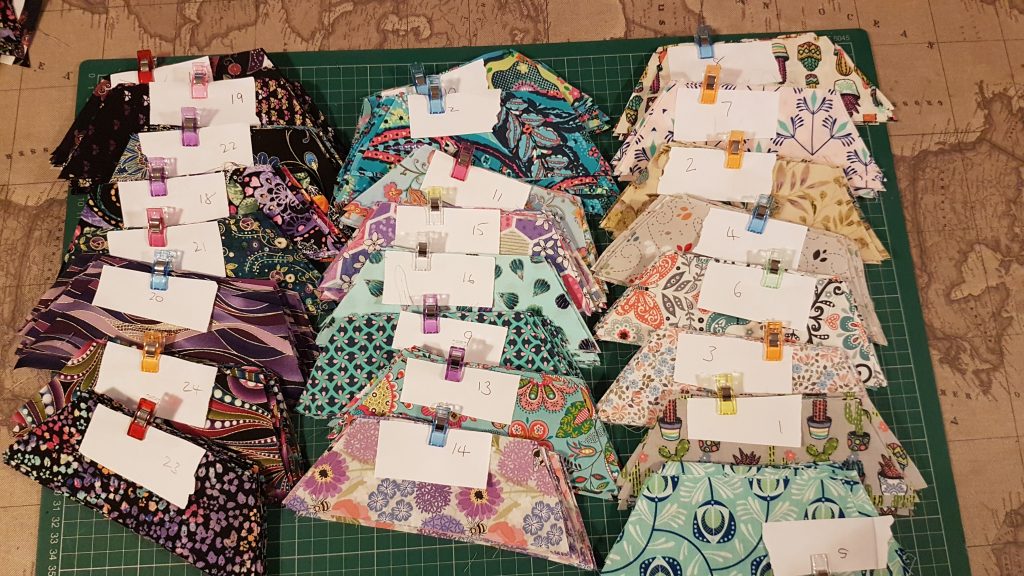
Once I knew this worked, I then finished cutting all the trapeziums:
Next step was to make one of each of the 16 triangles. Just to check I had all the fabrics planned in the right order to get the right effect. You really have to look at it from a distance to get the effect. But I was happy with this 🙂

I then make the rest of the triangles pile by pile, production line style…


Ending with a pile of 8 different ‘A’ blocks, and 8 ‘B’ blocks. 10 or 11 of each. I didn’t time how long the cutting took, but it has taken roughly an hour to construct each set of 10-11 blocks. So about 16 hours just on putting these together.
Things I learnt so far and not to forget…. It really matters which way you cut the fat quarter up…. I cut a couple one way, getting 8 x 2.5″ strips instead of 7, thinking I was clever. However, I then only got 2 trapeziums out of each strip instead of 3, so ended up with 16 trapeziums rather than 21. I had to go buy some more fat quarters in those fabrics. Measure and calculate before cutting!!!
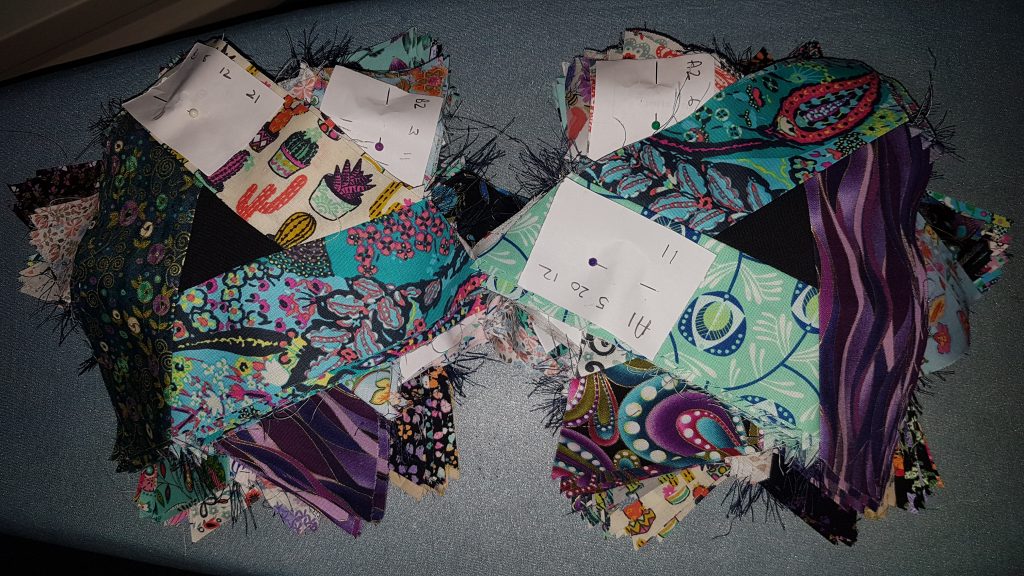
Next stage is still in progress. Sewing the triangles into strips – Part 3.
Recent Comments